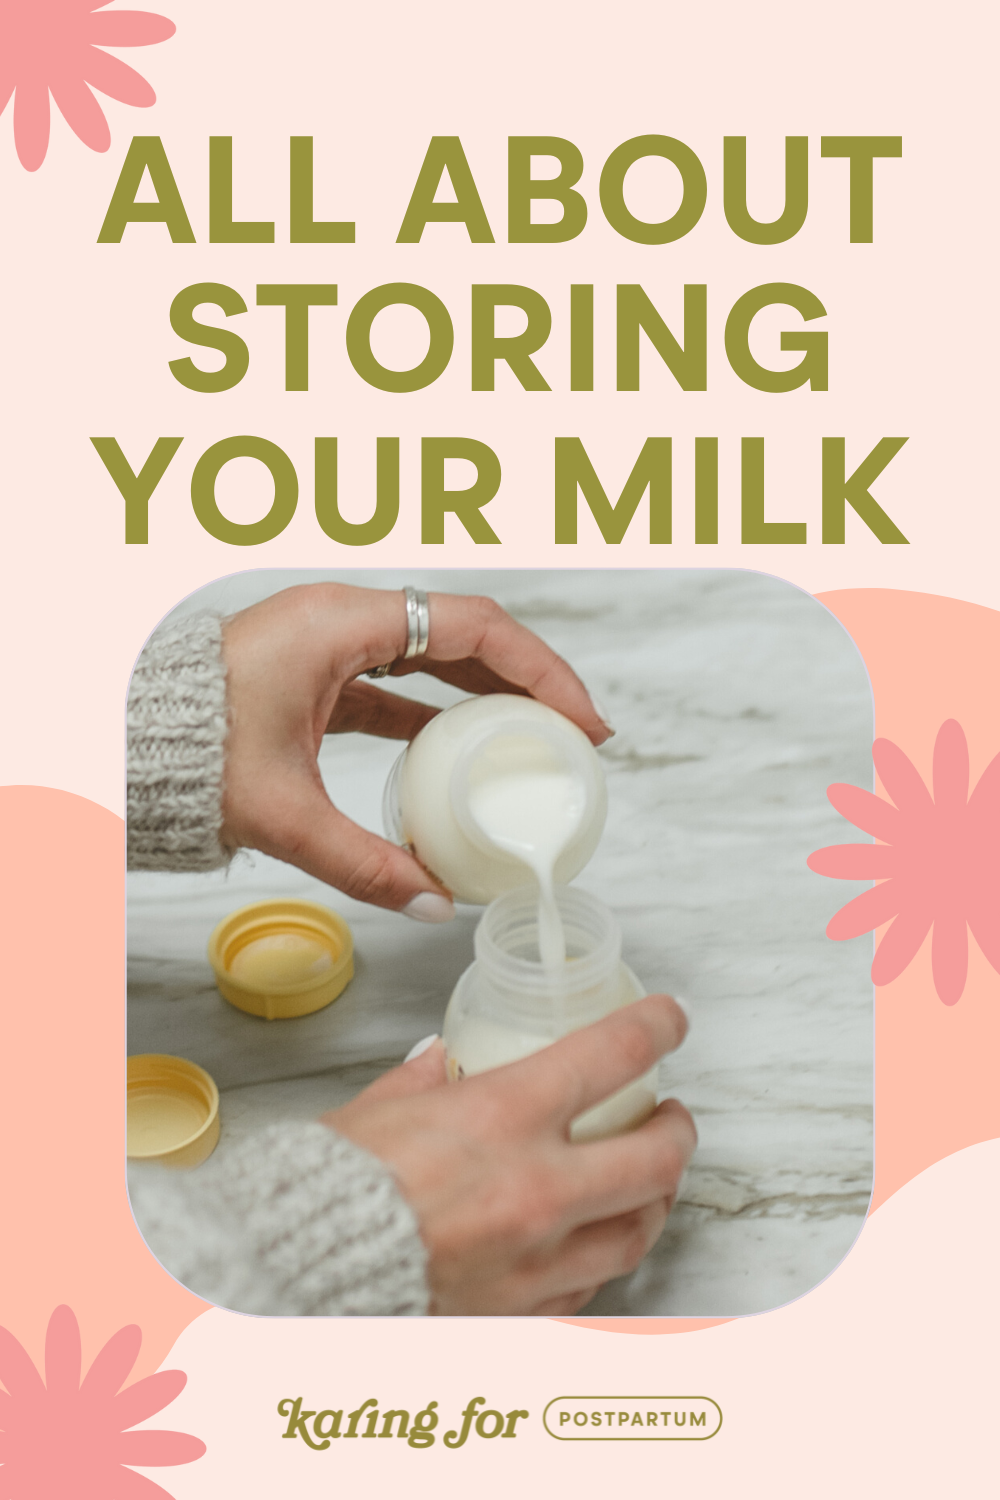
All About Storing Your Milk
Today we’re tackling all things related to storing & using your milk. Although storing milk sounds like a simple concept, knowing a few tricks and tips can certainly come in handy for some occasions! I will be breaking this down into two categories: storing short-term & storing long-term.
By short-term storing, I am referring to storing your milk for a few days before use (think storing in your fridge). When referring to long-term, I am talking about freezing your milk to use at a later date.
Let’s get to it!
Rule of 4’s:
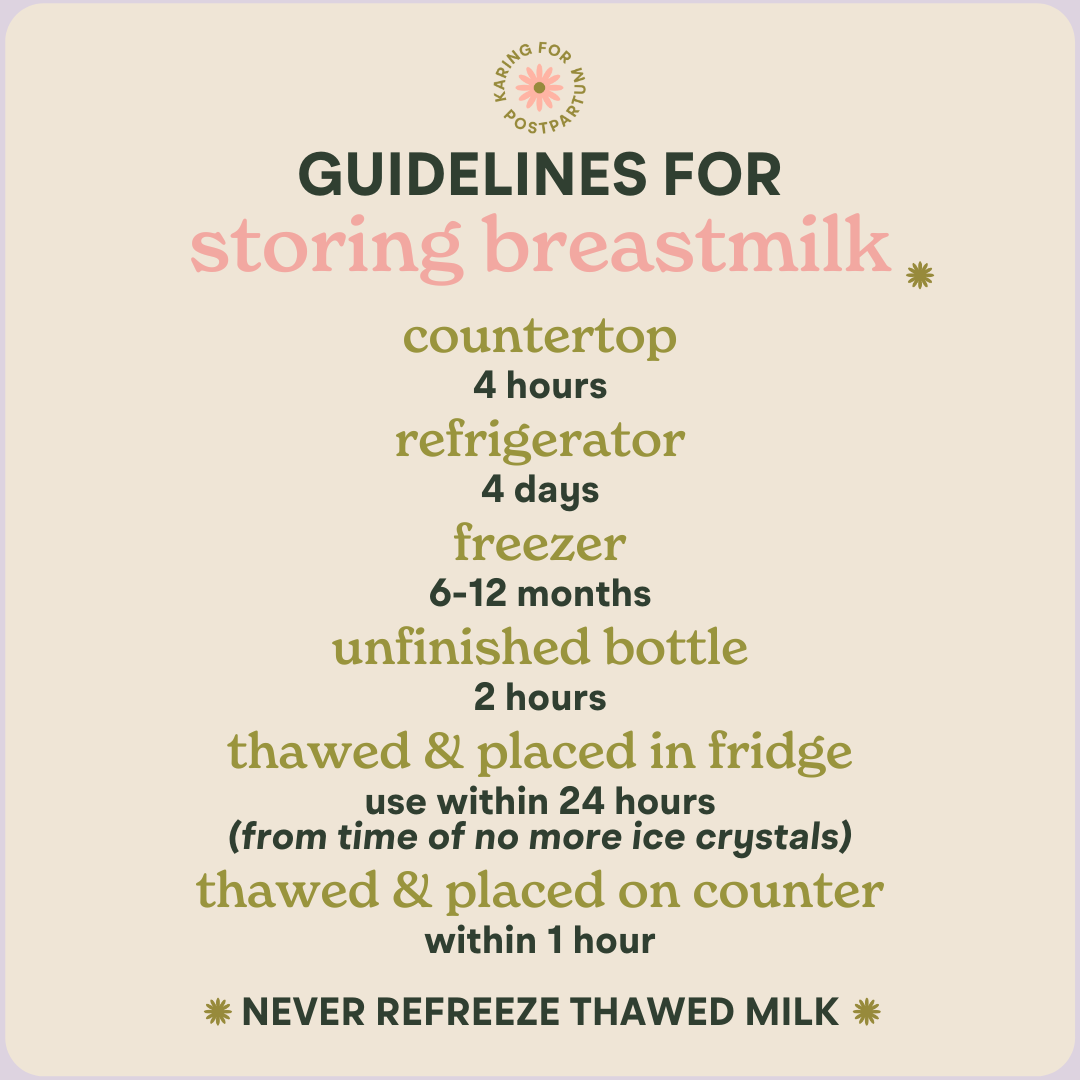
Per the CDC, storage guidelines are as follows.
COUNTERTOP: 4 HOURS
REFRIgerator: 4 days
freezer: 6 months- 12 months
after baby drank from, but didn’t finish bottle: 2 hours
thawed and placed in fridge: use within 24 hours (from time of no more ice crystals)
thawed and placed on counter: use within 1 hour
*Never refreeze thawed milk*
Short-Term Storing
There’s two main points I want to talk about with short-term milk storage. I want to give you all the ins and outs of storing your milk in the refrigerator, and I also want to talk about preparing your milk for daycare for you mamas who will have to send some with your kiddo!
STORING YOUR MILK IN THE FRIDGE
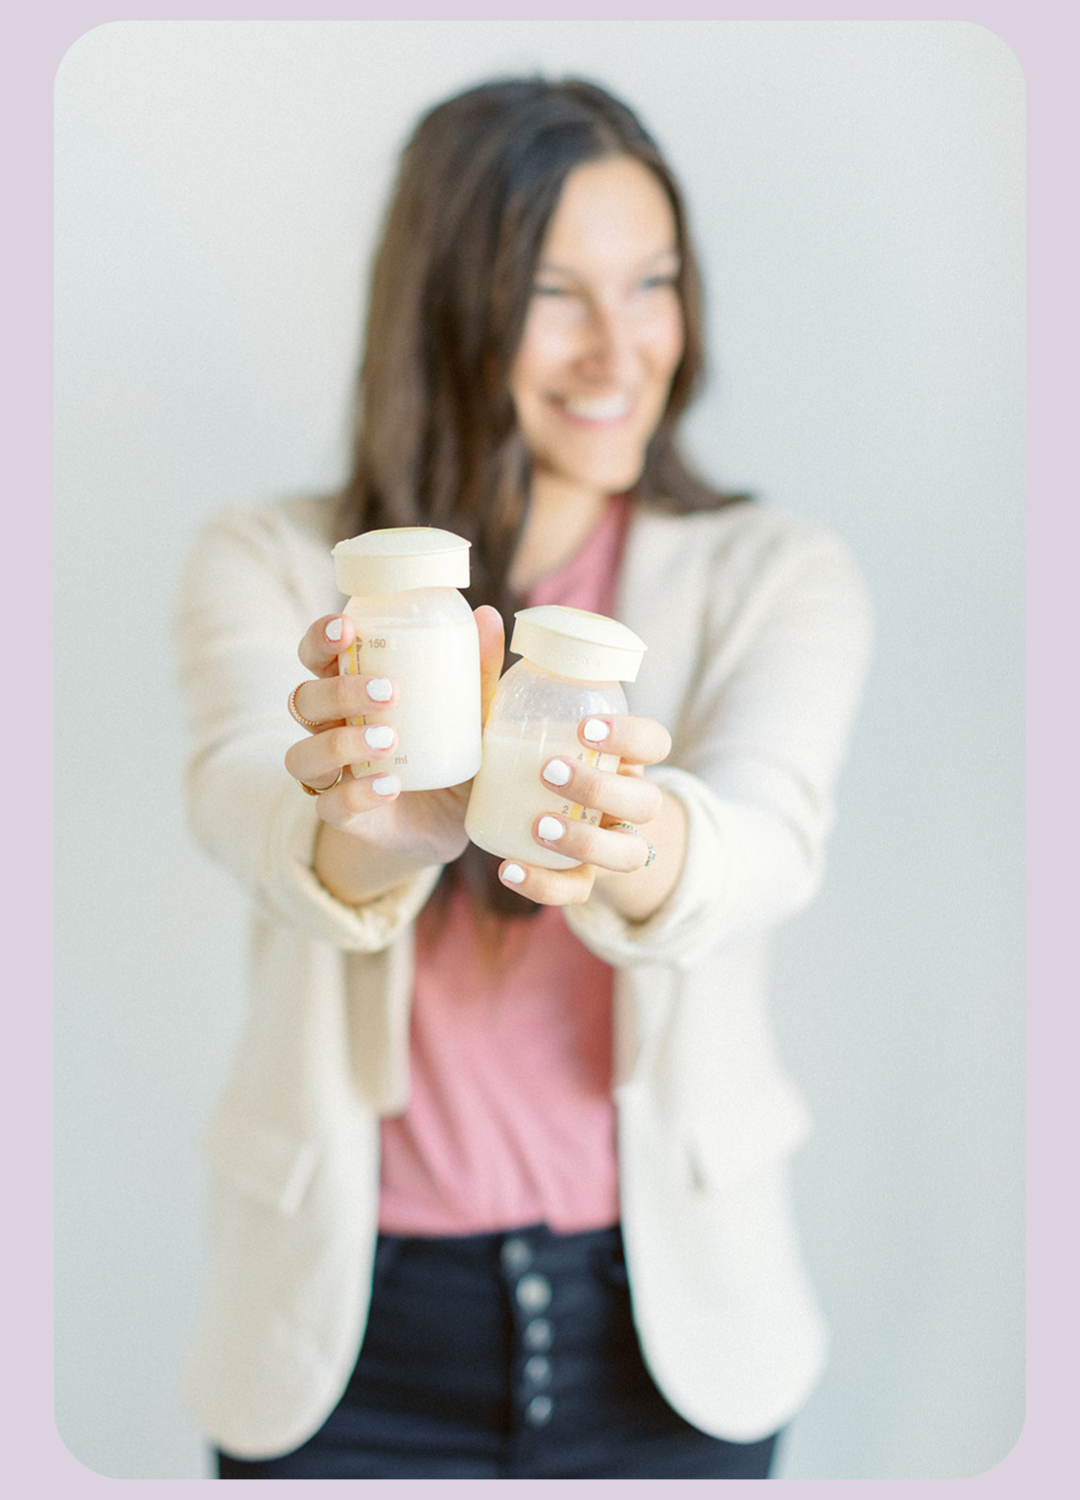
After a pumping session you can store breastmilk in the fridge for up to 4 days per the CDC. Storing milk in your refrigerator is ideal if you plan on using it within the next few days or if you are building up milk to fill up a storage bag to freeze.
MIXING MILK
Per the CDC, you can mix milk from different pumping sessions.
This means that you can combine milk from two different times into one bottle and keep it in your fridge (maybe you Haakaa’d some this morning, then pumped some extra this evening). However, the CDC does still recommend bringing milk to the same temperature before combining. This means you’d put a lid on that evening pump session and put it in the fridge to chill before mixing in the same bottle as the morning Haakaa’d milk.
WHY?
The CDC states that mixing milks at different temperatures can raise the overall temp of the milk, which *could increase the potential* for bacterial growth. However - there isn’t much research they provide to back this up, and there is plenty of research stating how incredibly anti-microbial breastmilk is!
And another study about bacteria & pooling expressed milk
I have more info on the CDC/AAP guidelines + their reference to protocol #8 in this highlight. It’s truly best to use the method you feel most comfortable with.
“OK, BUT…”
“I thought the AAP said it was okay to combine milk at diff temps?”
Last year, the AAP updated their FAQ section about milk storage. In one of the paragraphs, they stated that “mothers can mix warm milk and cold, or even consider pooling milk from 24 hours together, which may help even out variability in nutrients due to pumping time or breast emptying (which influences fat content of the milk).”
The world went crazy and they soon took out that paragraph, stating that it wasn’t supposed to be there and to reference ABM protocol #8.
Please reference this highlight for an in depth look at this. I hope this helps our minds at ease and break down where research is truly lacking!
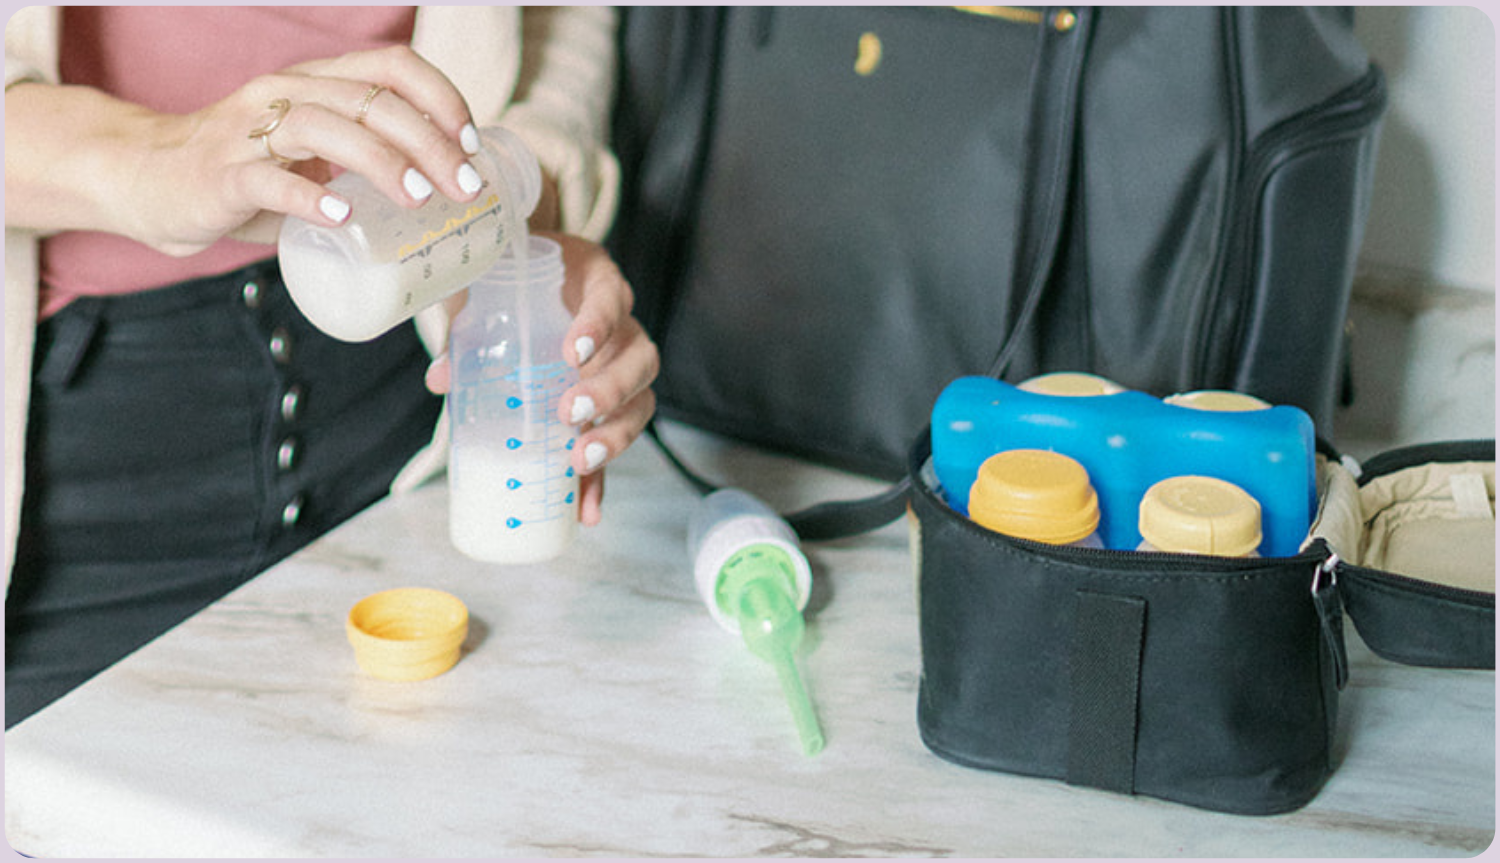
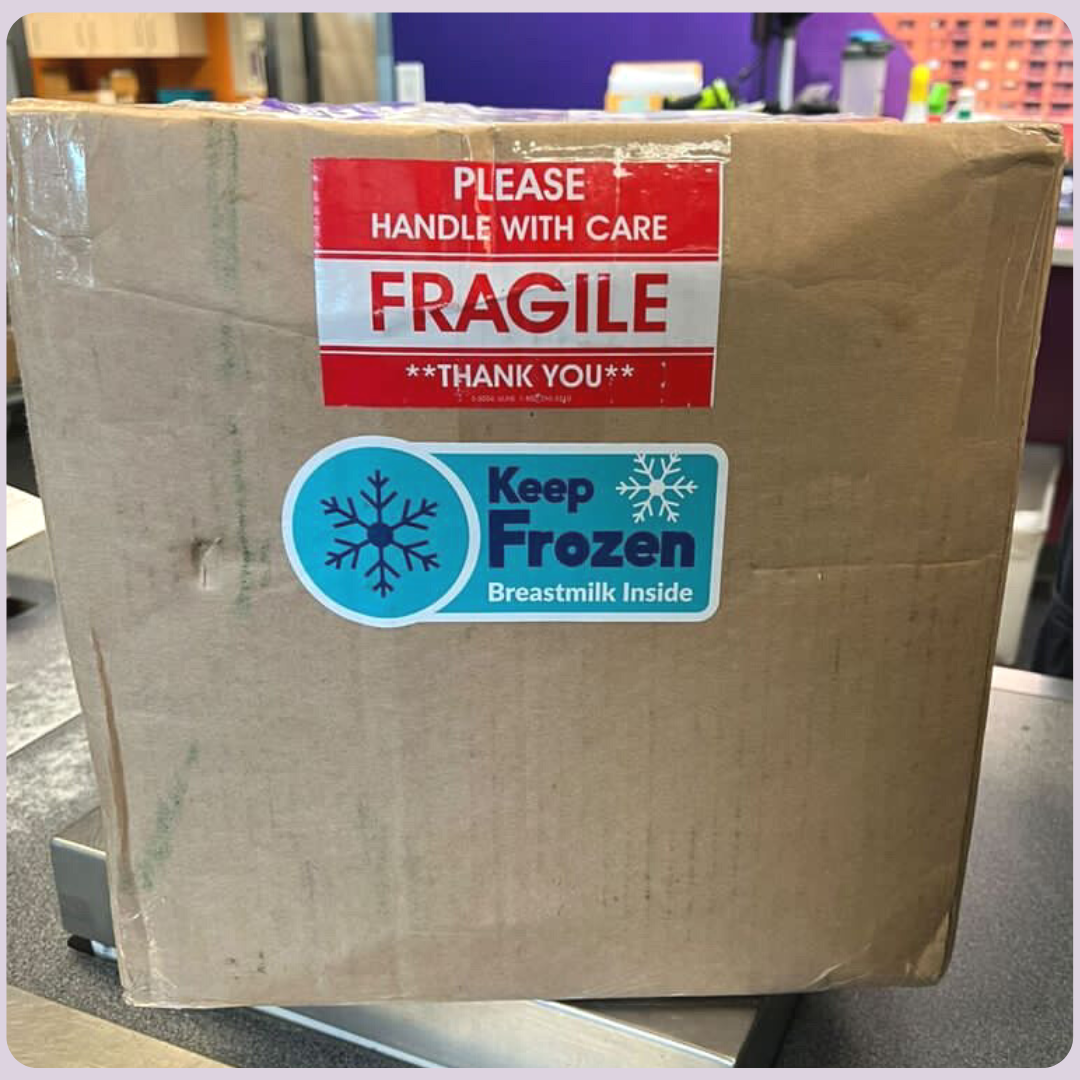
PACKING YOUR MILK FOR DAYCARE
When packing pumped milk for daycare (regardless of whether it is freshly pumped, refrigerated, or from your freezer) it’s best to send to daycare in a cooler with small ice packs to keep it chilled. All bottles should be labeled with your baby’s name! I have a reel all about daycare tips here and here. At daycare, the milk should then be transferred to the fridge and kept cold until it needs to be warmed and used for the feedings throughout the day.
Each daycare may have their own guidelines for you (*make sure to ask for specifics*), but many moms feel best having their milk already measured out and ready to feed, to insure baby doesn’t get too much in their bottle! If you’re combo feeding (a mix of breastmilk and formula)— you can prepare your formula as directed first, then combine with breastmilk and store in fridge until use!
“How do I know the amount to send?”
This is why I think it’s best to practice with bottles a few weeks before transitioning to daycare. Not only does this allow babies to get used to the bottle, it also allows parents to know approximately how much baby takes in their bottles - as this truly can vary from baby to baby! If you have no idea where to start, you may find this reel caption a helpful starting place, but please take it with a grain of salt— as it’s a general calculation, not a “must-be
method”.
I always like to send an extra few frozen ounces *if I’m able*, just in case baby needs it! I do ask my daycare to text me if they feel they’re going to need to use it, just so we are all on the same page!
Long-Term Storing

Milk for long-term storing goes into the freezer! Let’s talk about some tips for this!
MILK STORAGE BAGS
There are two types of storage bags: disposable and reusable.
Most people use disposable for ease, but if you choose reusable - that is a great option too! Disposable storage bags come with lines that measure your milk and have space to write info such as the pumping date and/or amount.
TIP: I have found that *most* storage bags measure differently than bottles so I generally use the bottle measurement instead of the bag measurement to mark your bags! This will insure ounces (oz) measurement— which is especially important if you have to send milk to your caregiver for use that day! We don’t want to fill a bag thinking there is 4 oz (per bag measurement), then have the provider make baby’s bottle and notice there’s only 3.5oz. That can be a big deal to a baby (and mama!).
After you fill and label your bag, make sure to push out air from your bag so that you can save space and prevent any air bubbles. See one of my favorite tips to do this.
Remember that labeling your milk is especially important so that you can make sure that you are using your milk within a safe time frame. Per the CDC, frozen milk should be used within 6 months, up to 12 months is acceptable (esp in a deep freezer).
Make sure to seal tightly and freeze in a flat position (like bricks) so you can save space! Once frozen, you can stand them upright in a container, or place them in ziplock gallon bags, labeled by week.
SILICONE CUBES
I have loved using and trying the silicone cubes aka “MyMilk” trays from SOUPERCUBES to freeze *smaller portions* of milk too! This freezing method will allow you to thaw only the amount that you need for your baby if they finish their bottle and need just a small “top off” - hopefully wasting less! You can freeze milk in 0.5oz or 1oz portions!
A New Way Of Storing?
I shared about this in stories (and will continually throughout our journey!), but there is a new method for “freeze drying” breastmilk into a powder form!
There are only a few companies I know of that do this (Milkify and Booby Food), but the process uses extremely low temps and sublimation to turn milk from liquid to powder, without removing any important properties.
We are going to do this with some of mine and see! It makes for easier travel, easier storage, and a longer “shelf life” for years! I’m still a bit skeptical but also super curious, so I will keep you posted on that experience!
How To Use Your Milk
Whether your milk was just in the fridge or thawed from the freezer - it is totally okay to swirl it or shake it to mix in the fat! The myth that you “cannot shake breastmilk” or you’ll “damage the proteins” is not founded in research. There are new articles out testing this theory and finding it to be false. You’d need to shake your milk more vigorously than a paint can shaker to damage any proteins or decrease nutritional value of your breastmilk.
Check this reel to see this in action.
If you have some thawed milk and some fresh room-temperature pumped milk, you can combine them to make a bottle for your LO (*per notes above in the mixing milk section).
You’ve got this, mamas!
Was this helpful? Save it for later!