First Birthday Party (on a budget) Tips

Your one year old baby does not need an extravagant party. We all know this, but it’s difficult because that’s all you see when searching pinterest for ideas. When you worked hard to become pregnant, had a crazy amazing first year, and love your baby so much, it may feel like you '“need to” throw them the biggest best party. These big parties are beautiful and incredible sources of inspiration! For many of us, however, they simply aren’t realistic and they aren’t in the budget— and that’s NORMAL. We do not need #allthethings to have a successful, fun, happy first birthday for our baby! And if it is in your budget, and that’s something that fills your heart with joy— then, you go, mama!
Some people fall right in the middle, and some may prefer to keep it as simple as possible —whether that’s due to their own visiting policy, preferences, budget, or just not feeling like a party is something they want to do. For some, making dinner at home, grabbing a cake on the way home from work, buying some party hats at the dollar store, and celebrating with just your own family can feel like a treat all on its own! All your baby truly wants or needs on their birthday is to feel loved and safe. Celebrating them, their life, and their love is part of the fun, especially for the parents too!
This post is going to go through some ideas for making a first birthday celebration fun, cute, but not too “over the top”, if you’re choosing to have some family over to celebrate! We’ve done the same type of first birthday party on a budget with each of our kids. We have learned the best areas to save money, yet still make your party look super great! We spent under $150 (INCLUDING groceries for food/drink) when it was all said and done and I’m going to share how!
Step 1: Theme
This is your starting point. A theme doesn’t have to be ballerinas or dinosaurs— it can truly be whatever you want! It can be a color scheme instead of an actual “theme” if that’s what you prefer. Having a “theme” or general color scheme is so helpful in keeping your party coordinated and cohesive! Once this is decided, it’s easier plan out the rest.
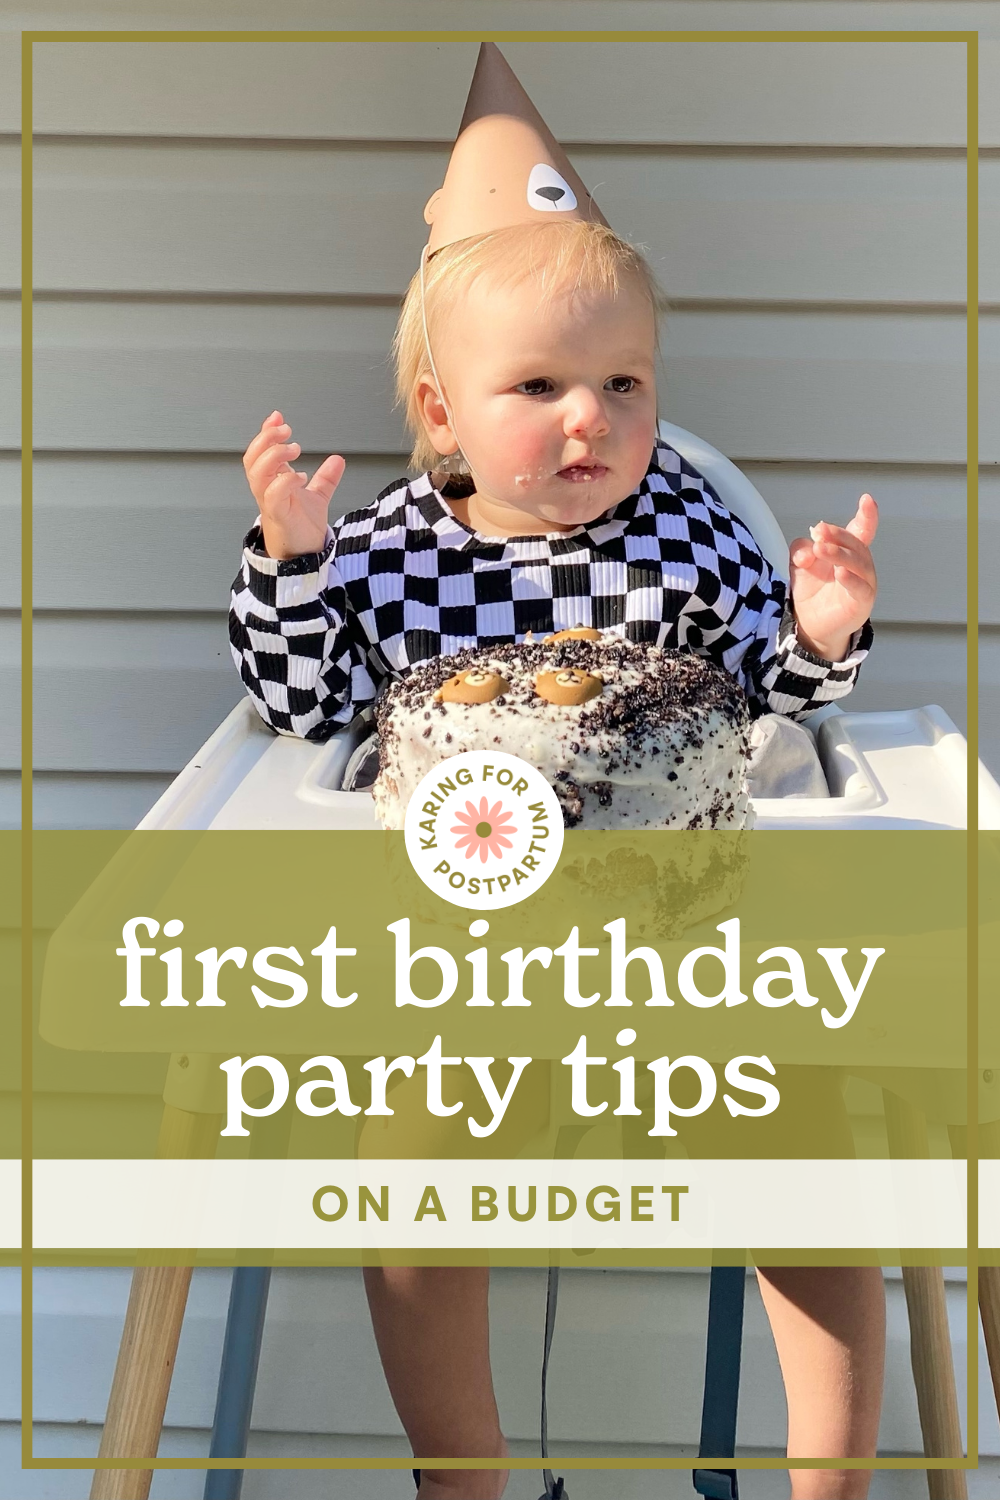
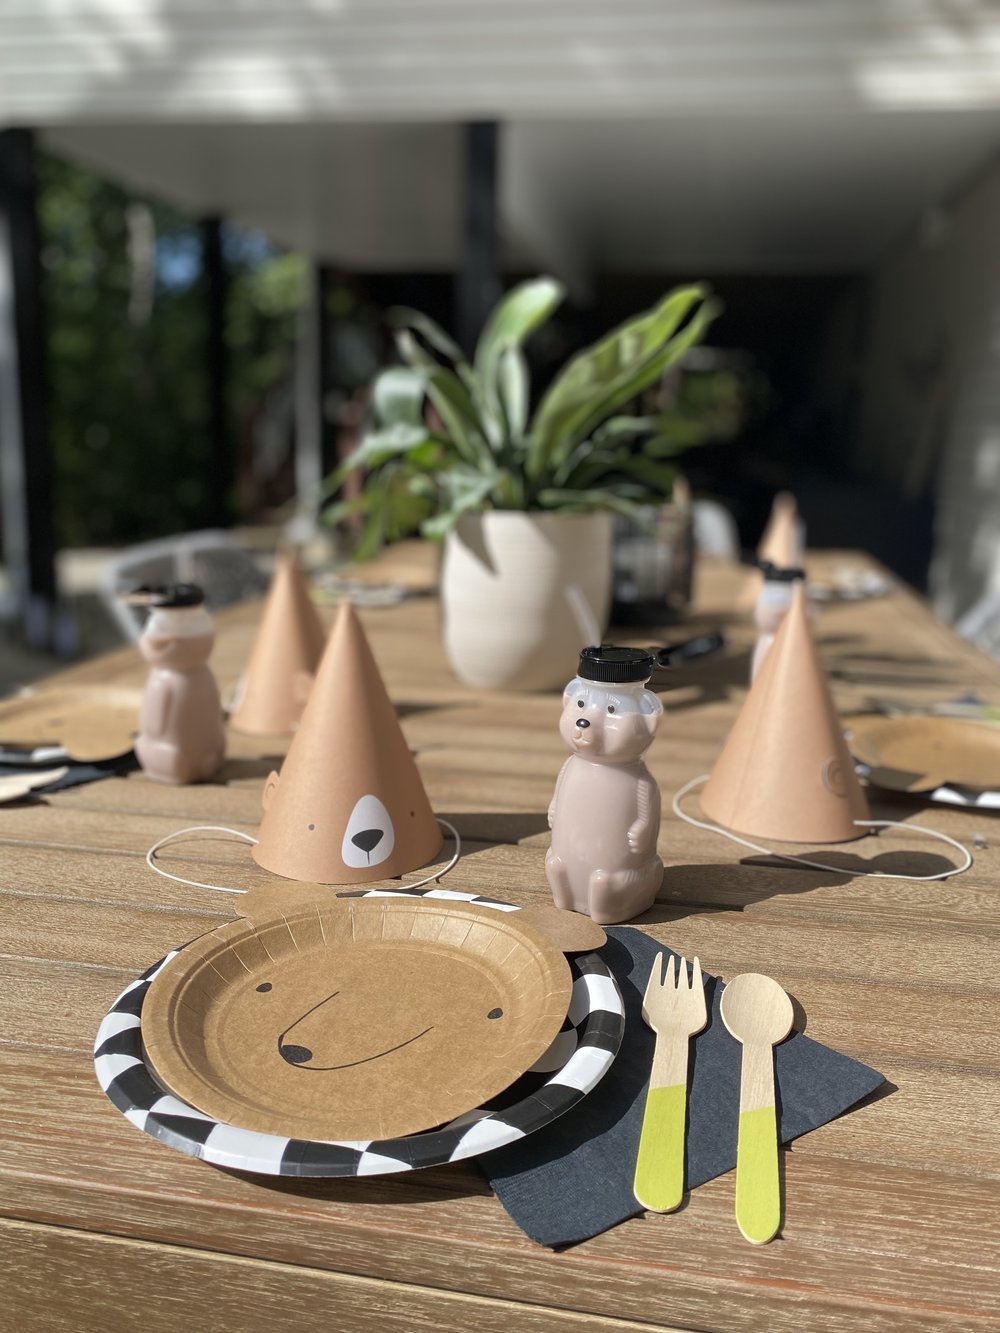
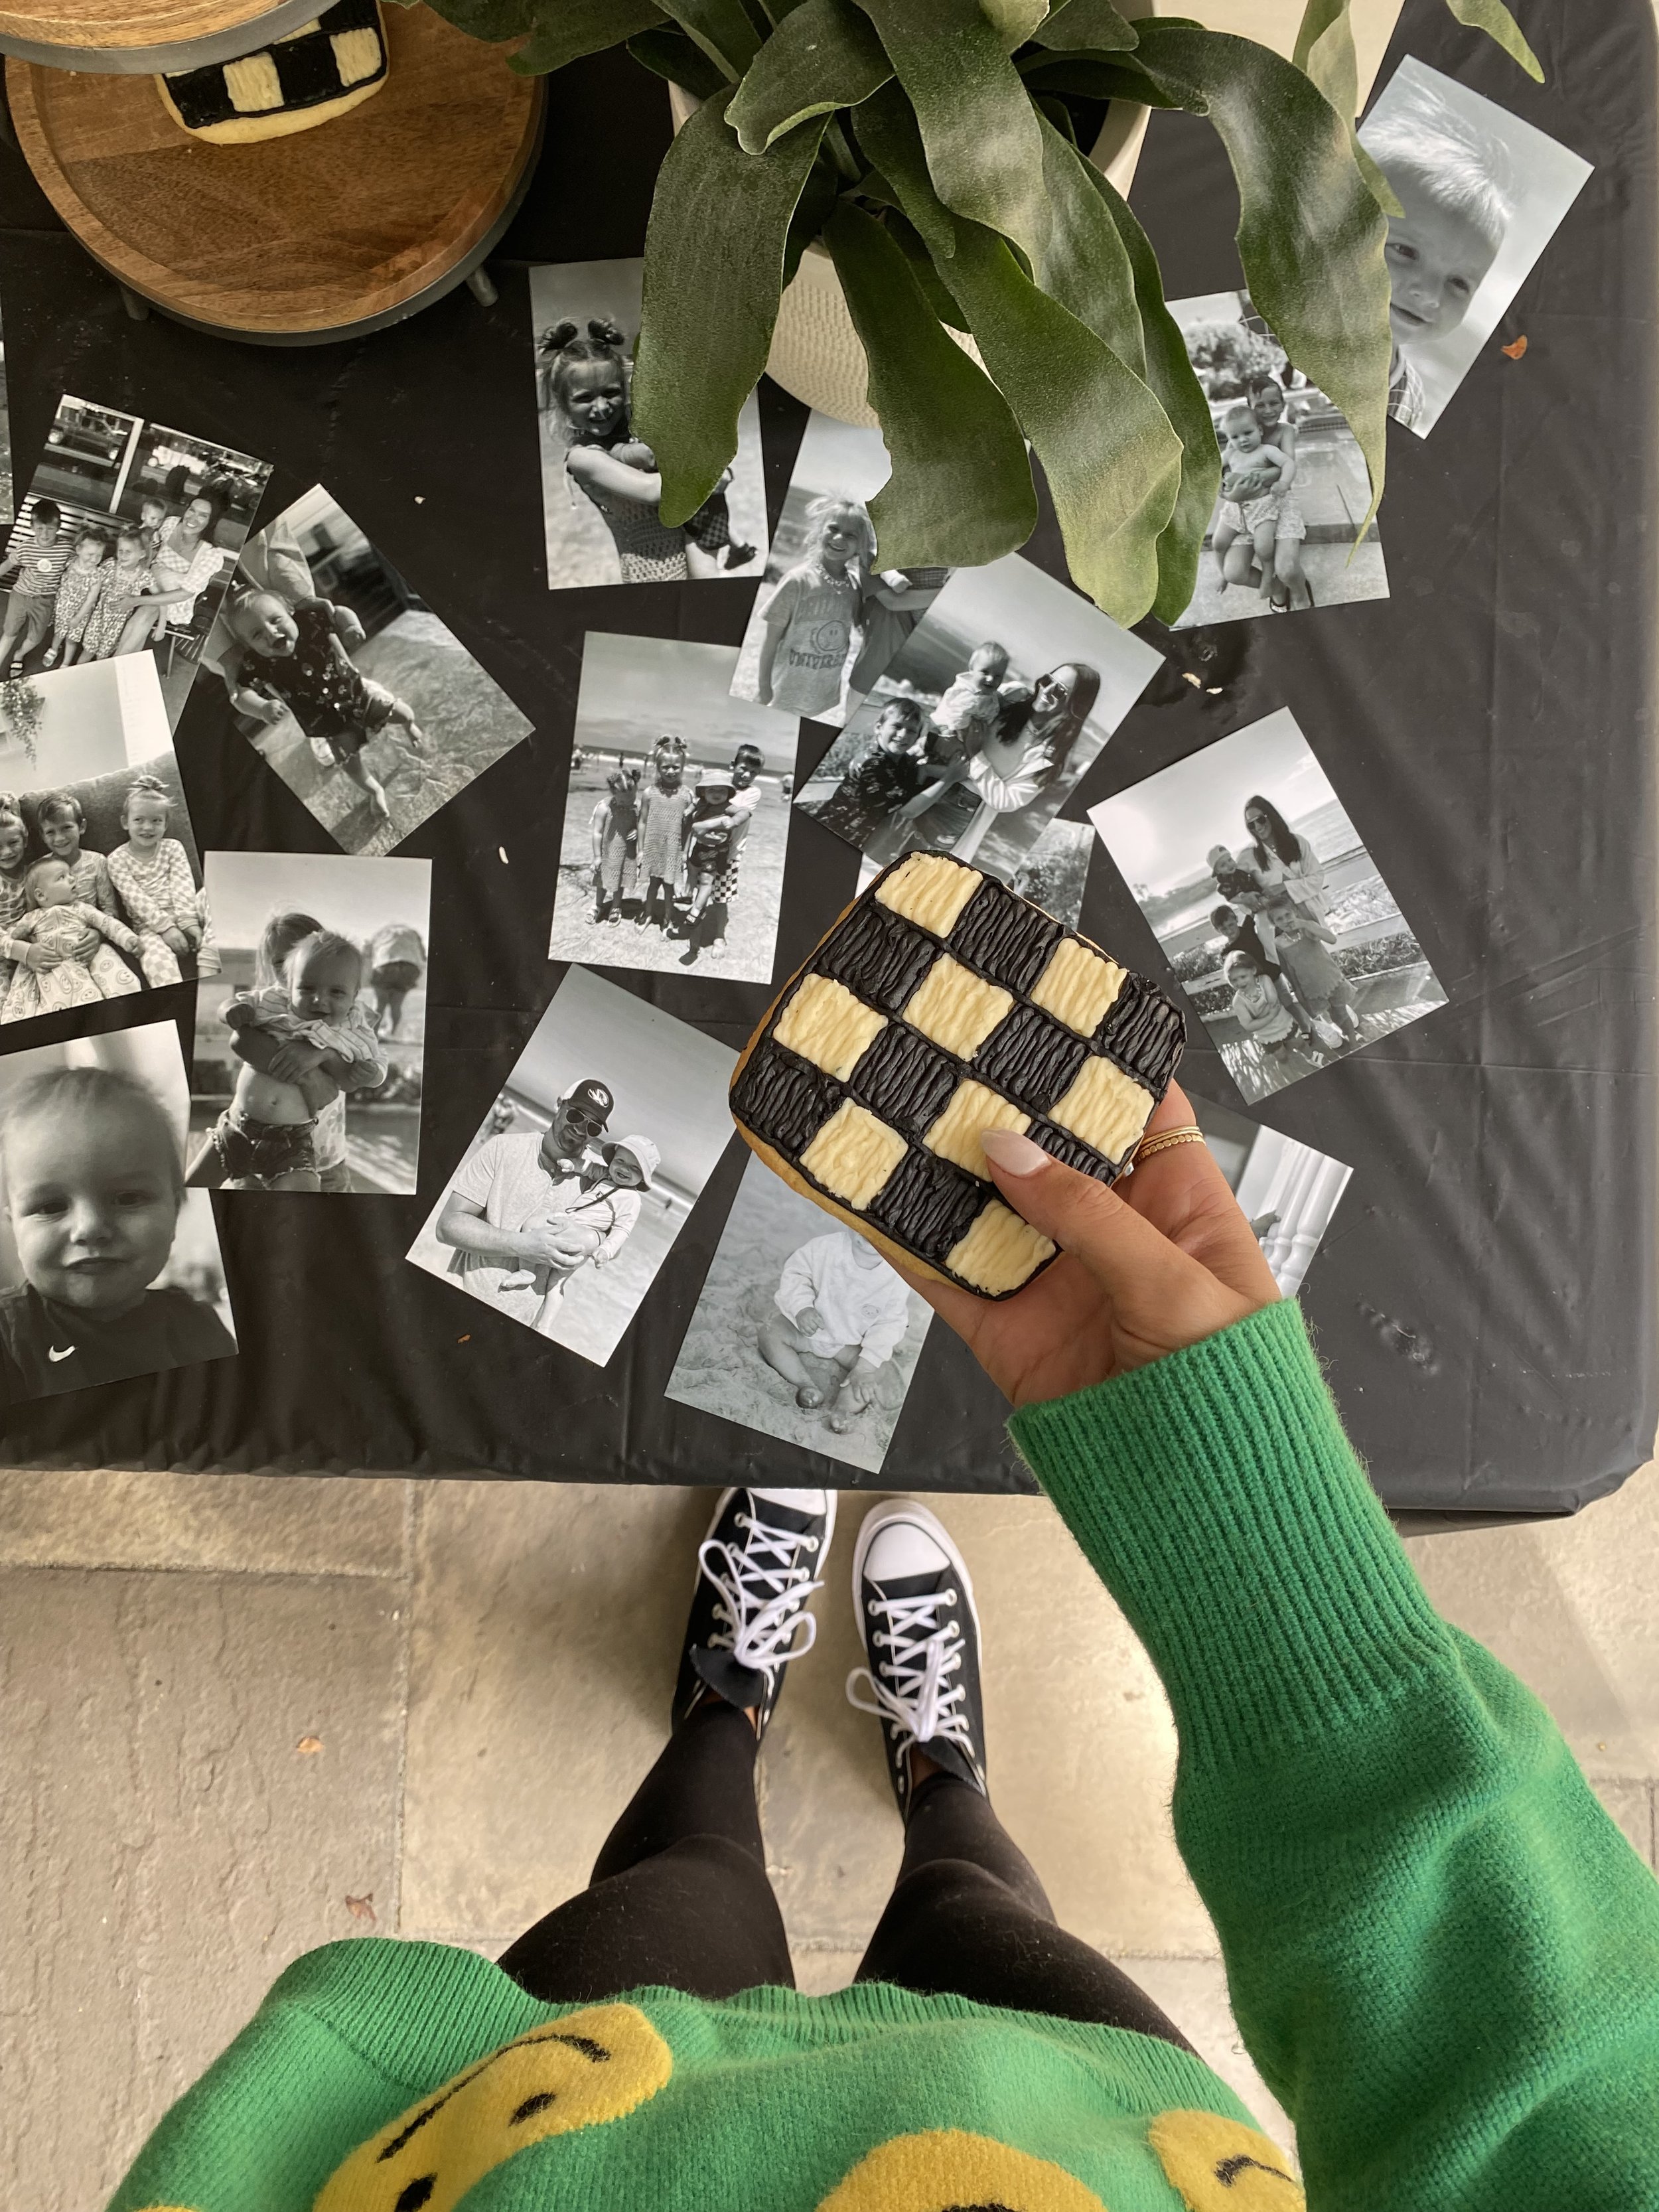
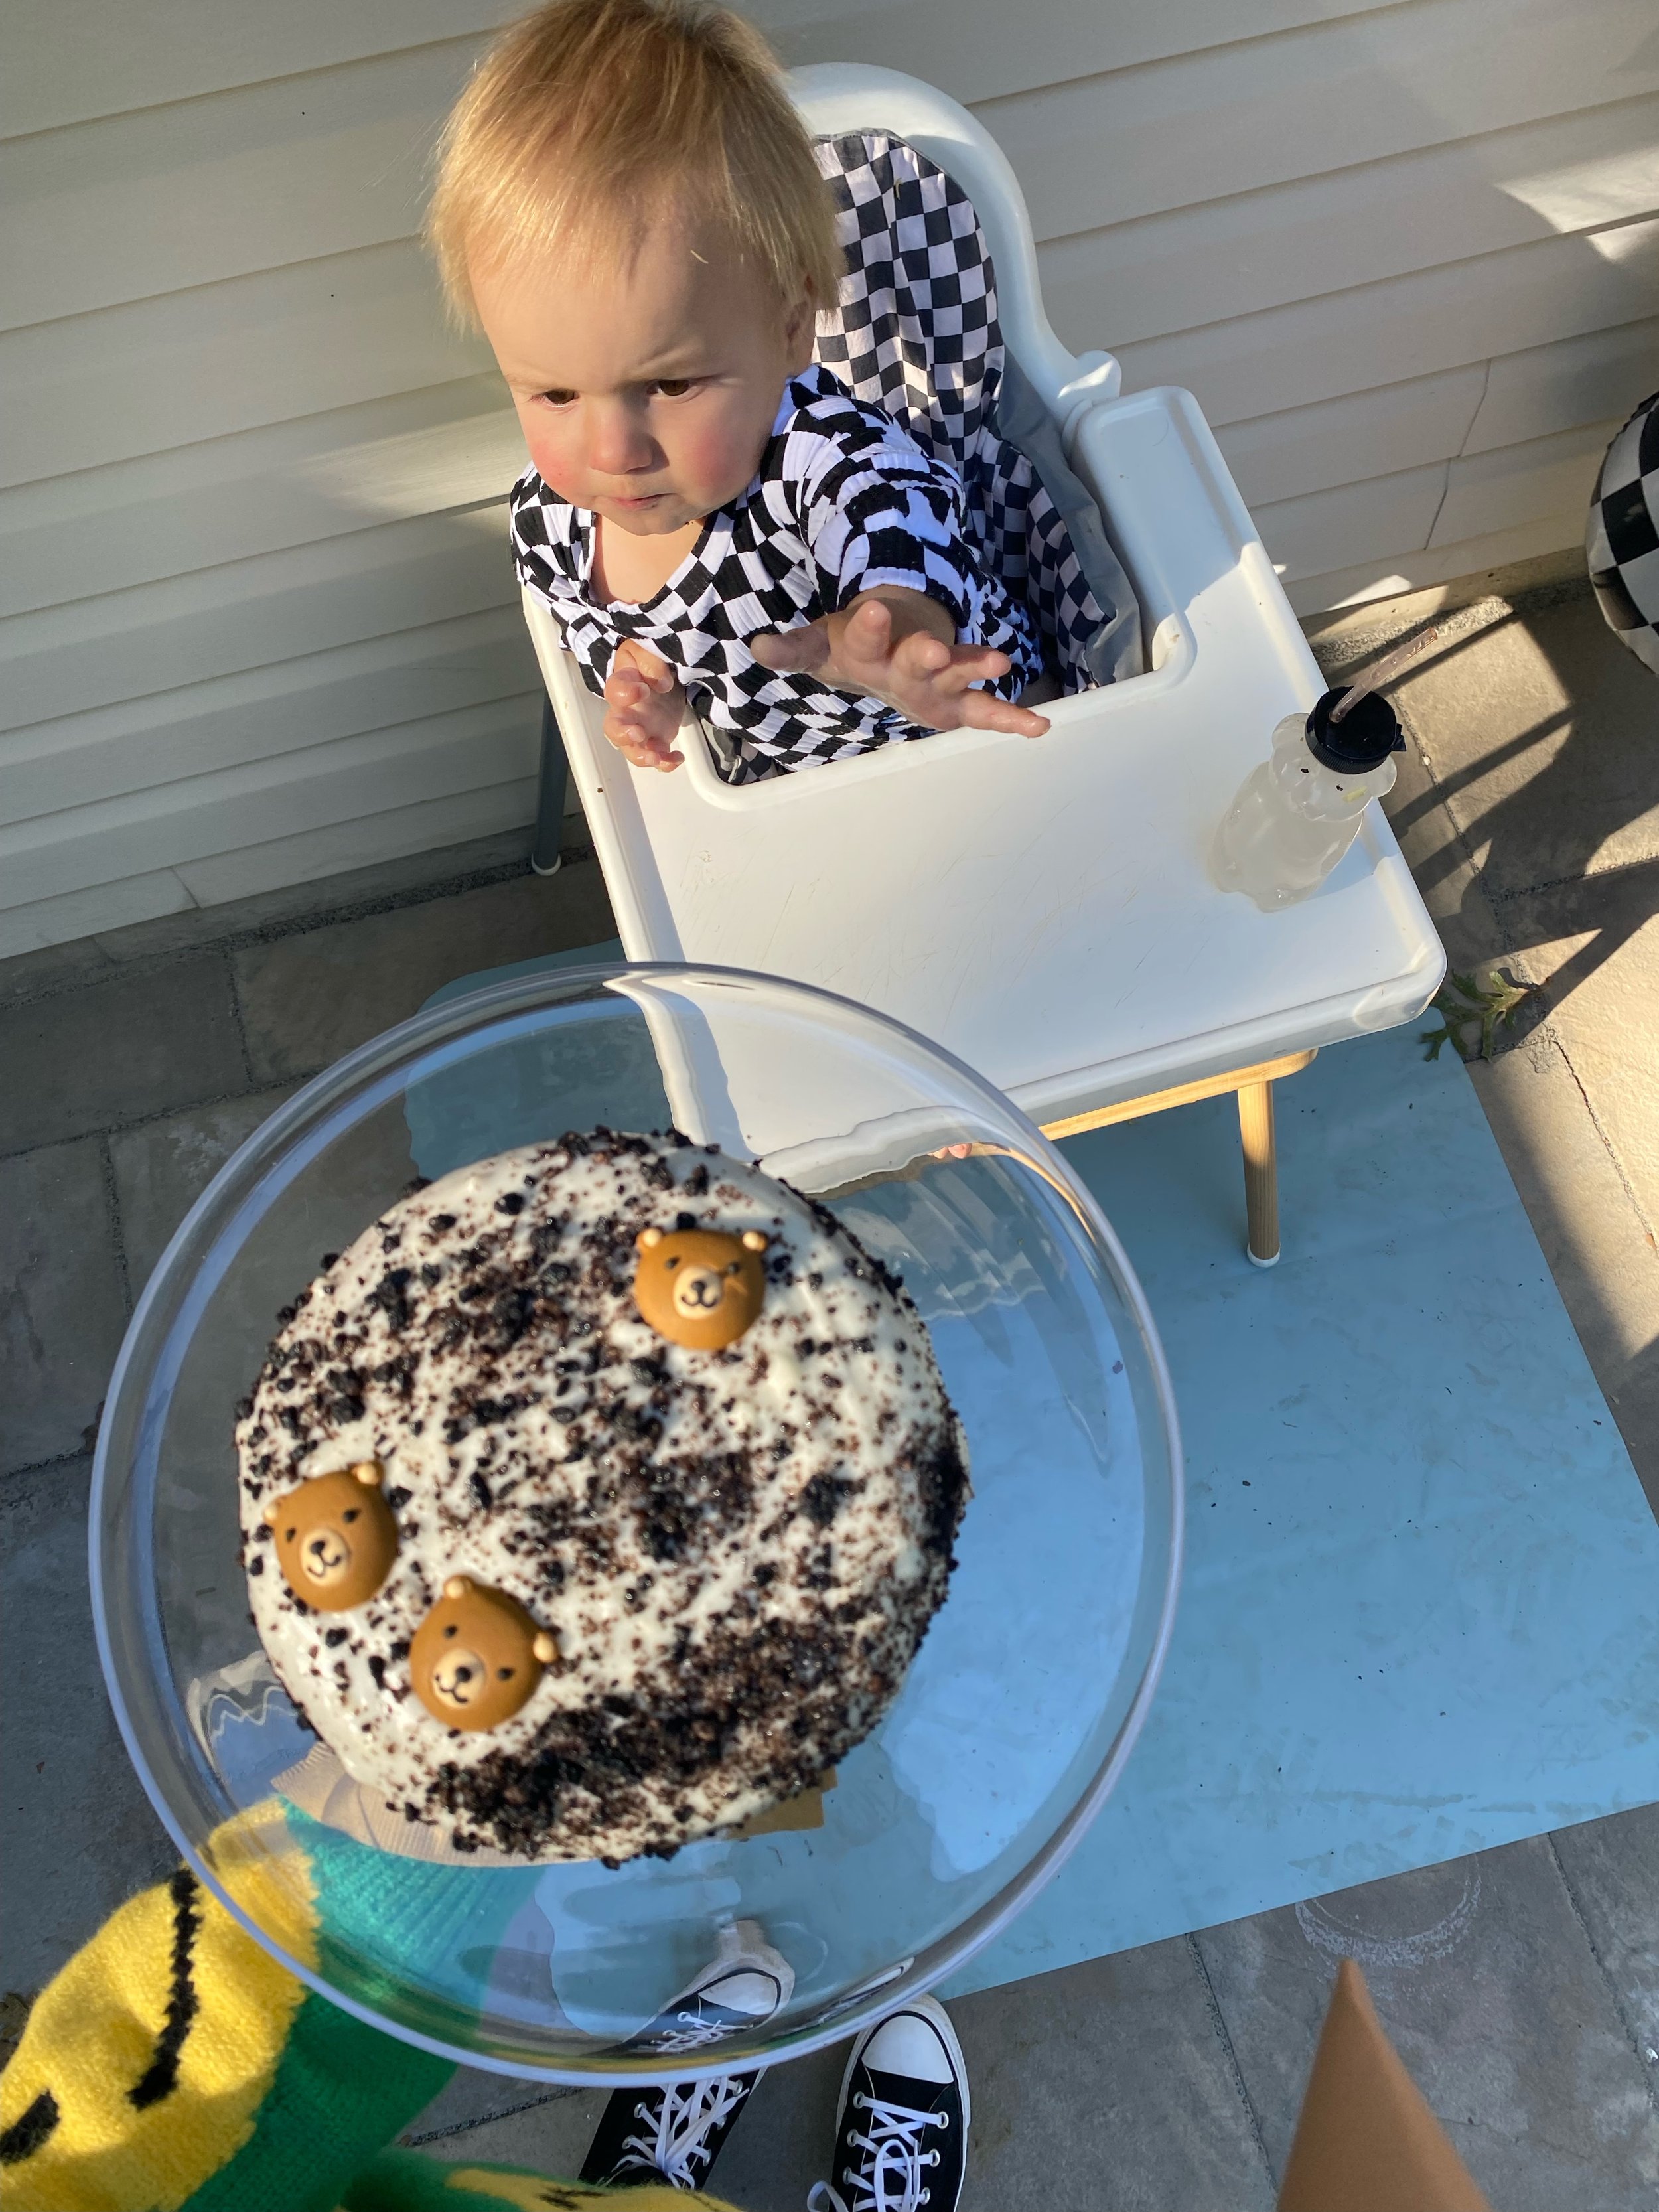
For our son, Teddy’s, first birthday— my husband wanted to do teddy bears as the theme and I wanted to do more of a skater theme— so, we ended up combining the two! Some teddy bears with a side of checkerboard— hadn’t seen it done and it was just what we needed!

Step 2: Space
I know this seems like.. duh. But I mean this as more than just “the party will be at our house”— but where in/around your house will you host the party? What does this space look like? How much room is there? Will it be inside or outside? How much room for decoration/extra tables/etc? This will help you answer questions for logistics as well as decorating— “I know I want a balloon arch, is there room for that?”, “Is there room for an extra card table to set up?”, “Is there a place to put the food if it needs plugged in?”. All of those types of hard hitting questions will help so much moving forward.
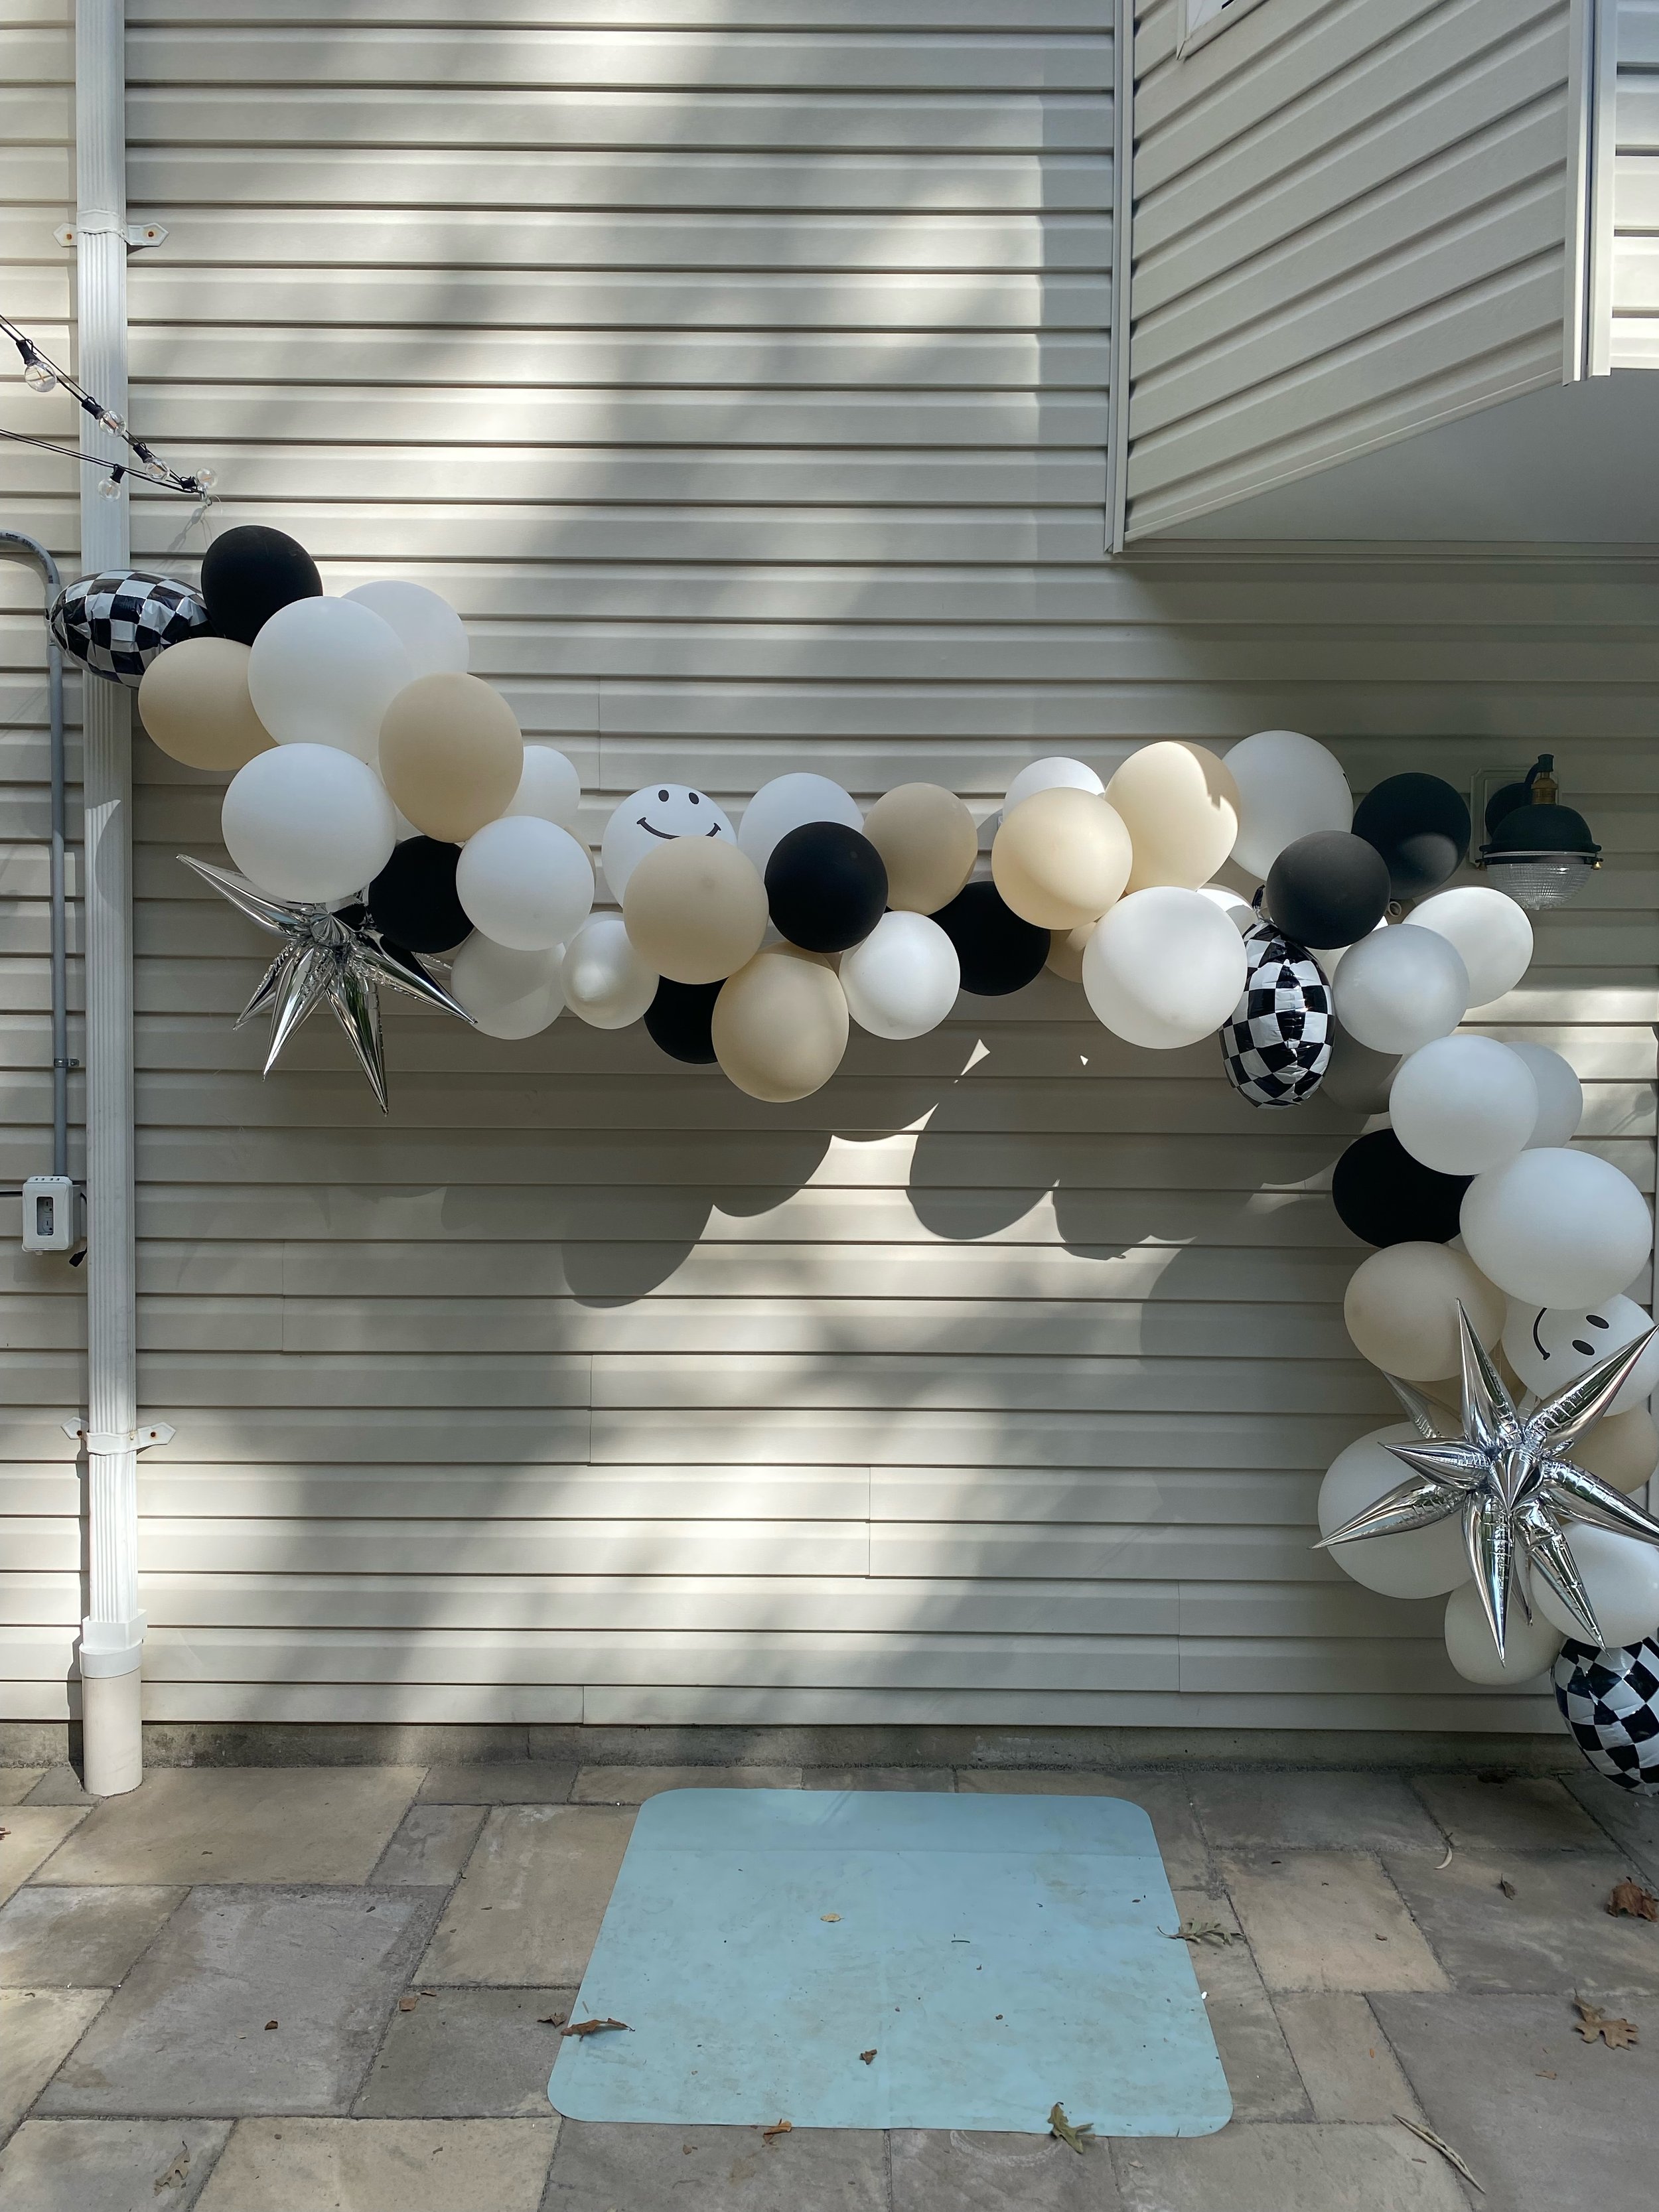
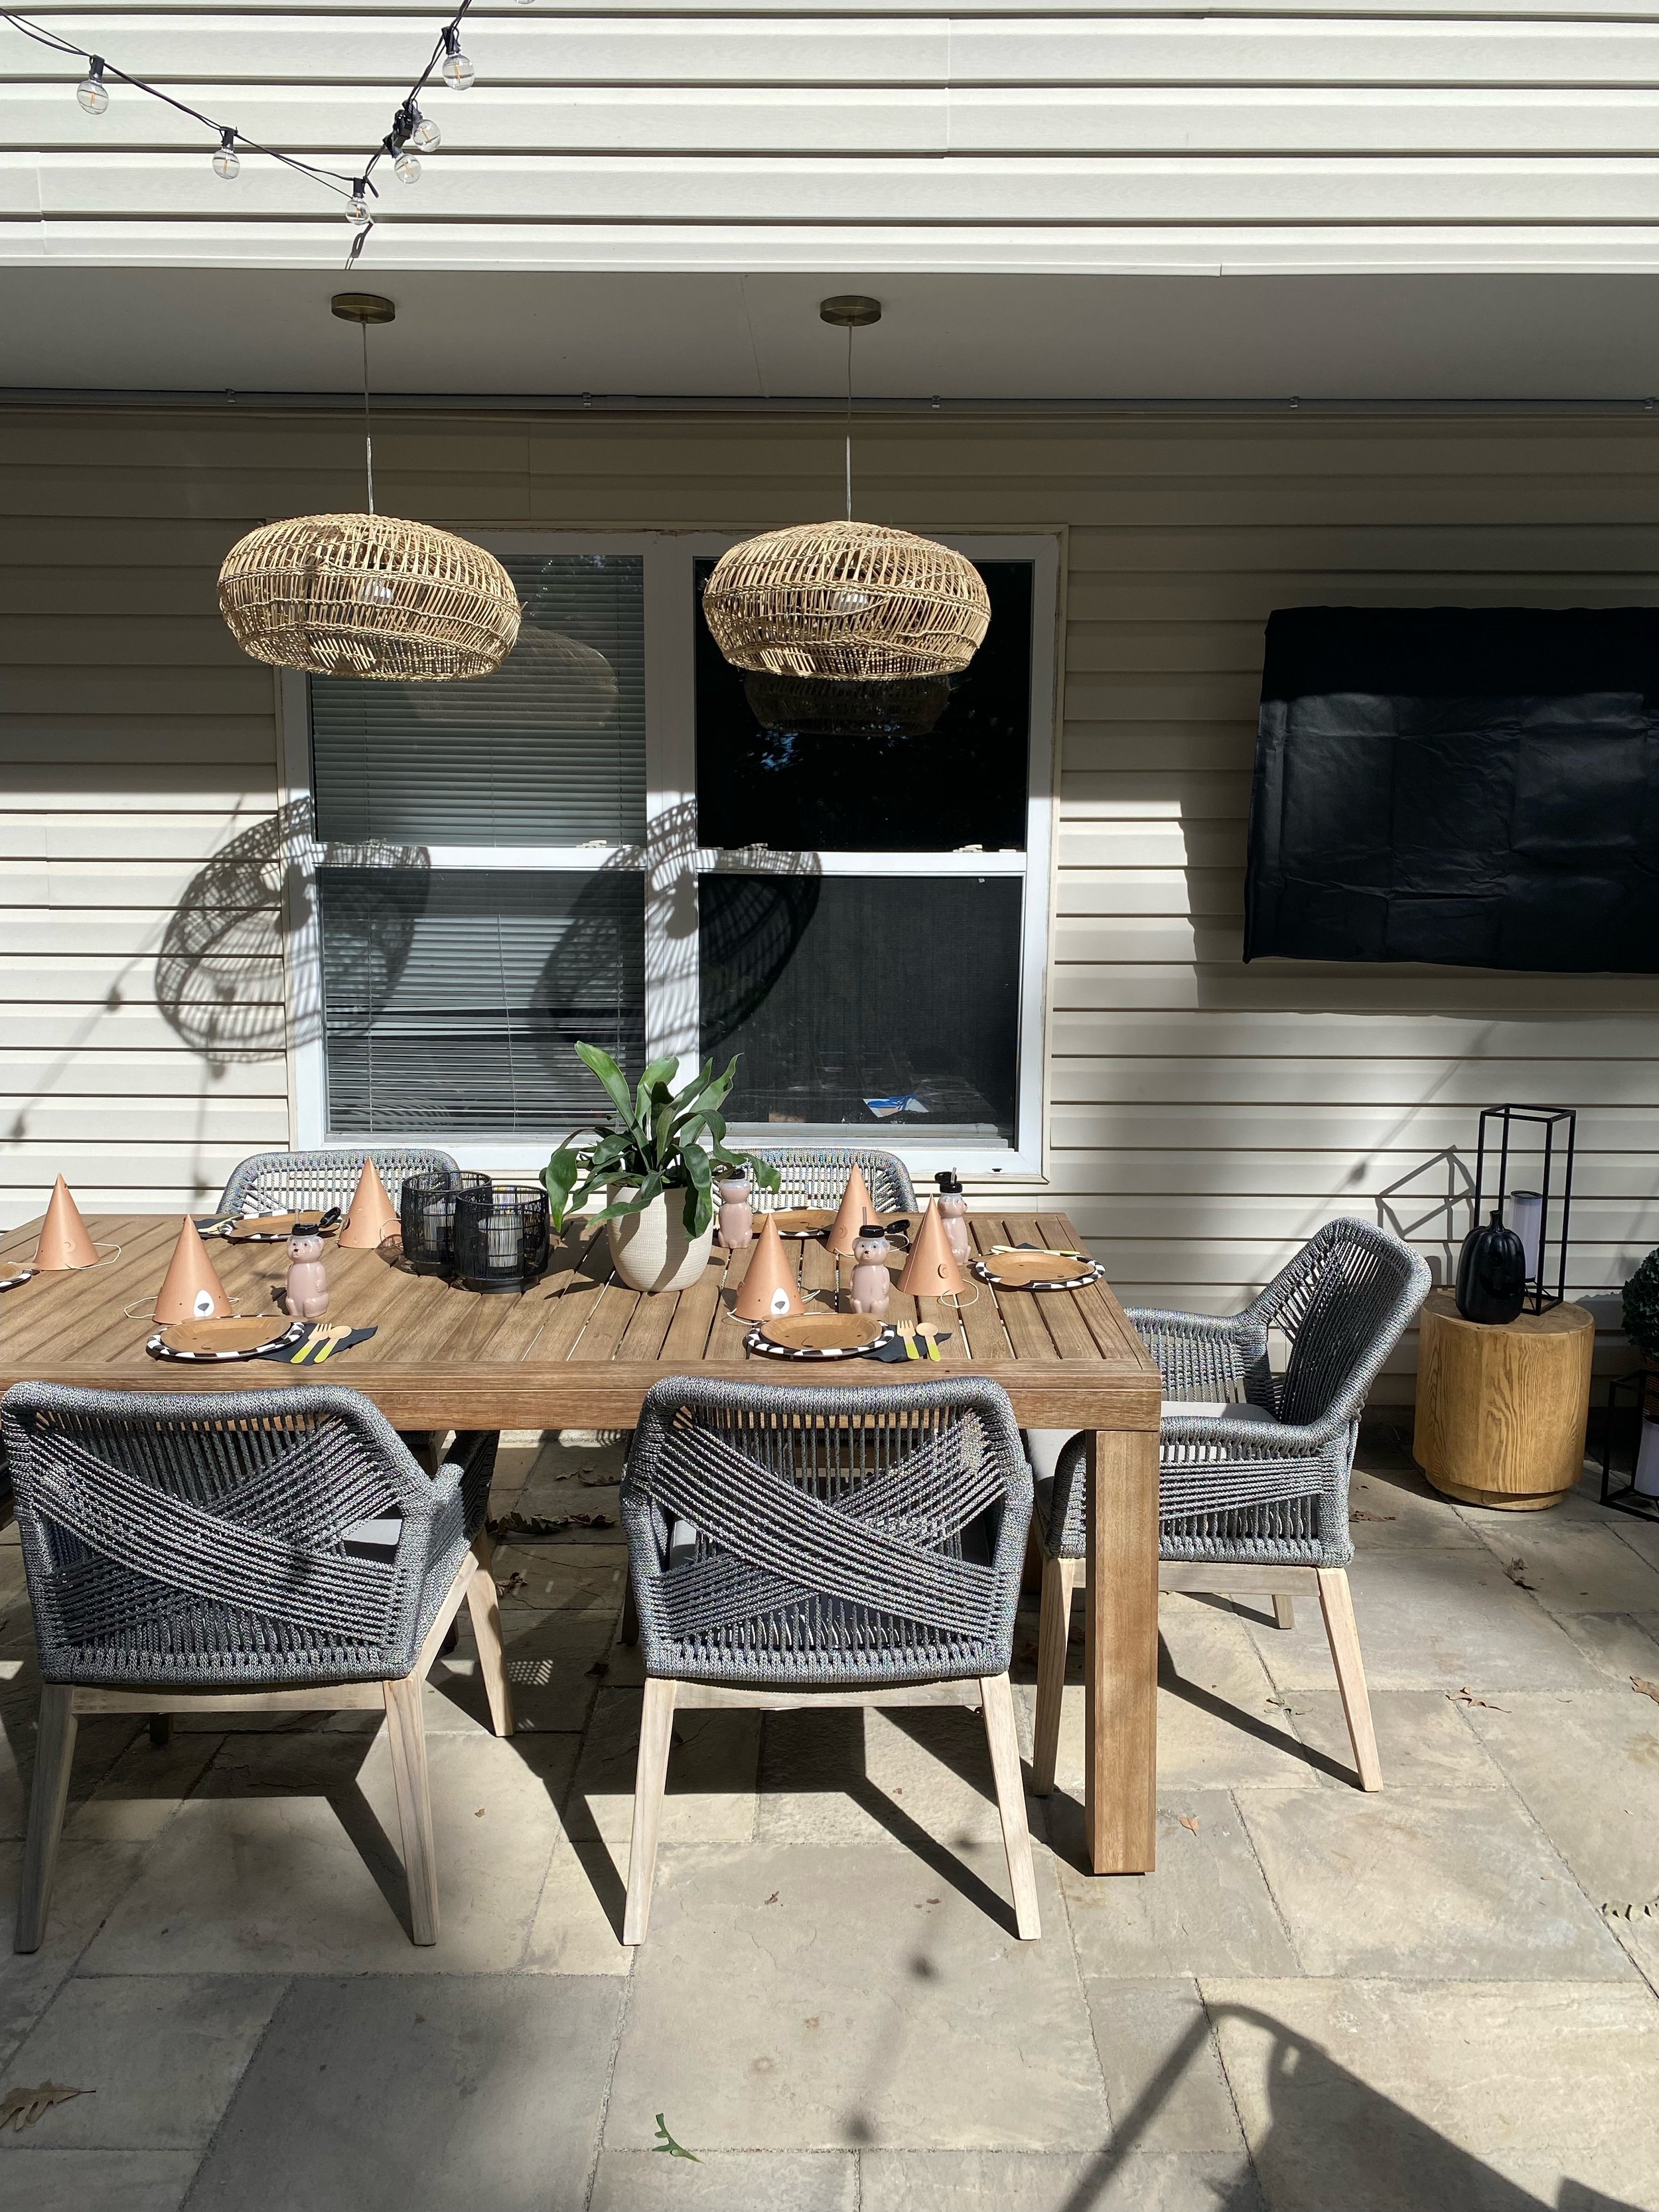
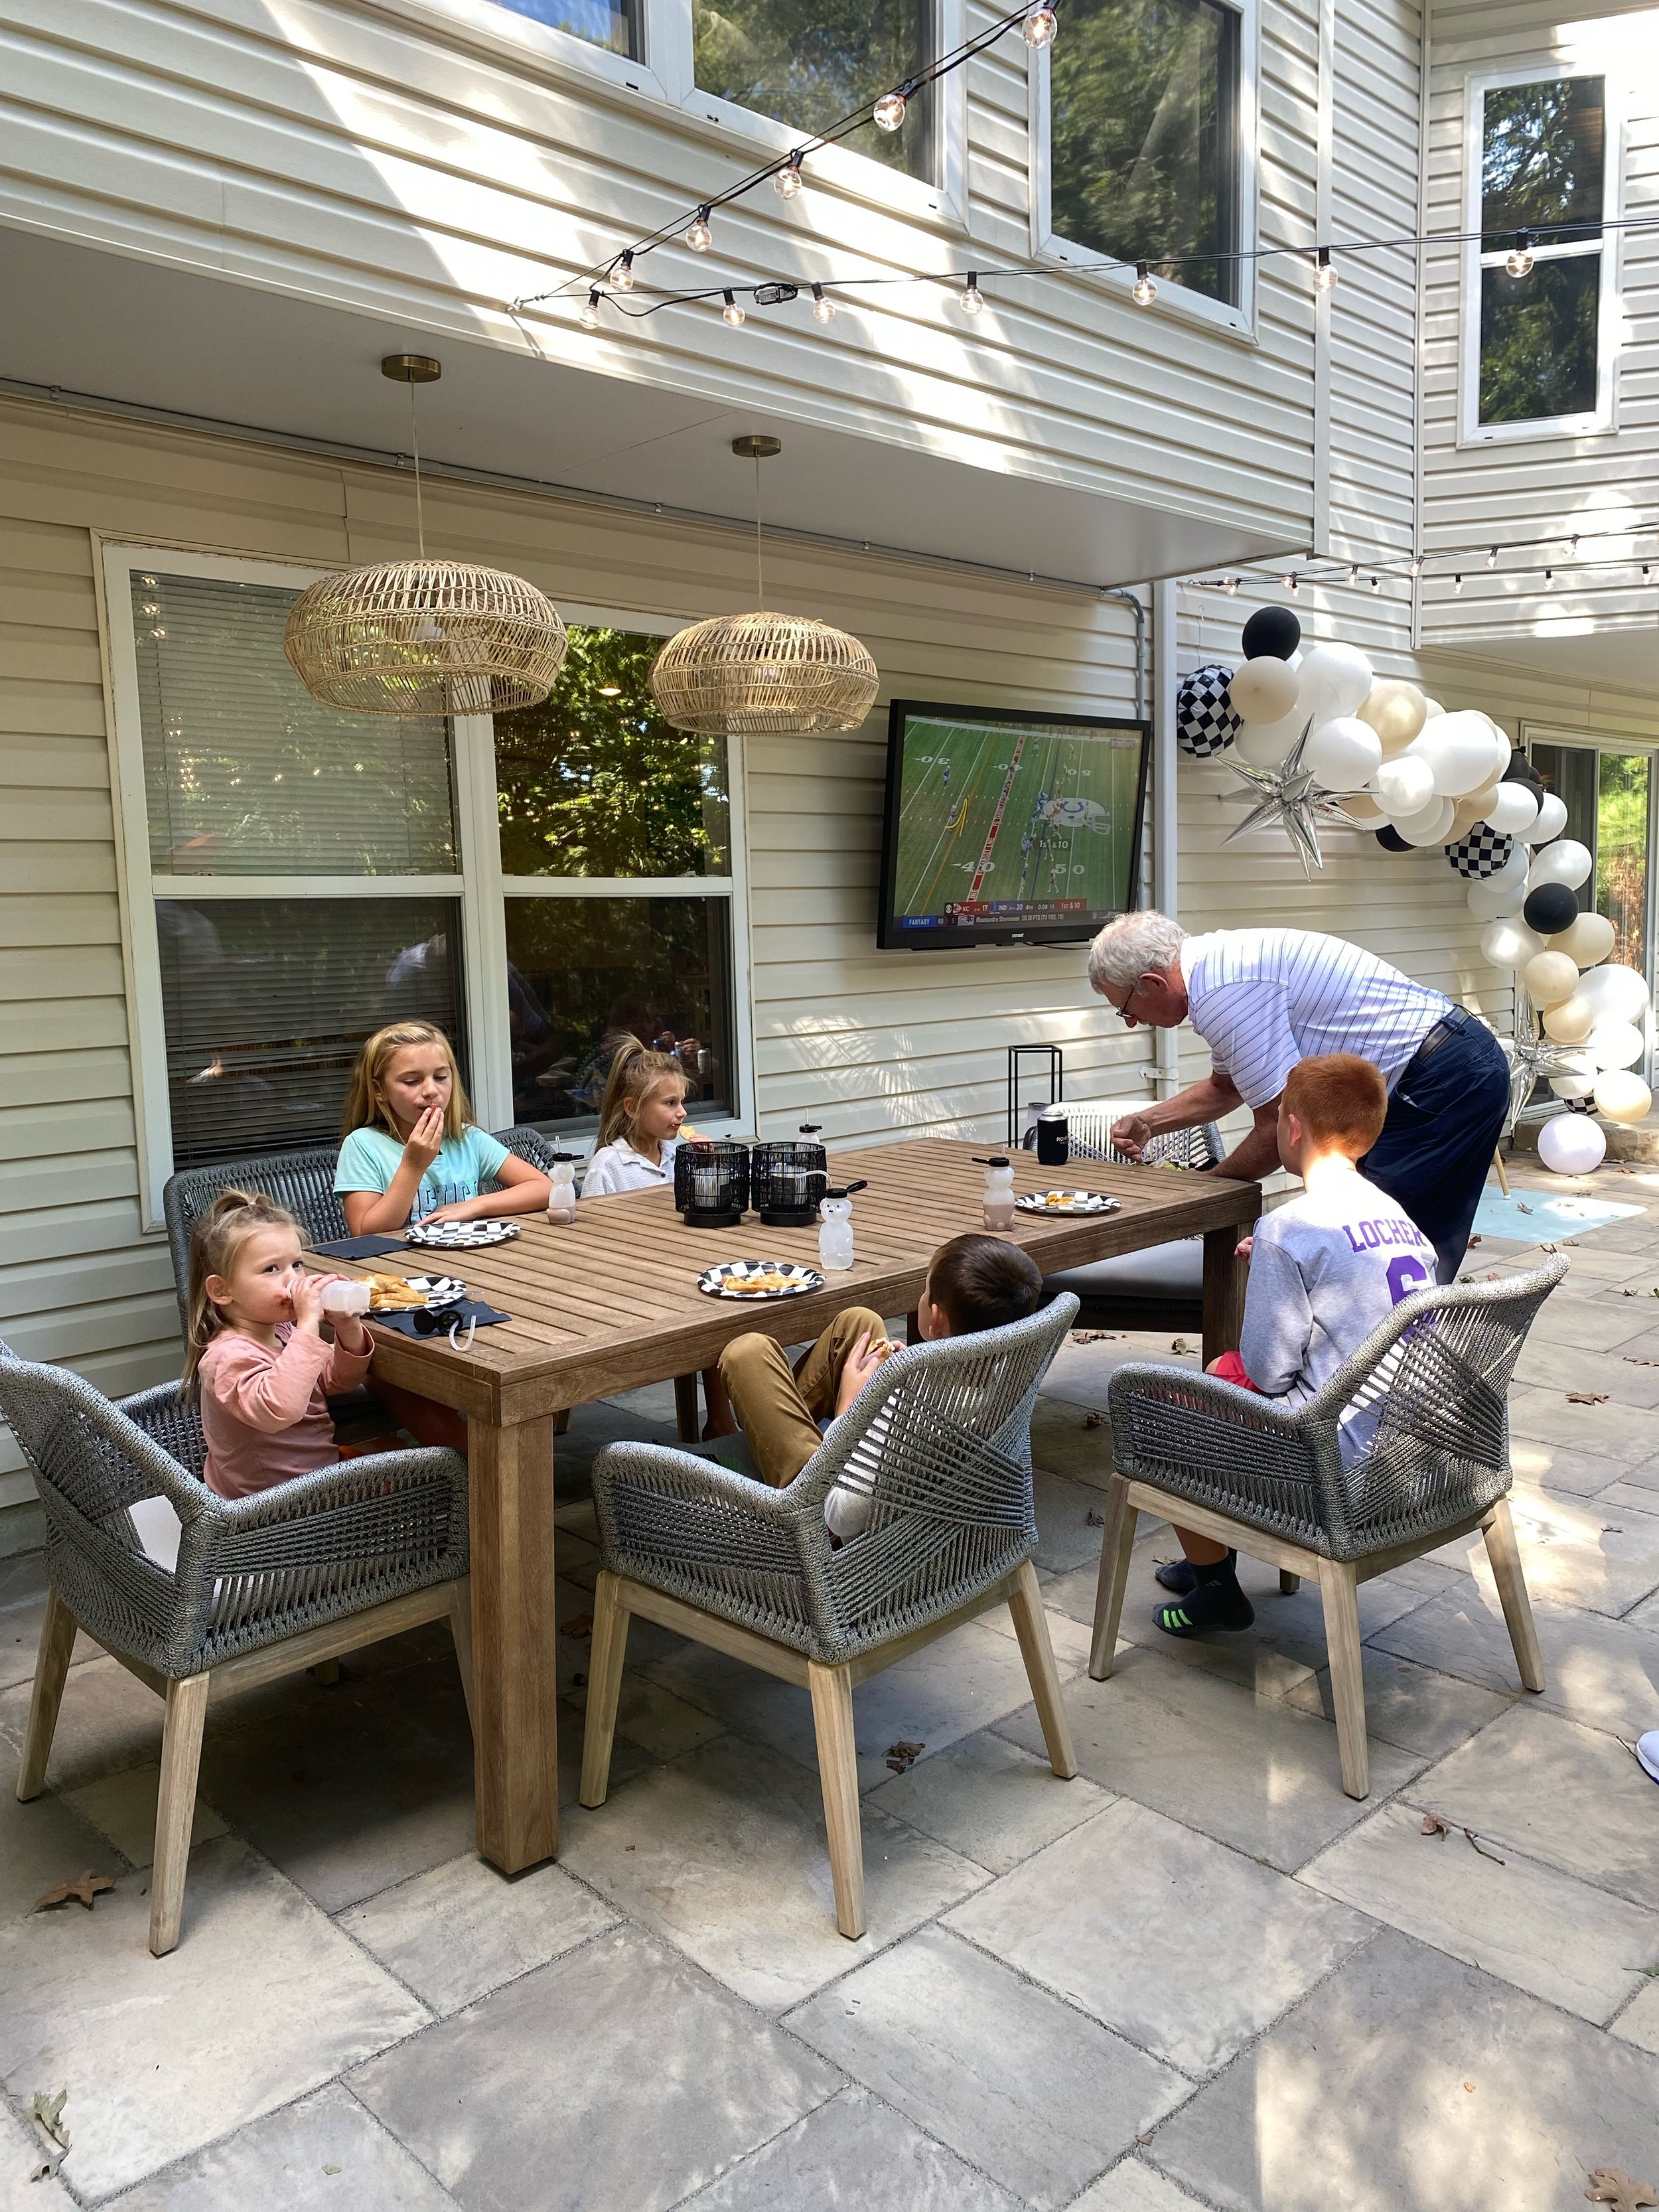
For Teddy’s party, we knew that we would be hosting it outside on the patio. There was plenty of room for the balloon arch we wanted, we had a table and chairs out there already for seating and plenty of room for extra tables, the mess would be easy to cleanup, and nature itself did part of the decorating! It would also likely be wonderful weather since it’s in the fall.
Step 3: Statement Piece
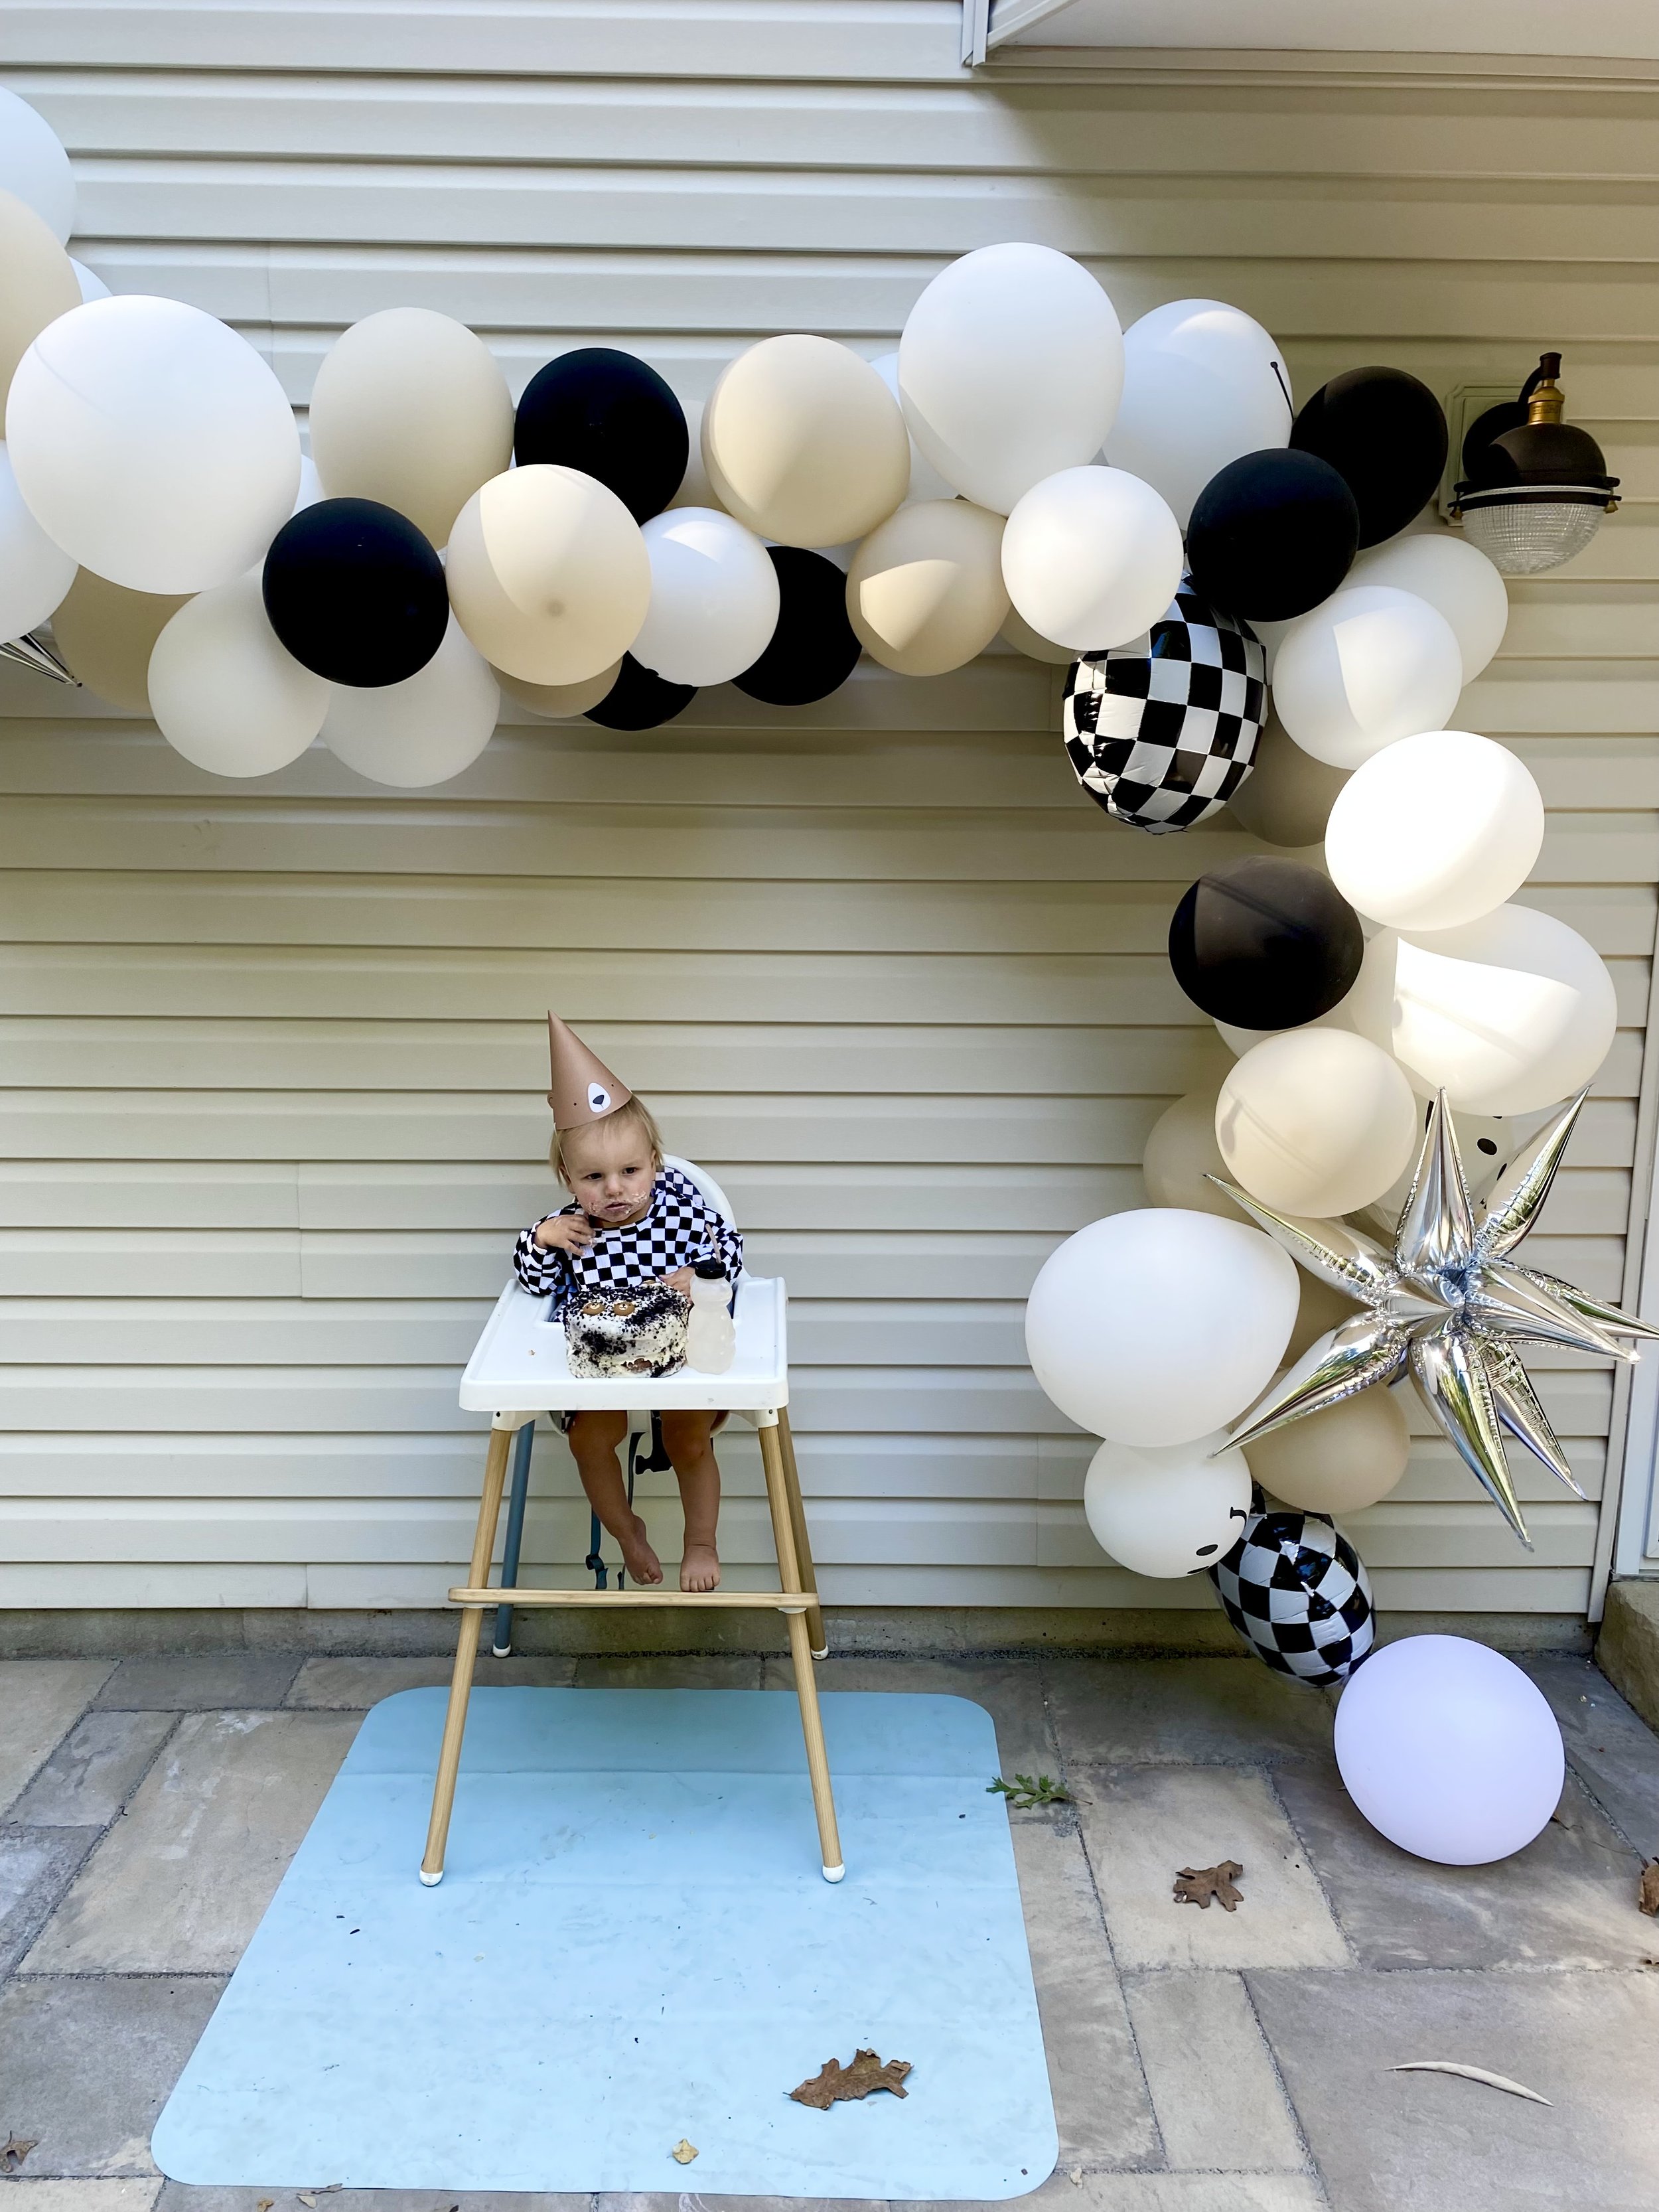
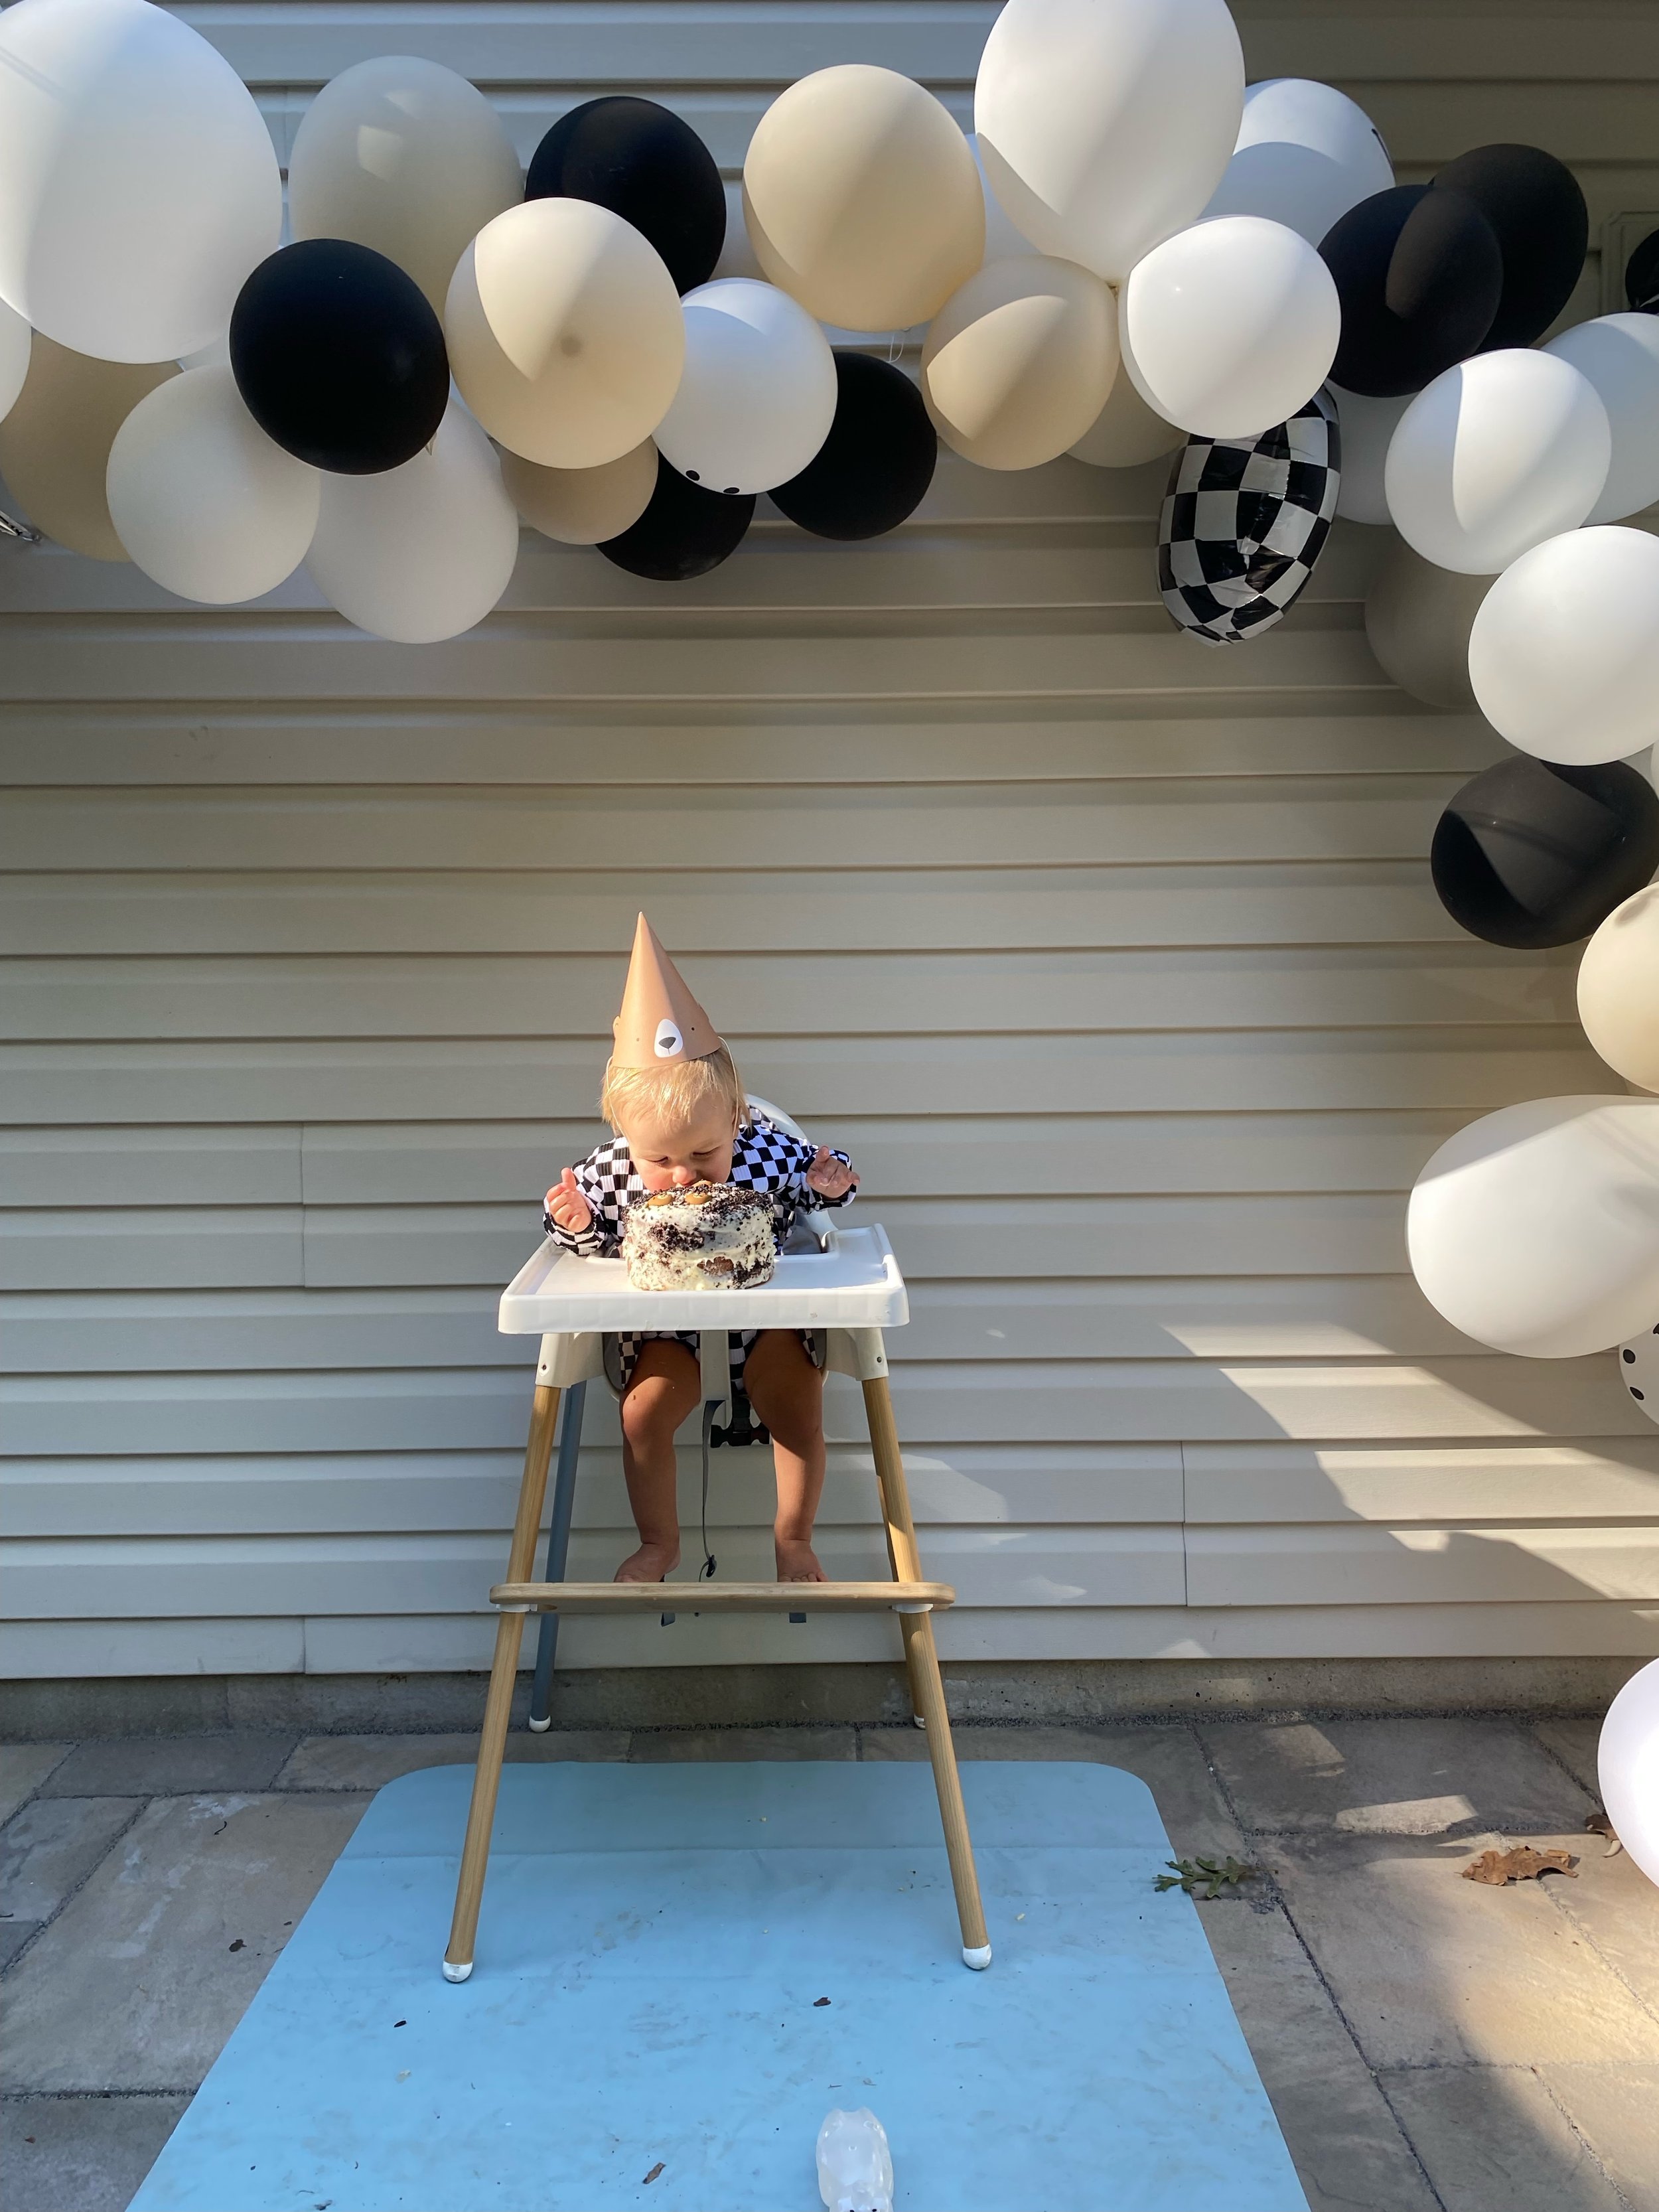
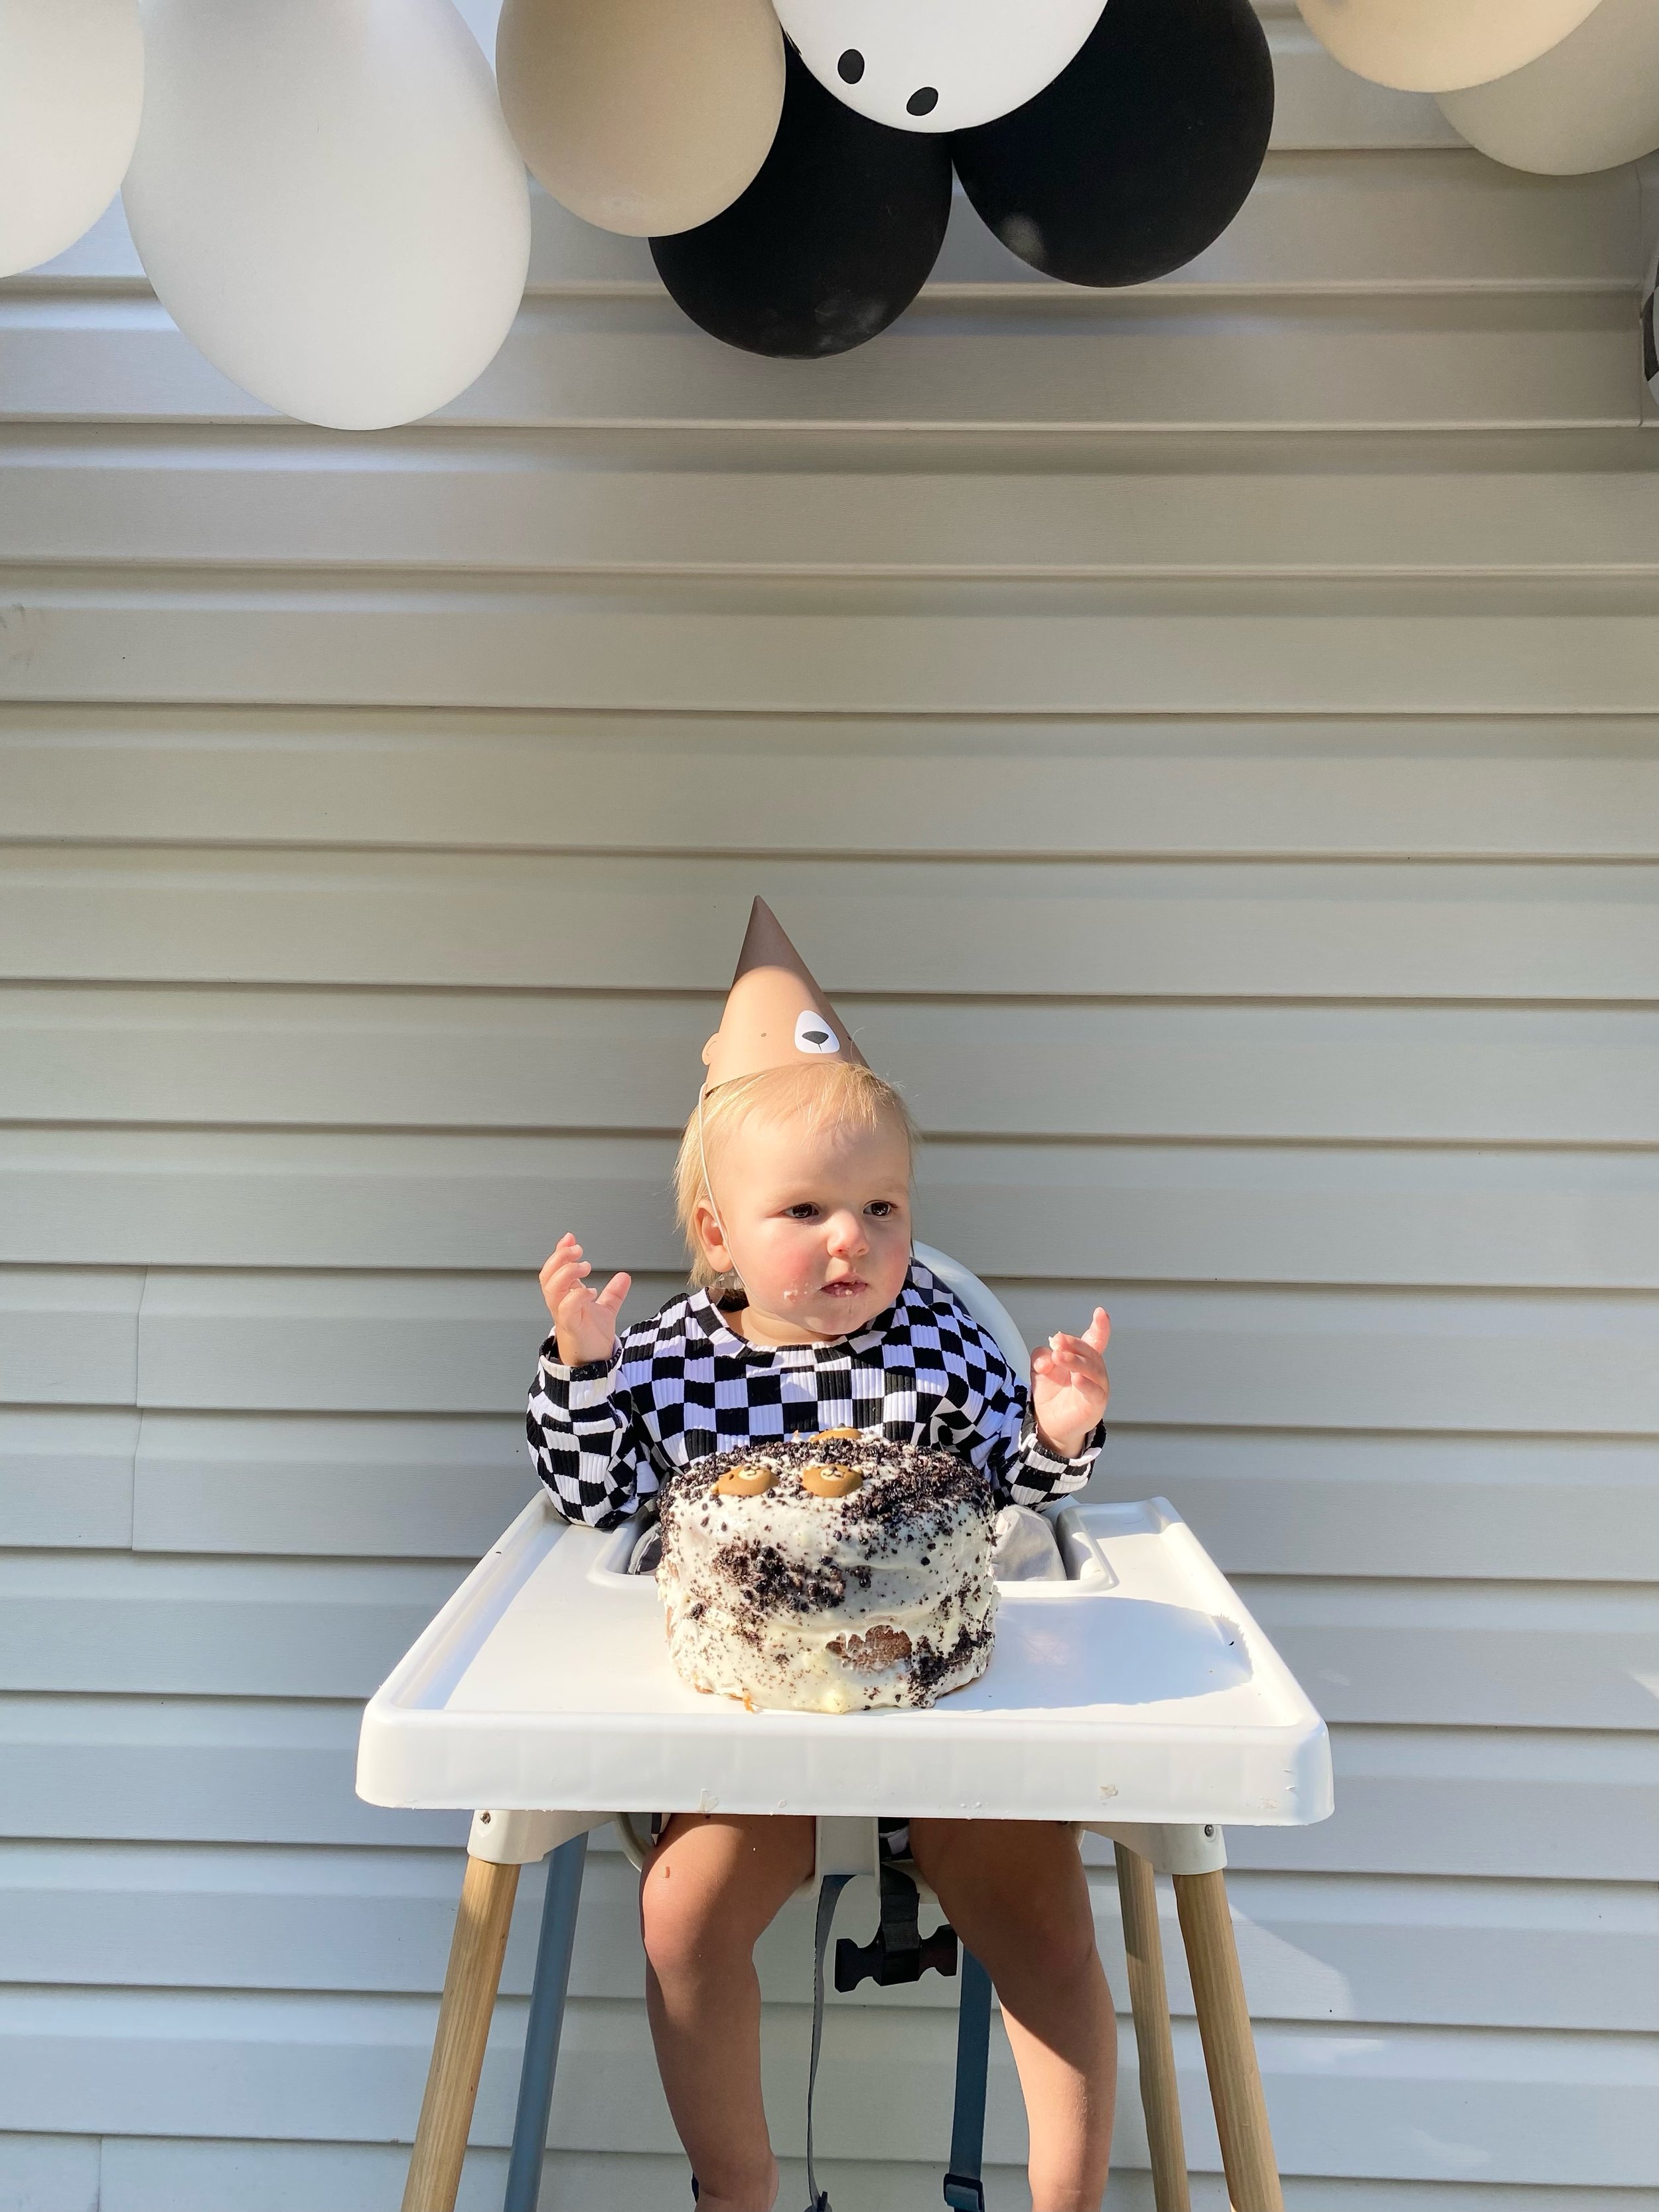
Now that you chose the theme and space you’d be hosting this party, it can be helpful to consider a “statement piece” for your party. This can be as simple or complex as you want it to be, but is really the “head honcho” of party decorations, driving the rest of the party decor. Think of it this way: during the party, the attention/photos are all on your darling baby! Usually, they’re in their high chair “eating” their food and/or cake. This is usually a great place for that “statement piece”. It’ll be front and center with baby and makes for some amazing photos! This can vary based on what you’re wanting— a gold foil “1” balloon tied to the highchair, tassels along the front of the highchair, a bundle of themed balloons, a balloon arch, a backdrop, a chalkboard sign hanging behind them, their name spelled out with balloons, or even a name sign of some kind are just a few different ideas! I feel like once this is decided, everything else begins to fall into place with decor.
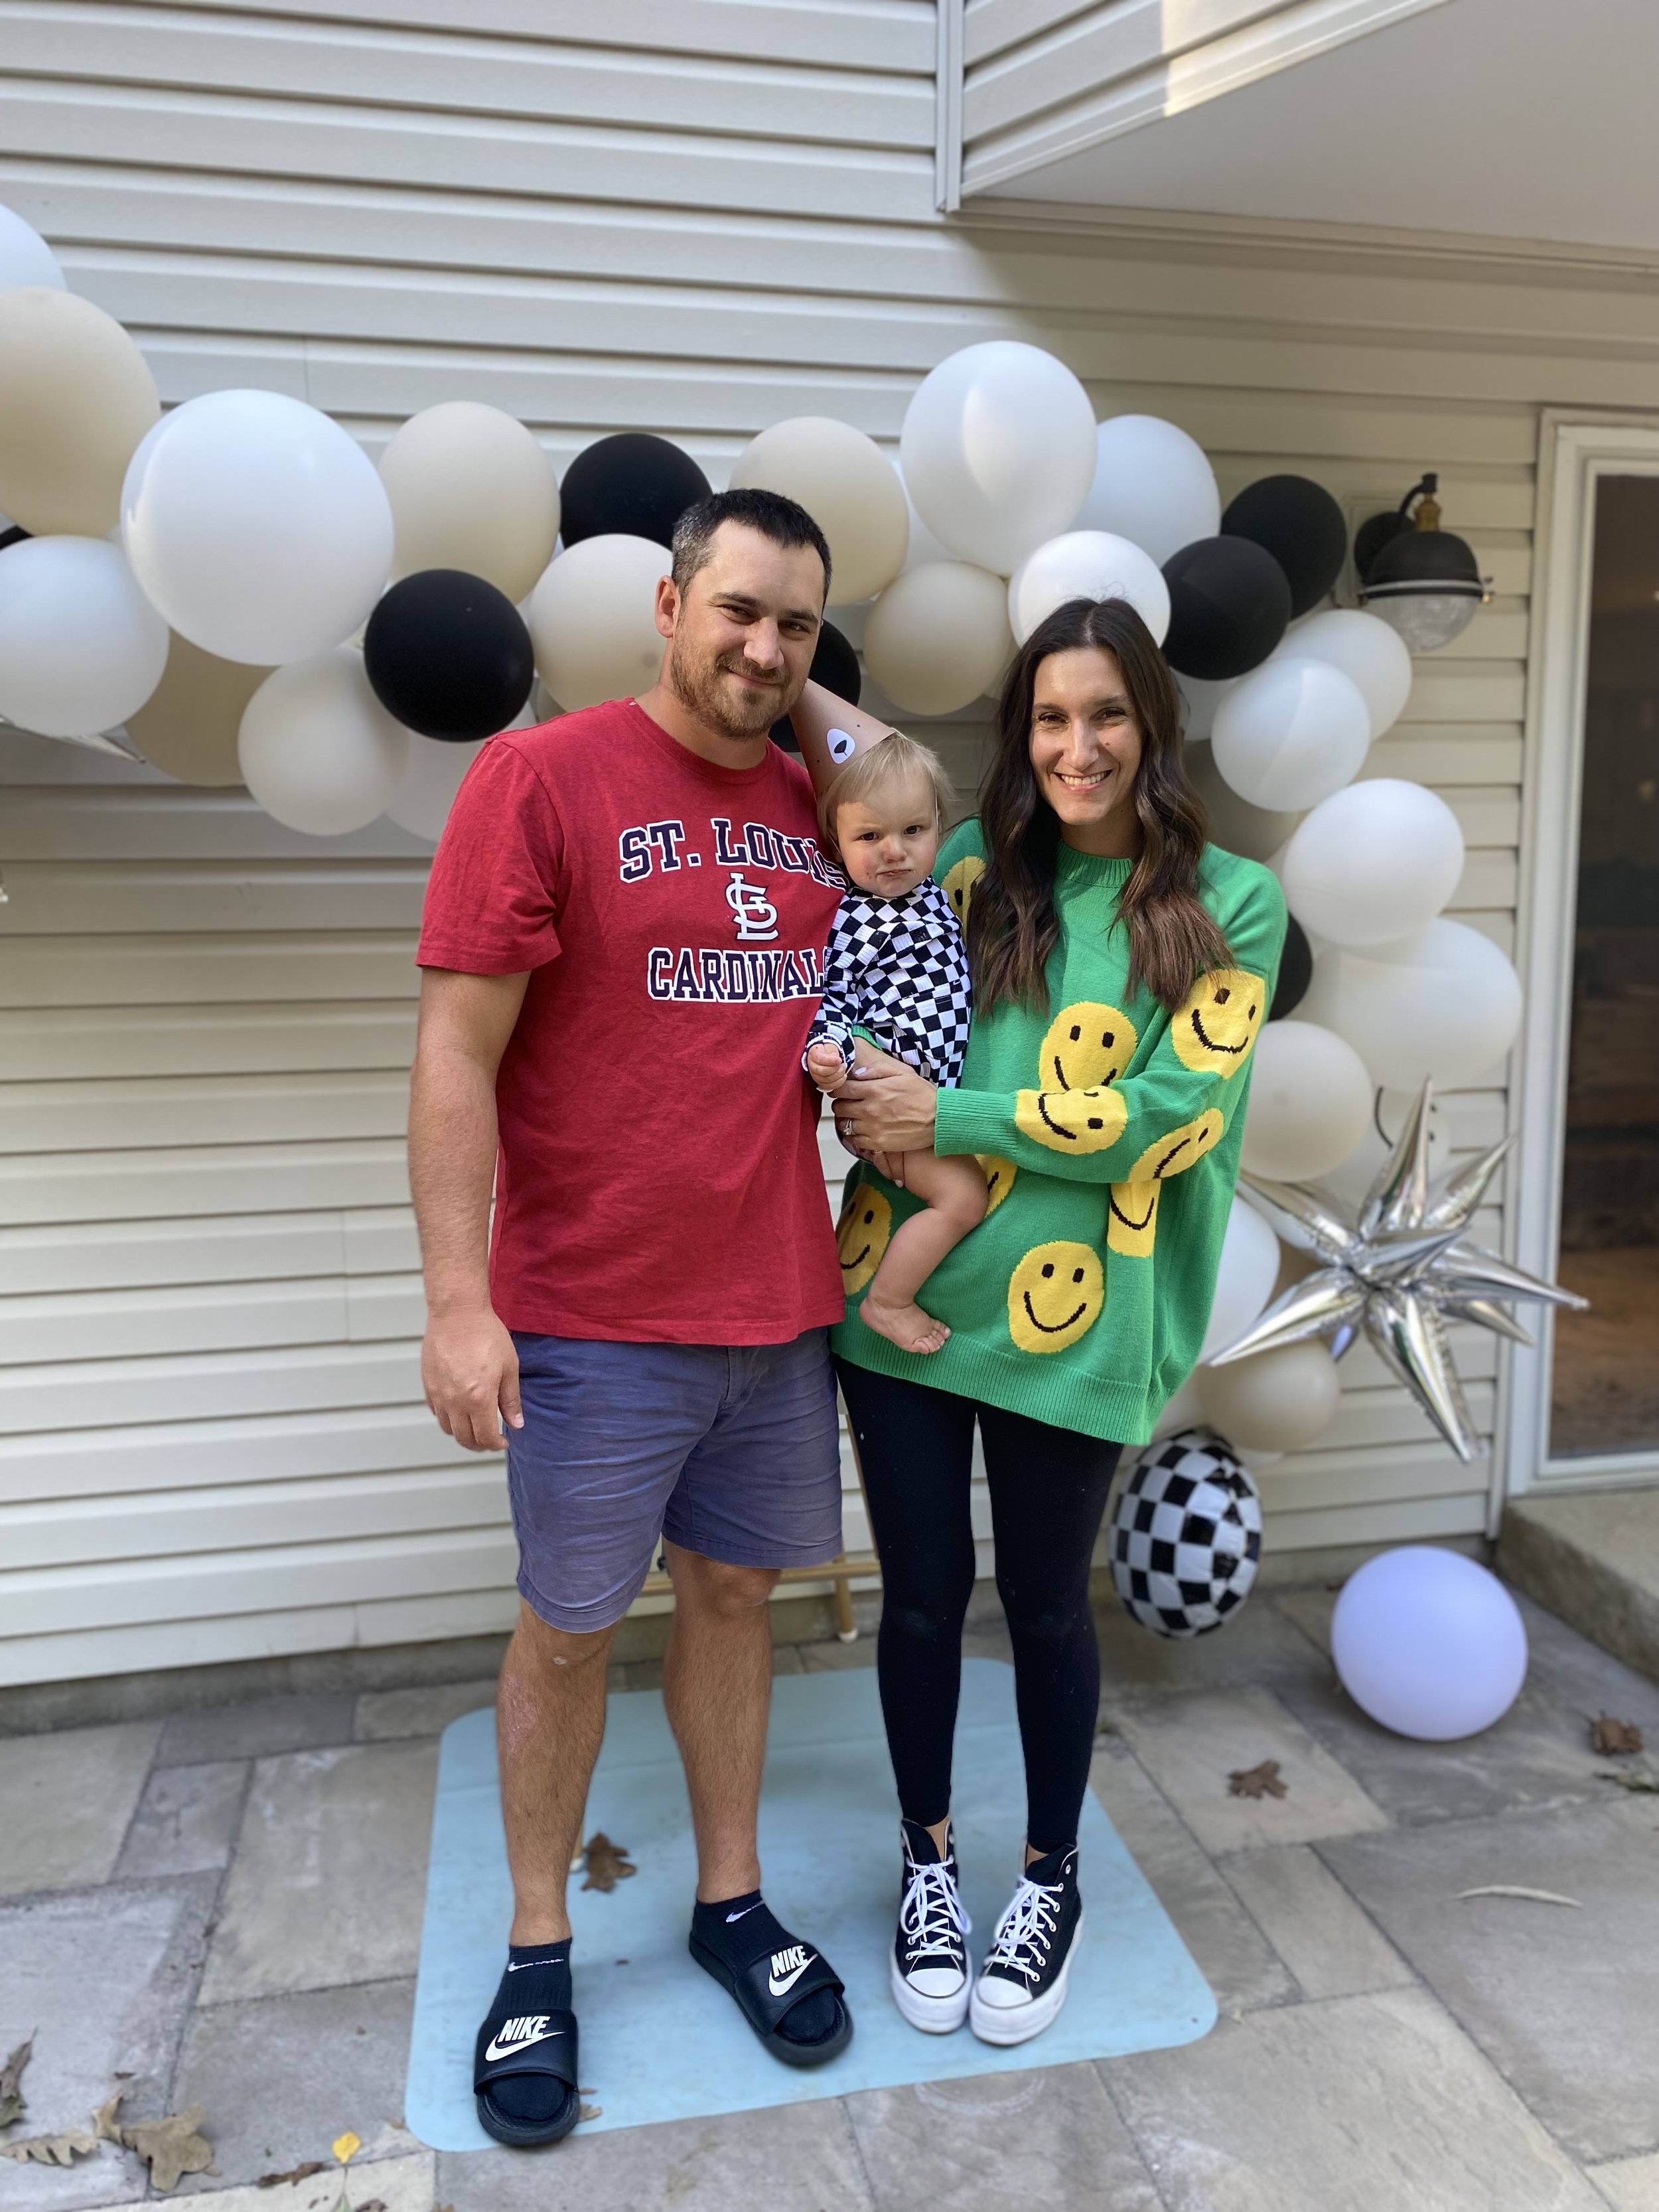
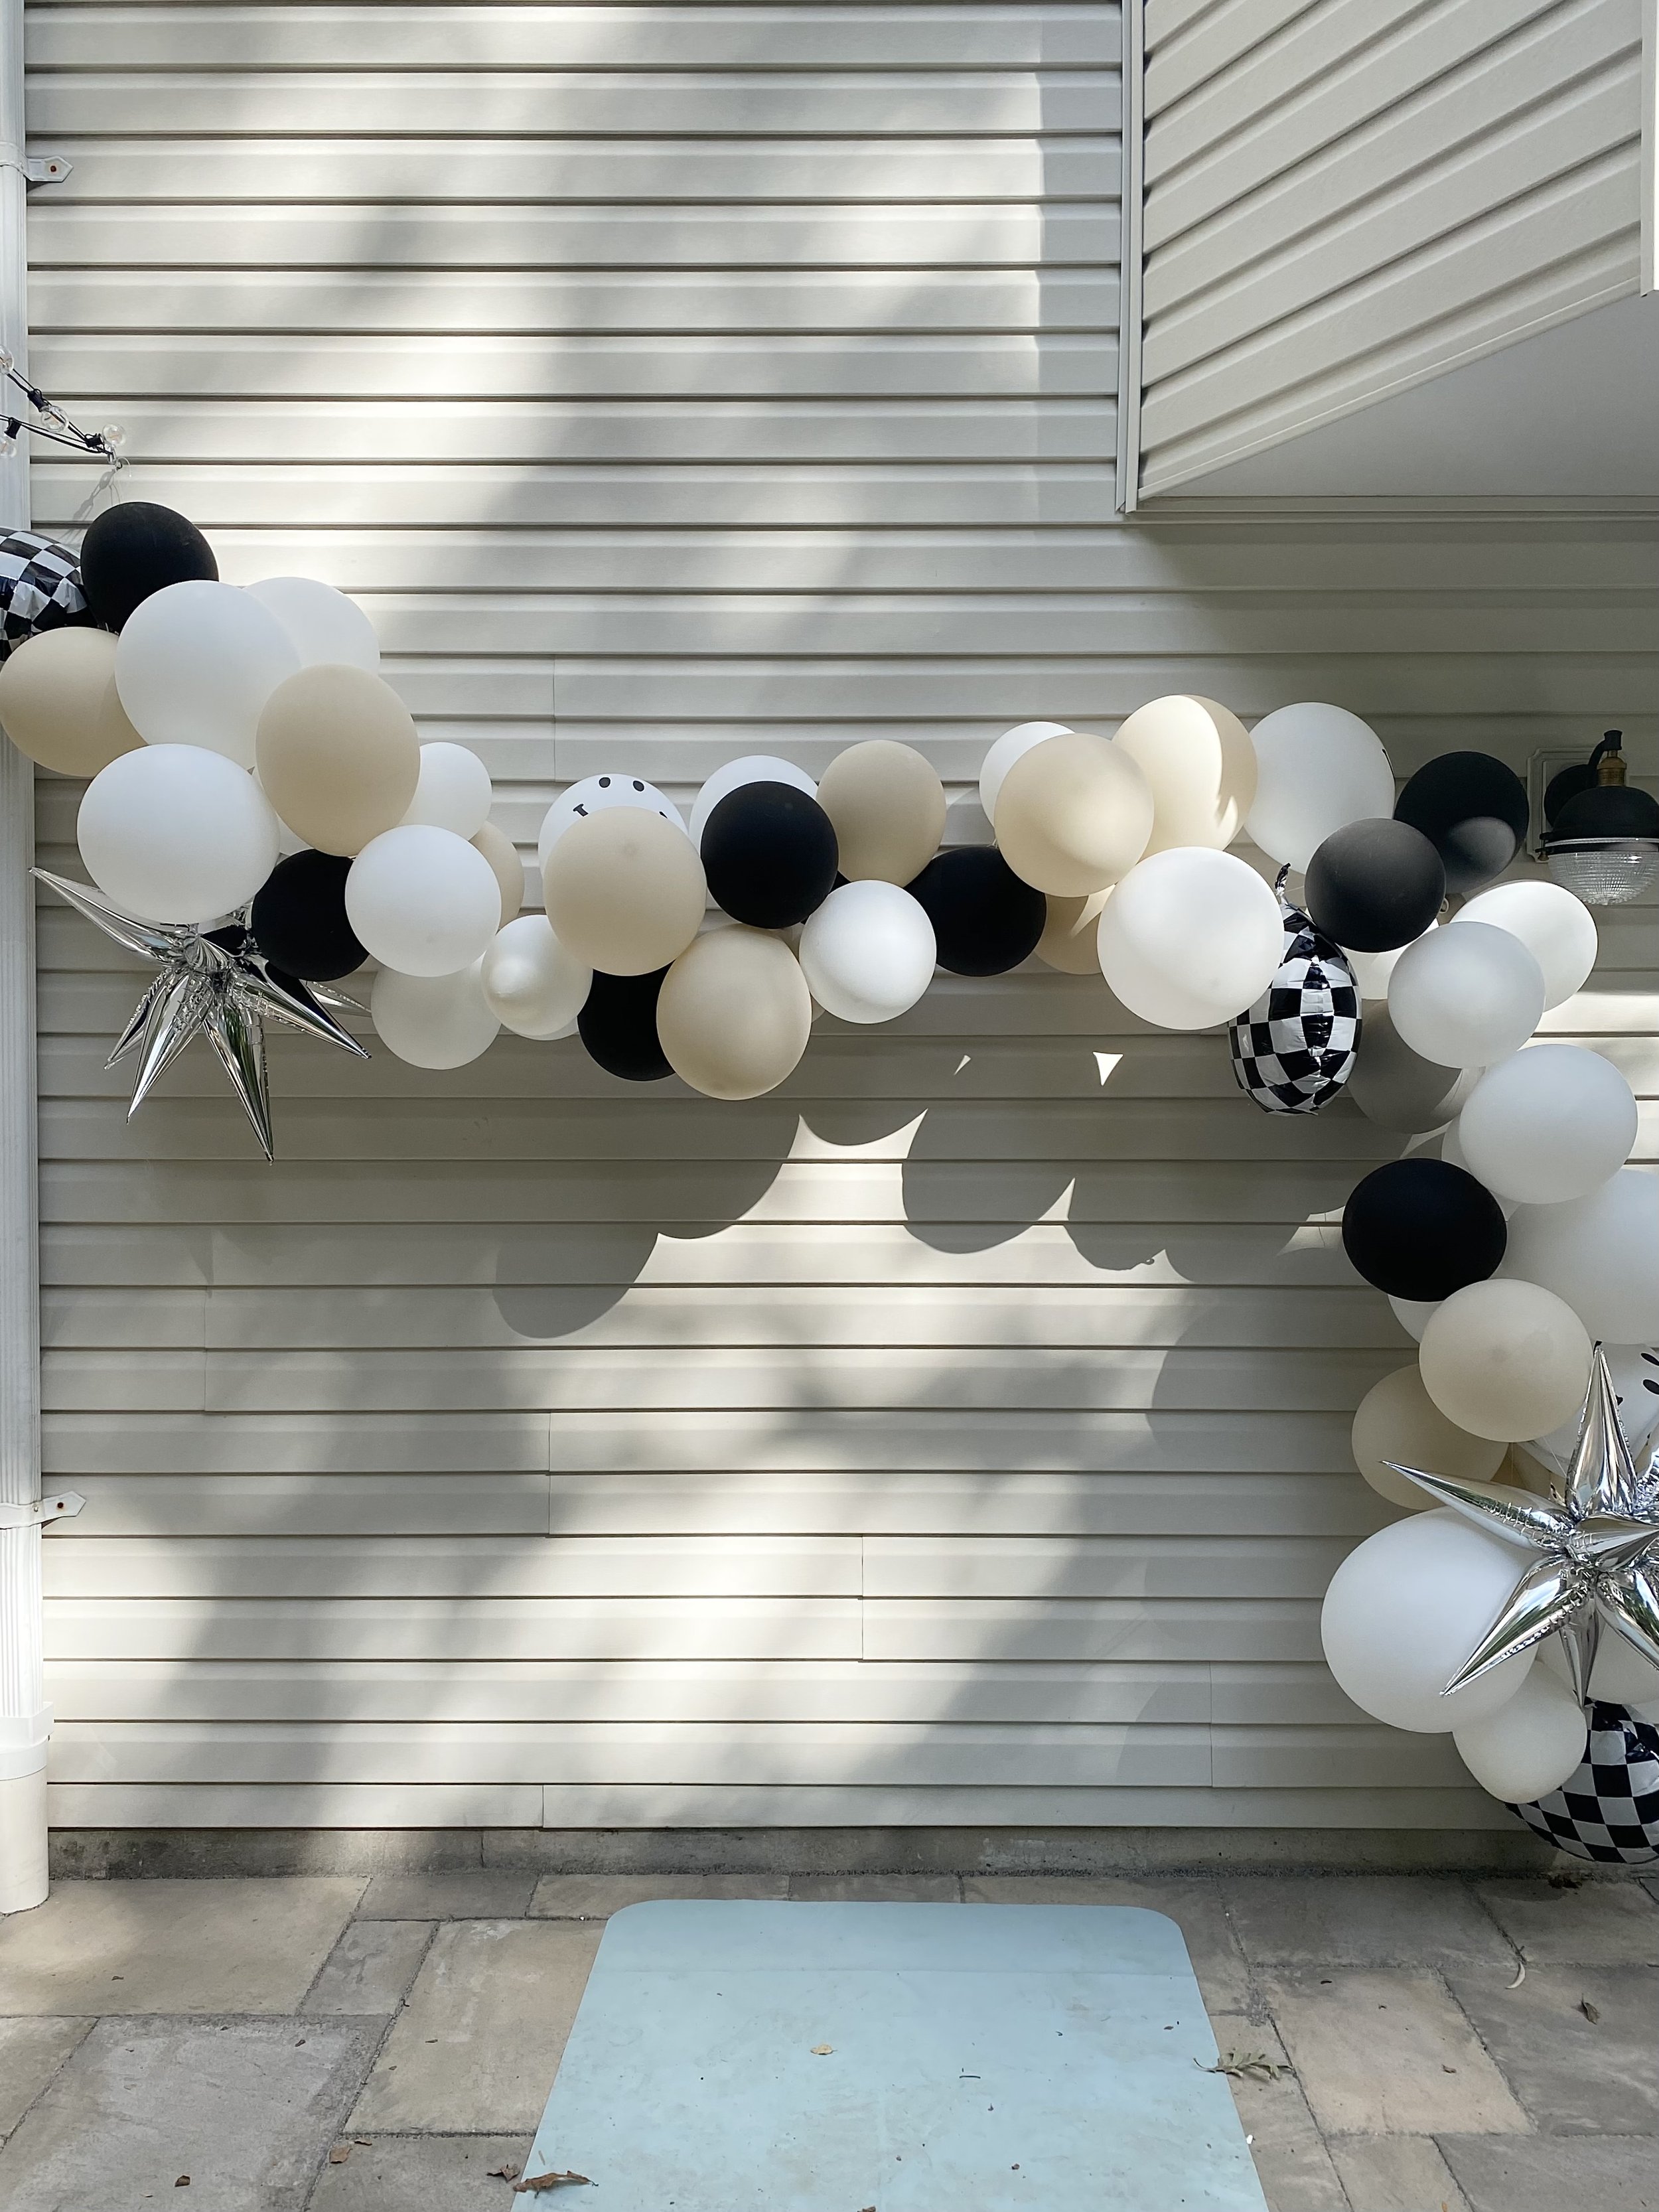
We chose to do a balloon arch behind Teddy’s high chair and it was perfect! It was up out of the way, made great photos, and really added to the party! Plus, we had tons of space to cover since the party was out on our patio, so I wanted something larger scale. As you can see, it wasn’t completely themed, with just a sprinkle of checkerboard, but the color scheme was perfect so we could add in some little touches of teddy bear in other areas of the party.
Step 4: Keep the food easy
Seems like a no-brainer, right? It’s easy to want to go all-out- who doesn’t love food! There are some important questions to ask yourself first as part of the planning process— are you doing a full meal? Just cake and/or ice cream? If doing a meal, will it be home cooked or takeout/catered? What’s the budget for this? Approx how many people would need to be fed? This can all play in to what you choose to do! If you do choose to save some money and make the food— there are also a few things to consider: choosing food that your baby/yourself/family enjoys and choosing something that’s easy to prepare in advance. I have learned that preparing and cooking food is something I prefer to have completed or almost completed by the time our guests arrive. This leaves more time for socialization and enjoying time with my babies instead of worrying about food prep! Even with the smash cake, it is so helpful to have it completed the evening before the party! With the cake, I always make a box cake + add a homemade touch with homemade buttercream icing (recipe below). Try to make it easy on yourselves so you can actually enjoy the day with your sweet baby and family! That’s what the celebration is really about, anyway!
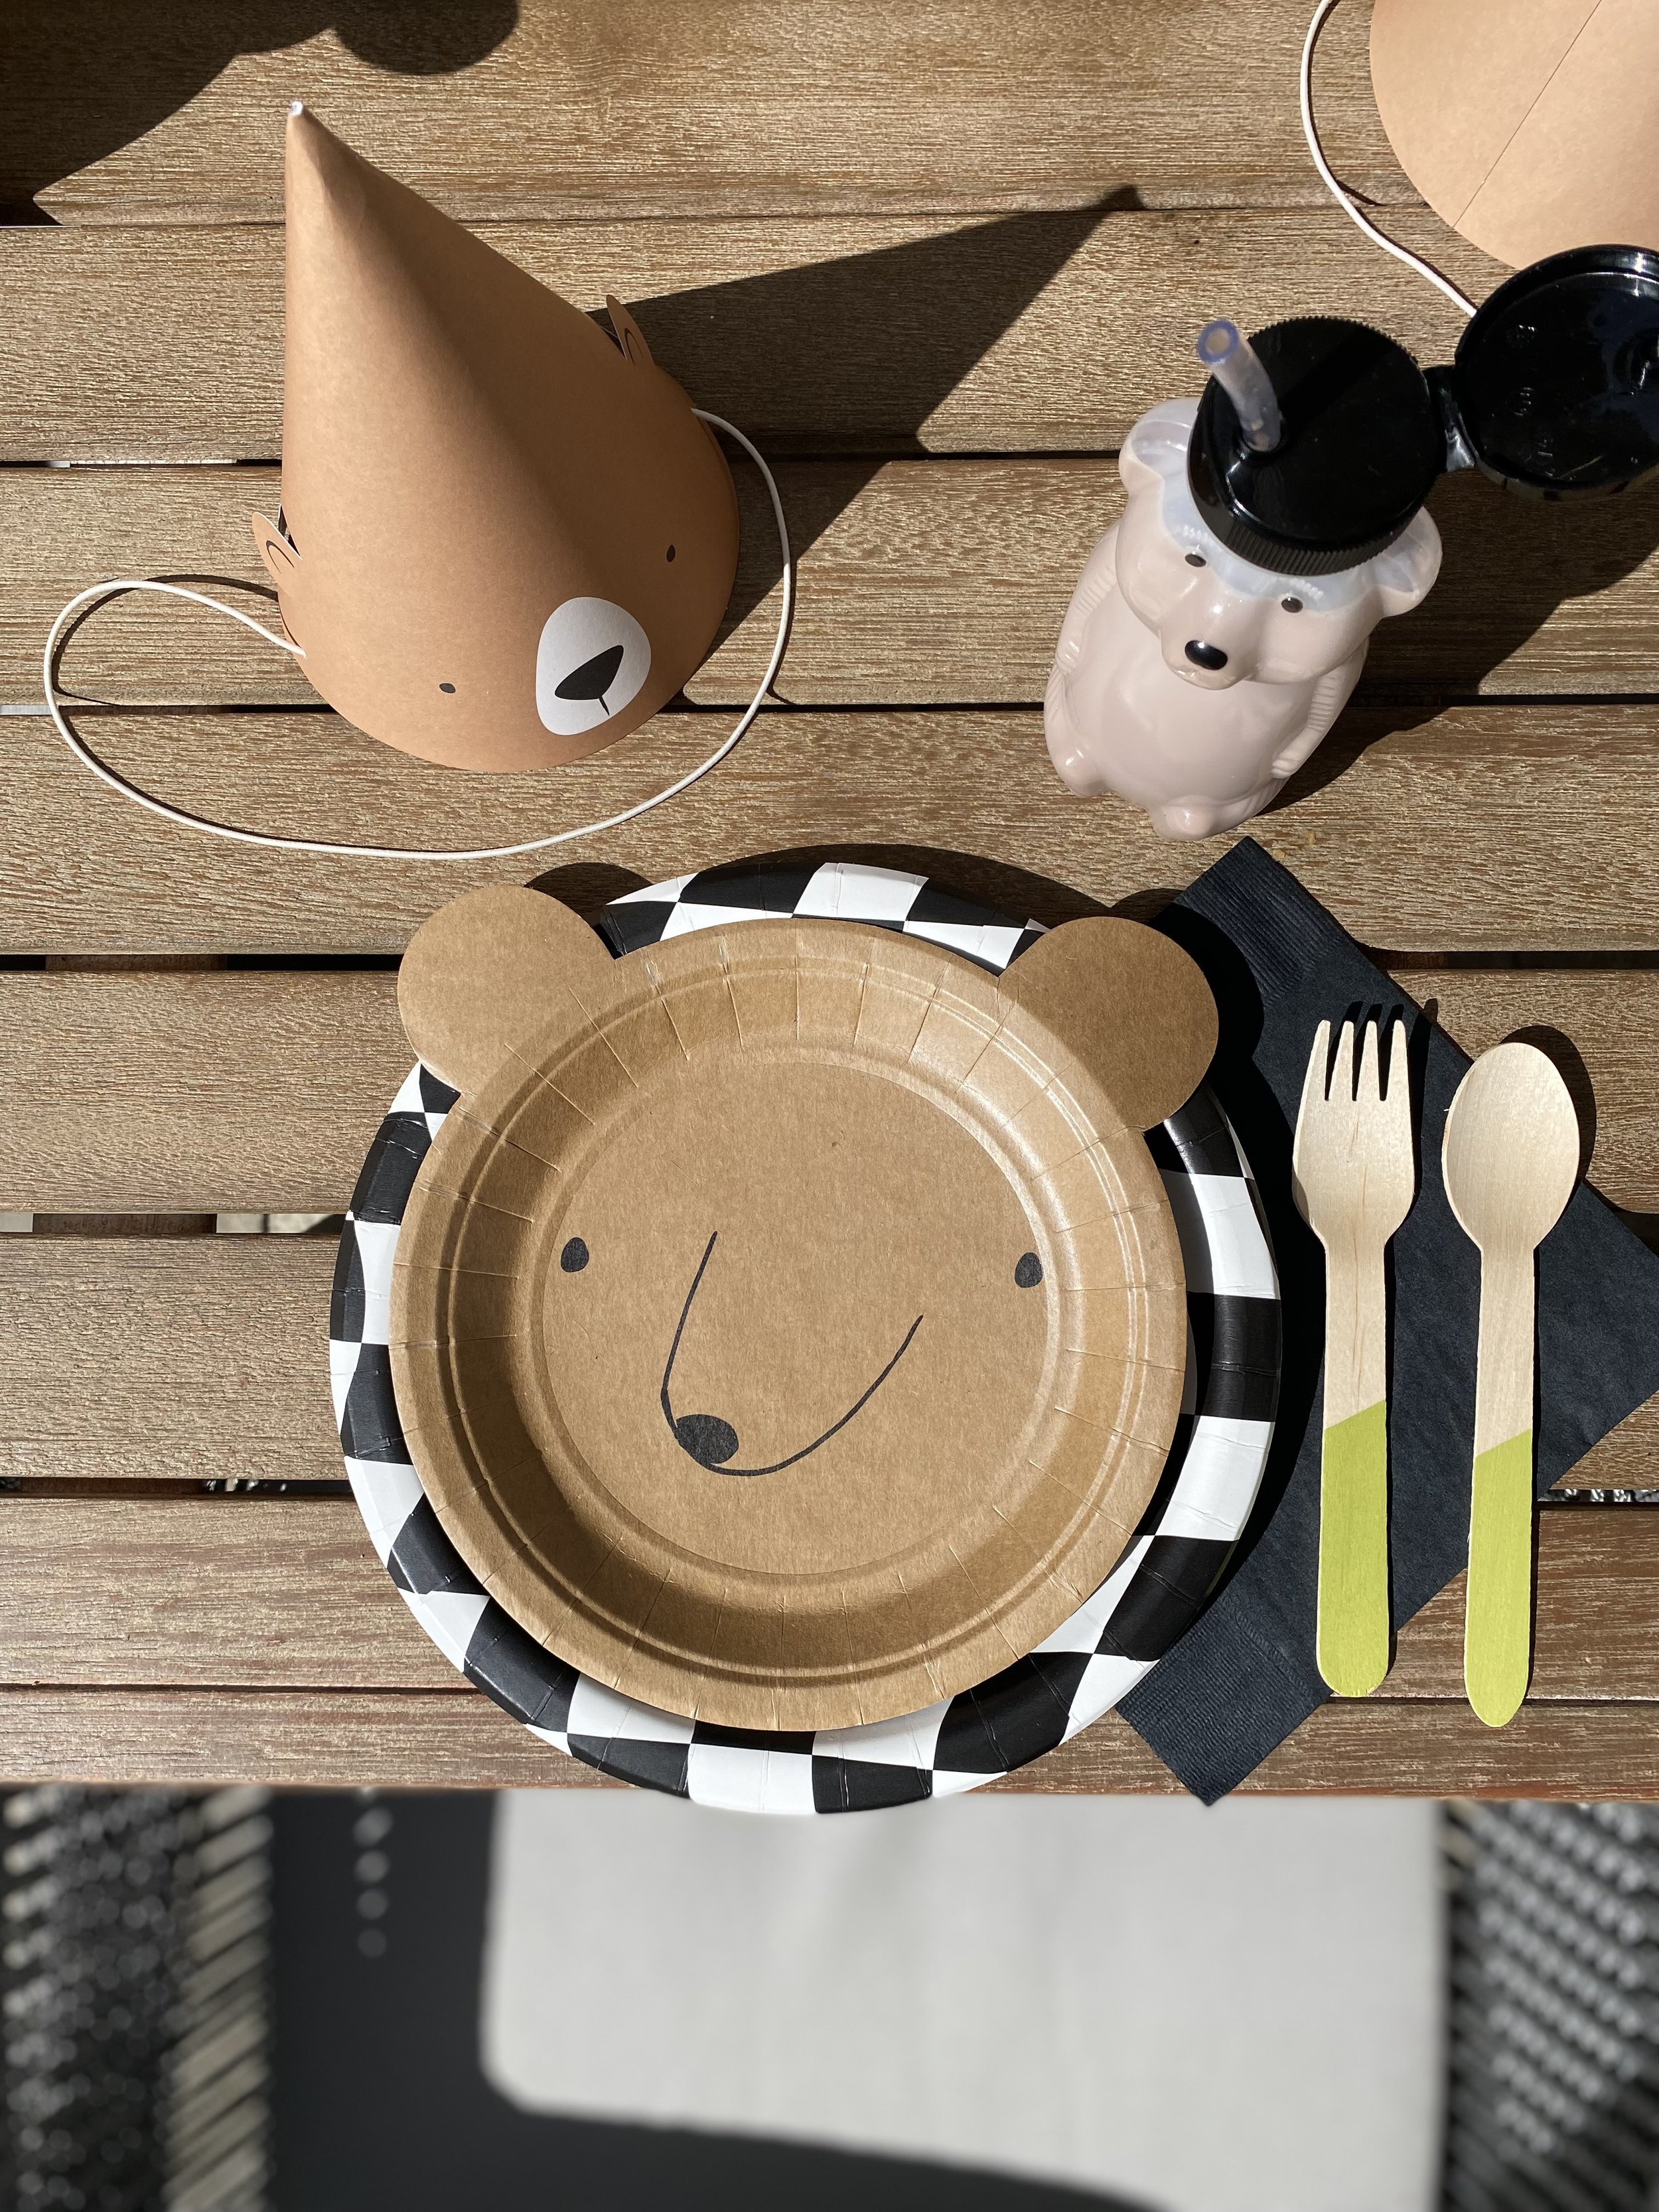
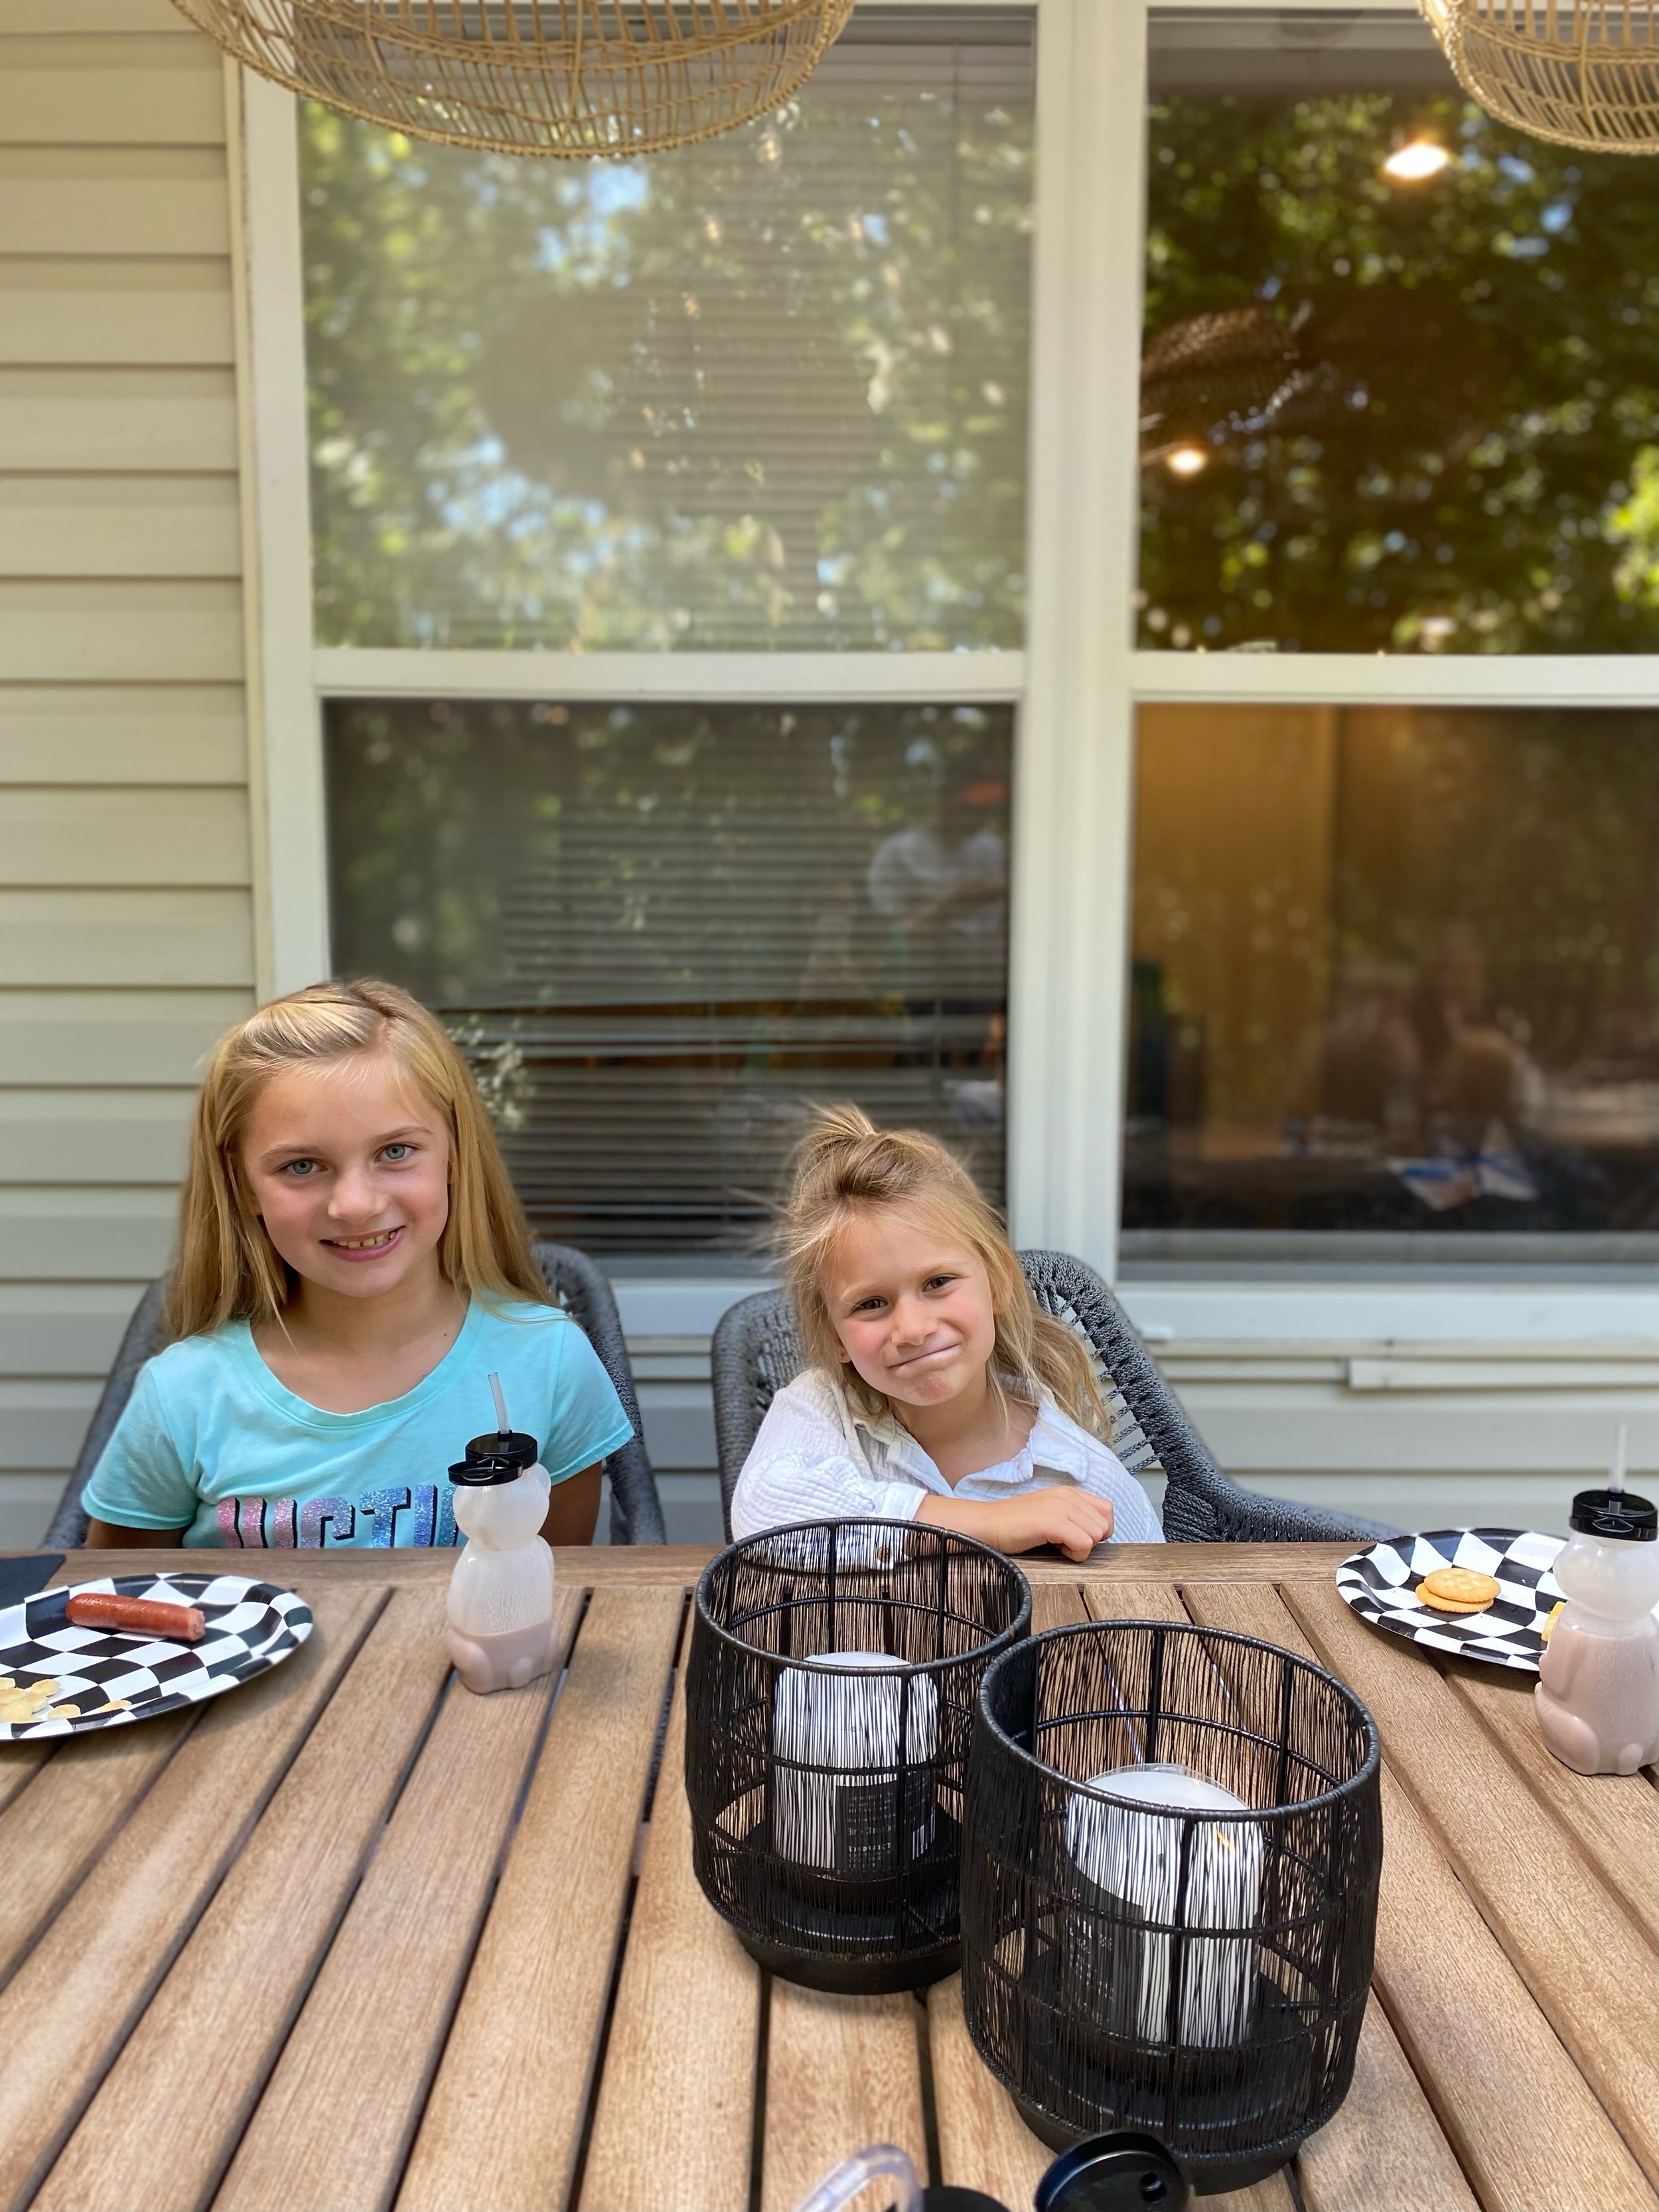
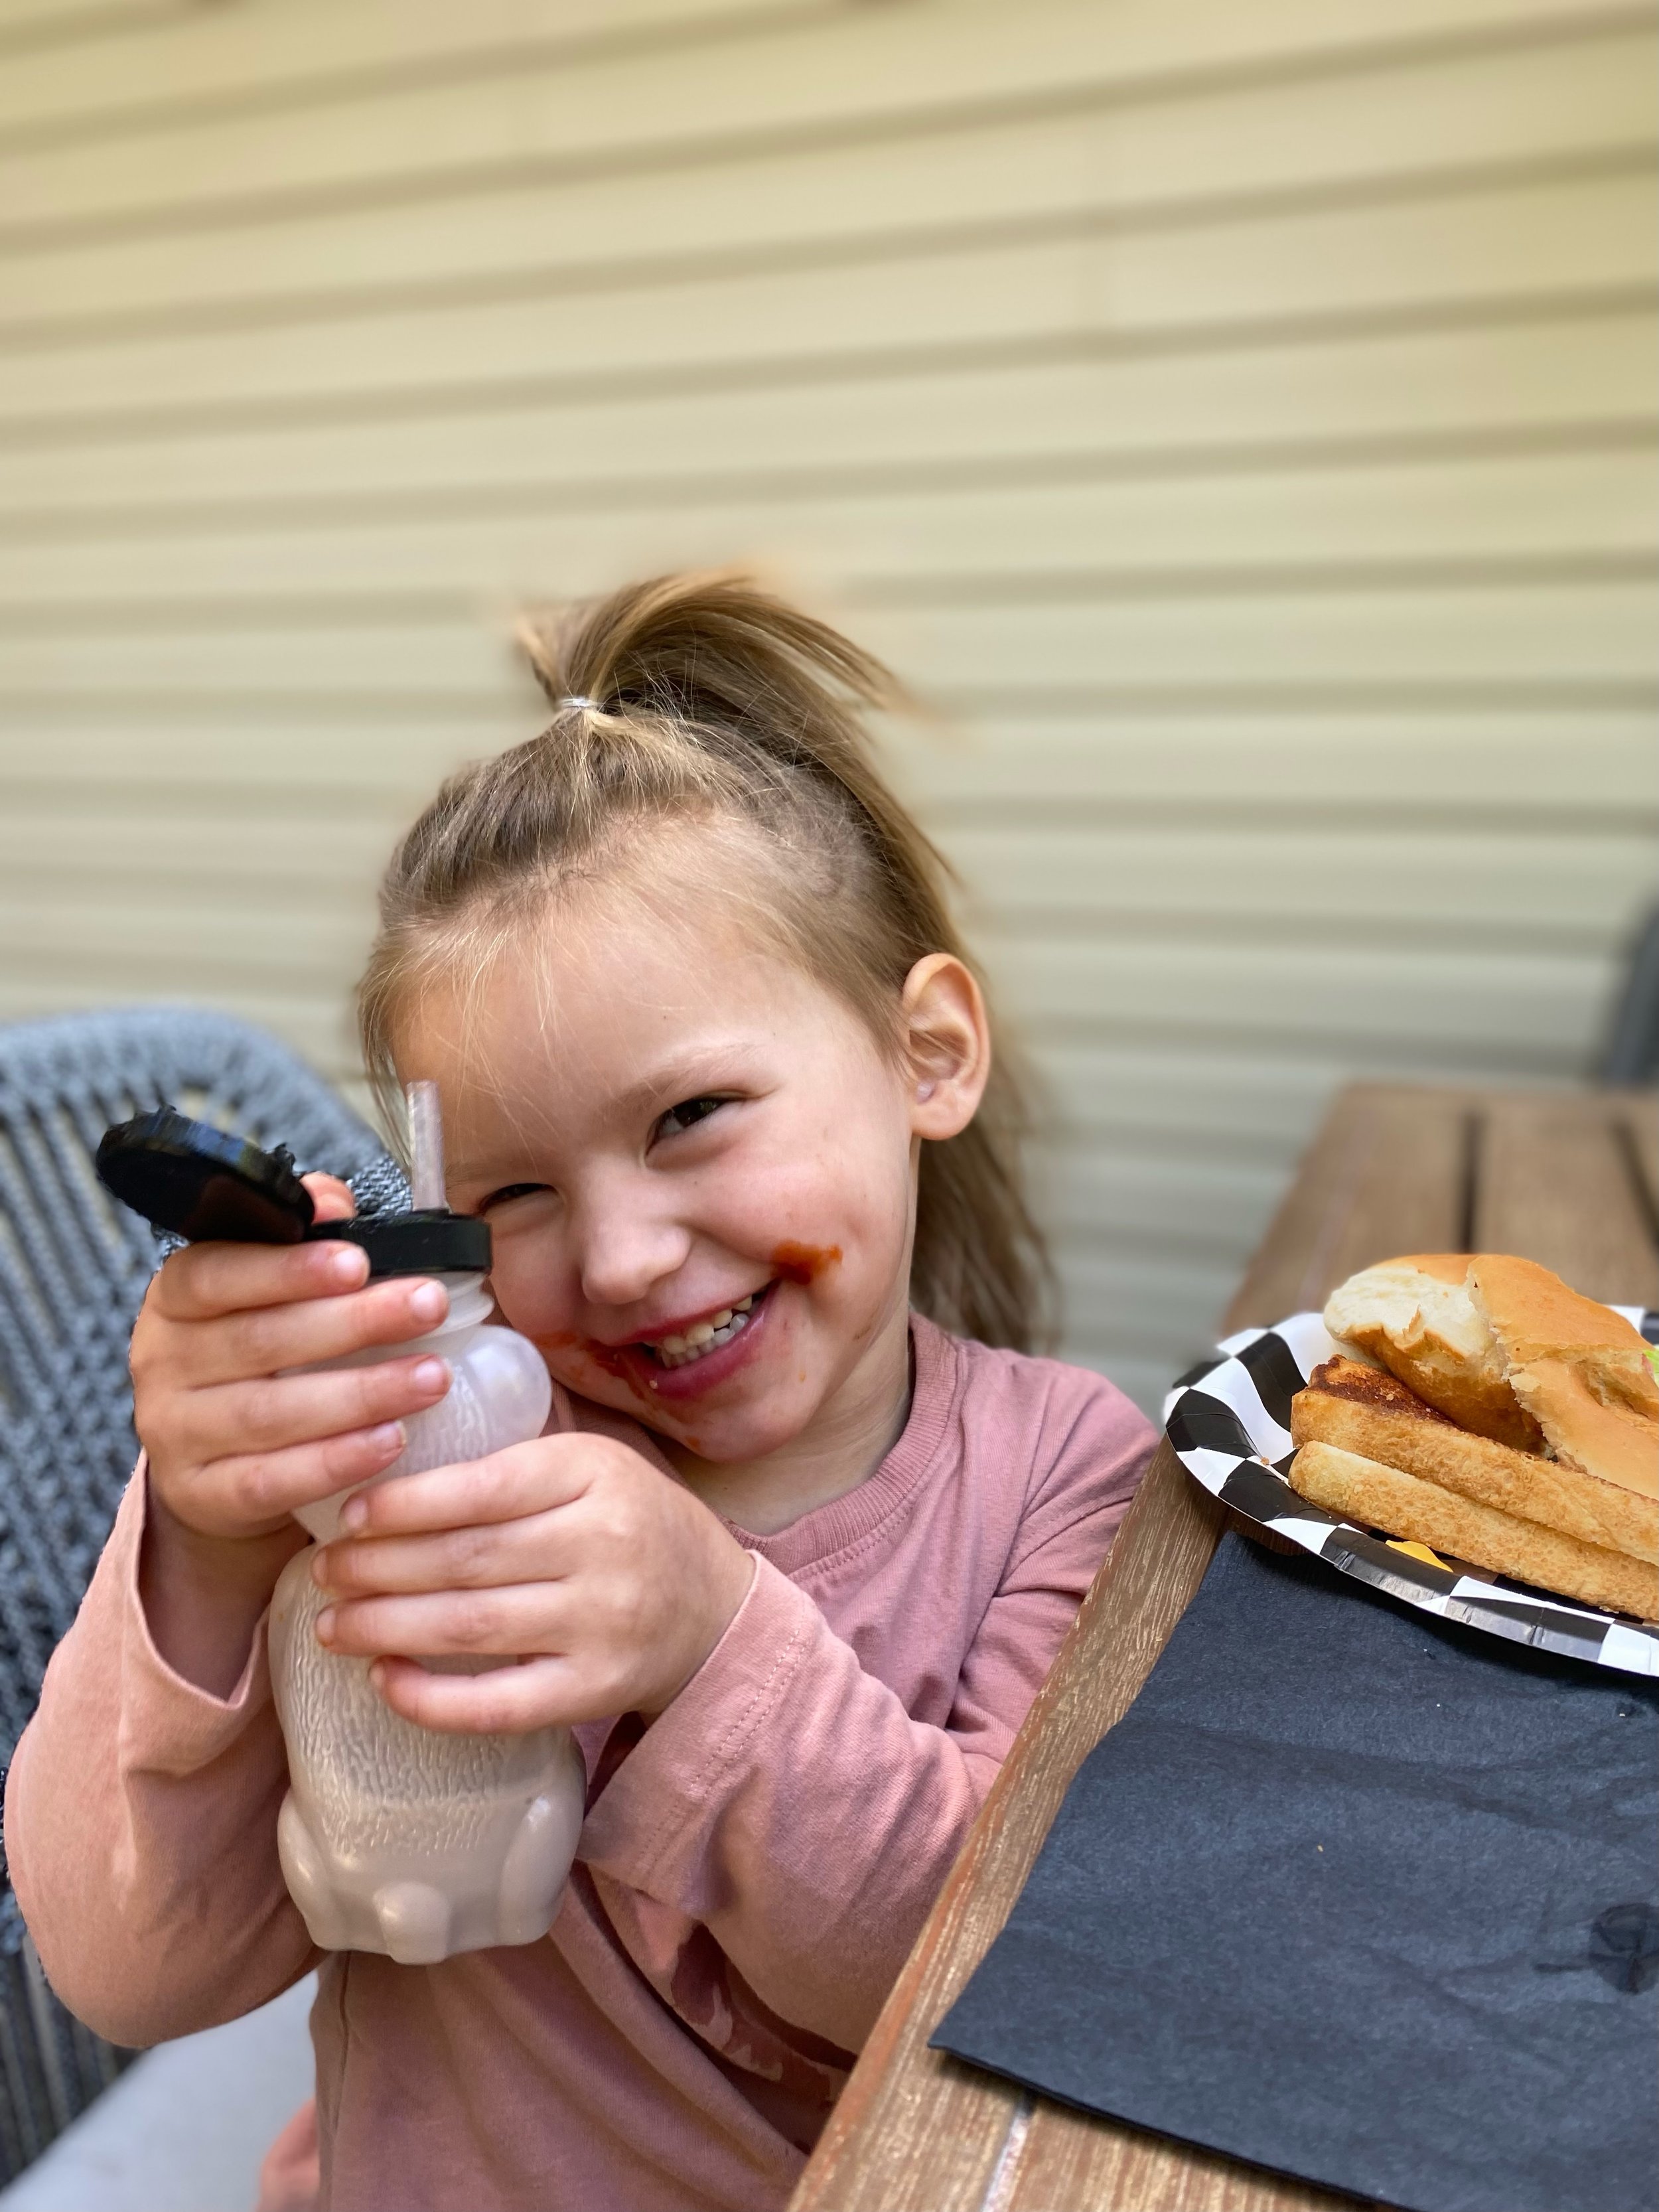
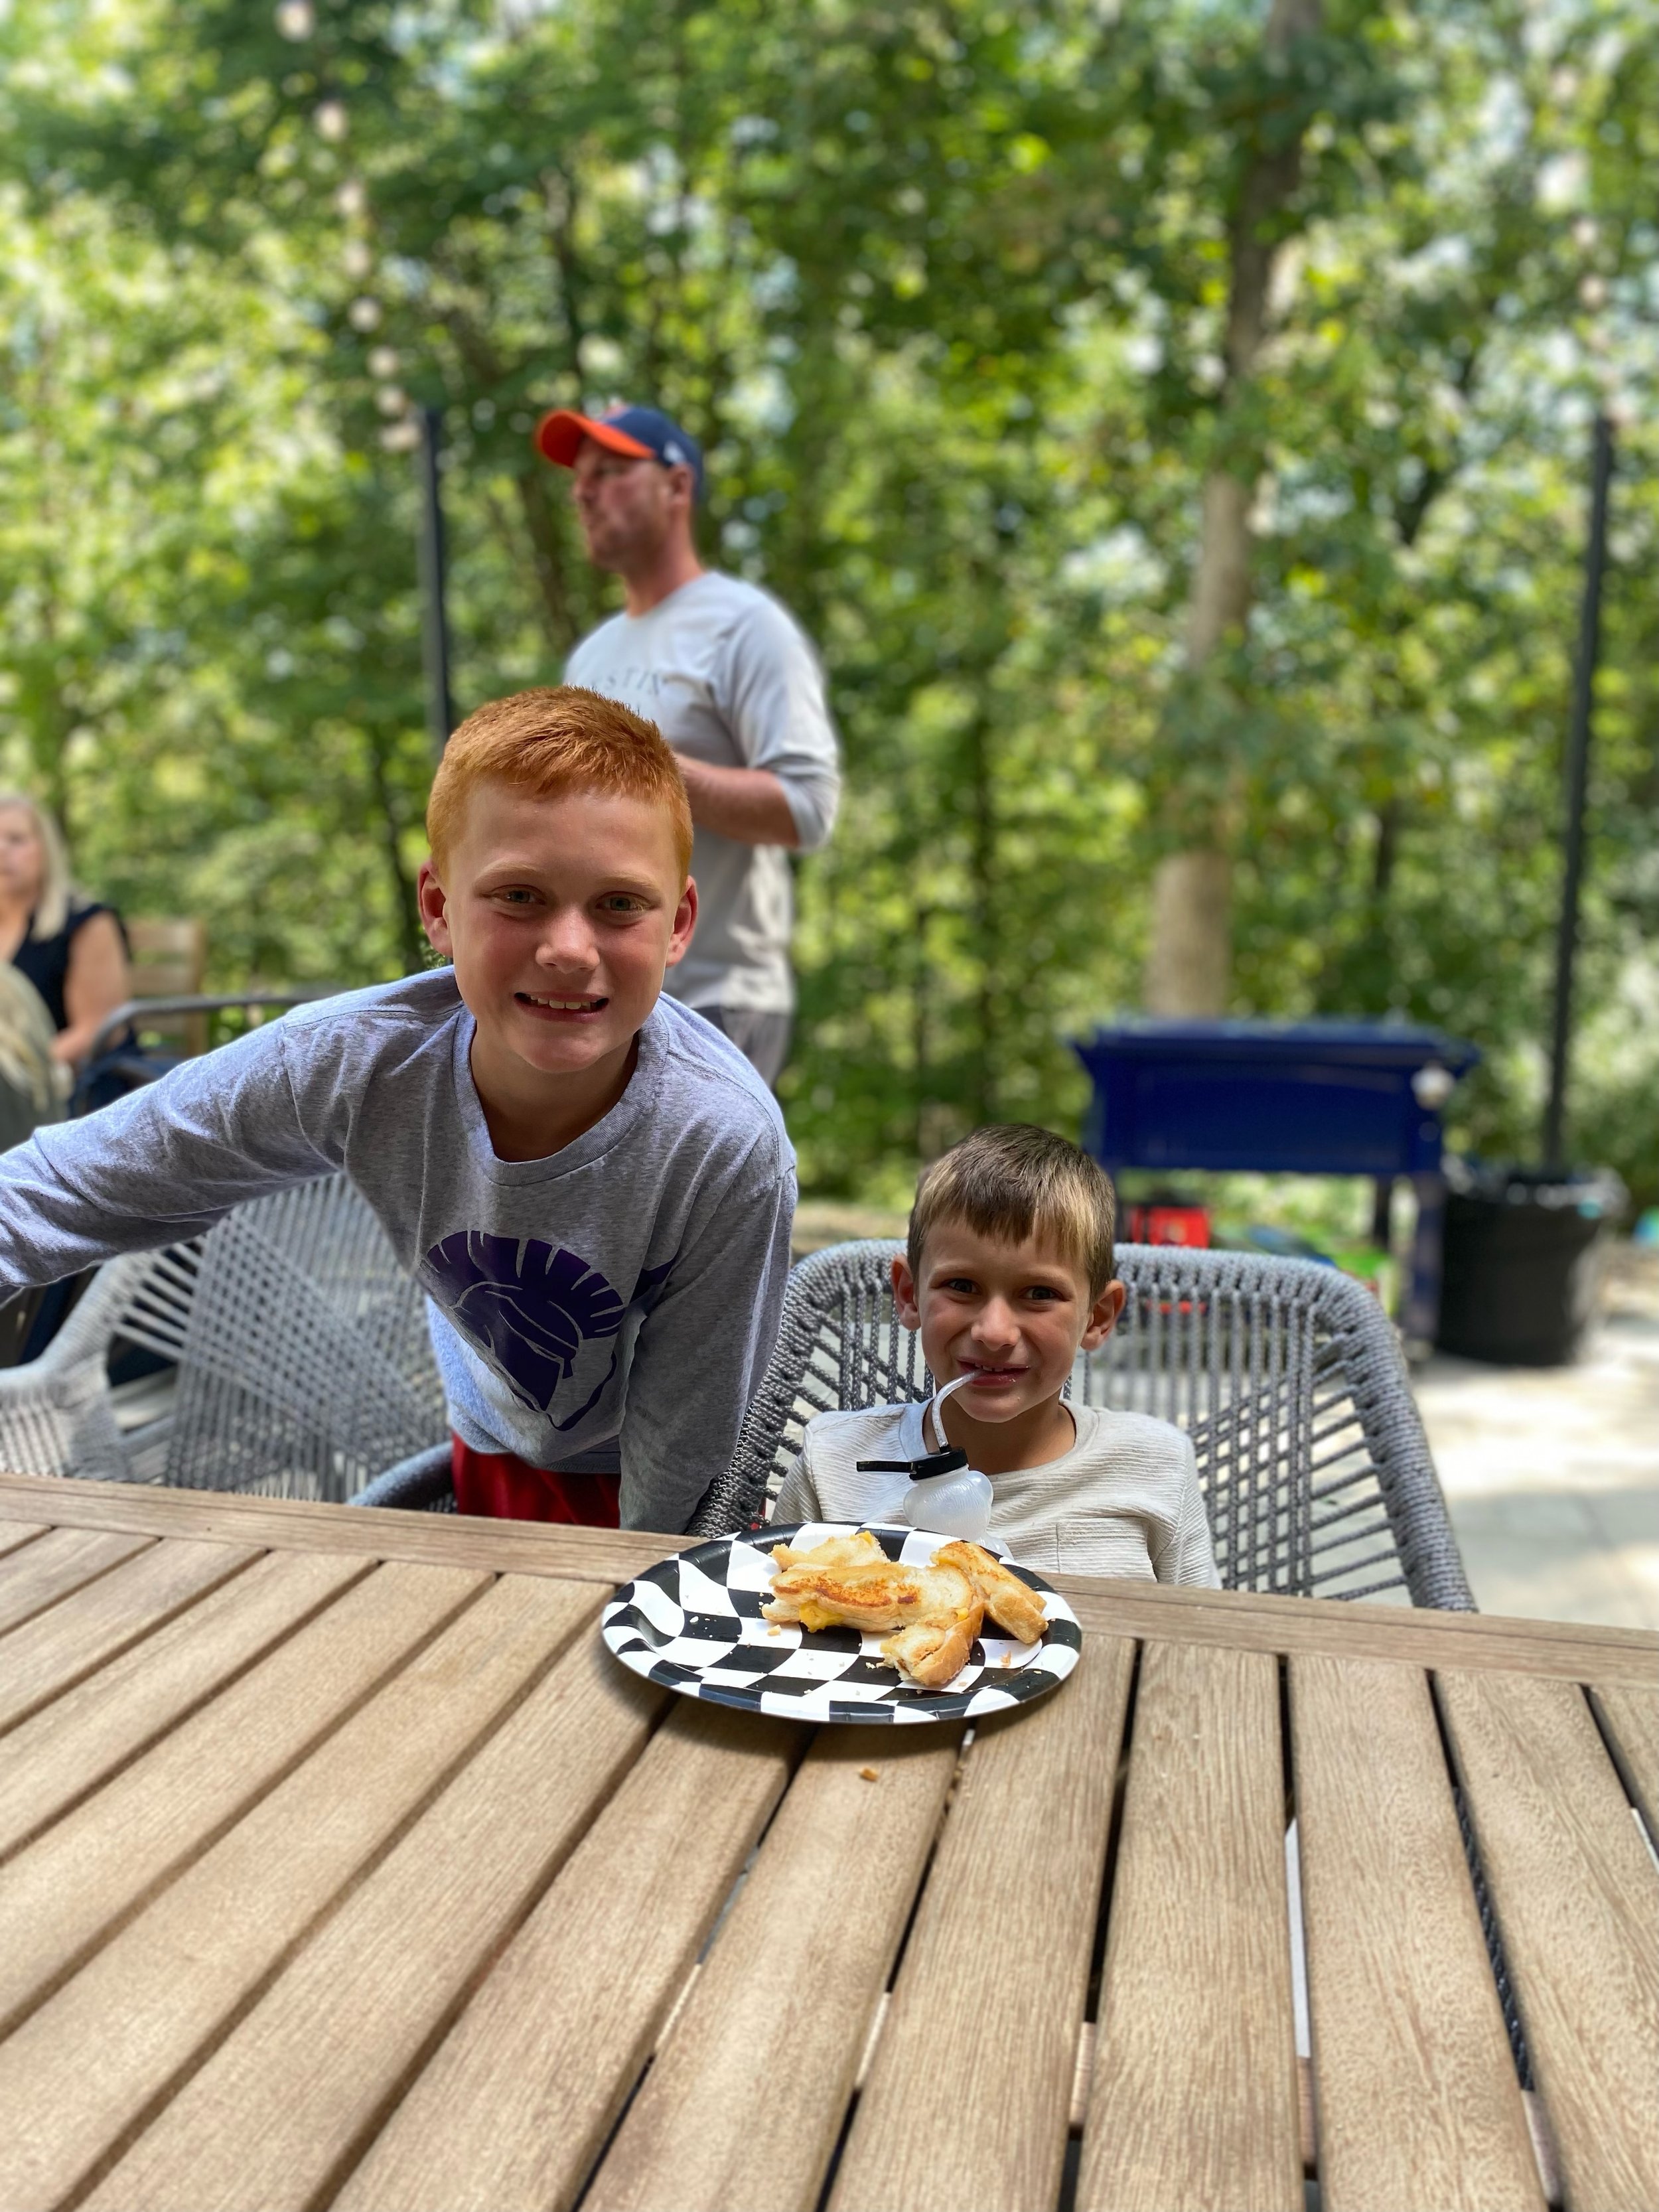
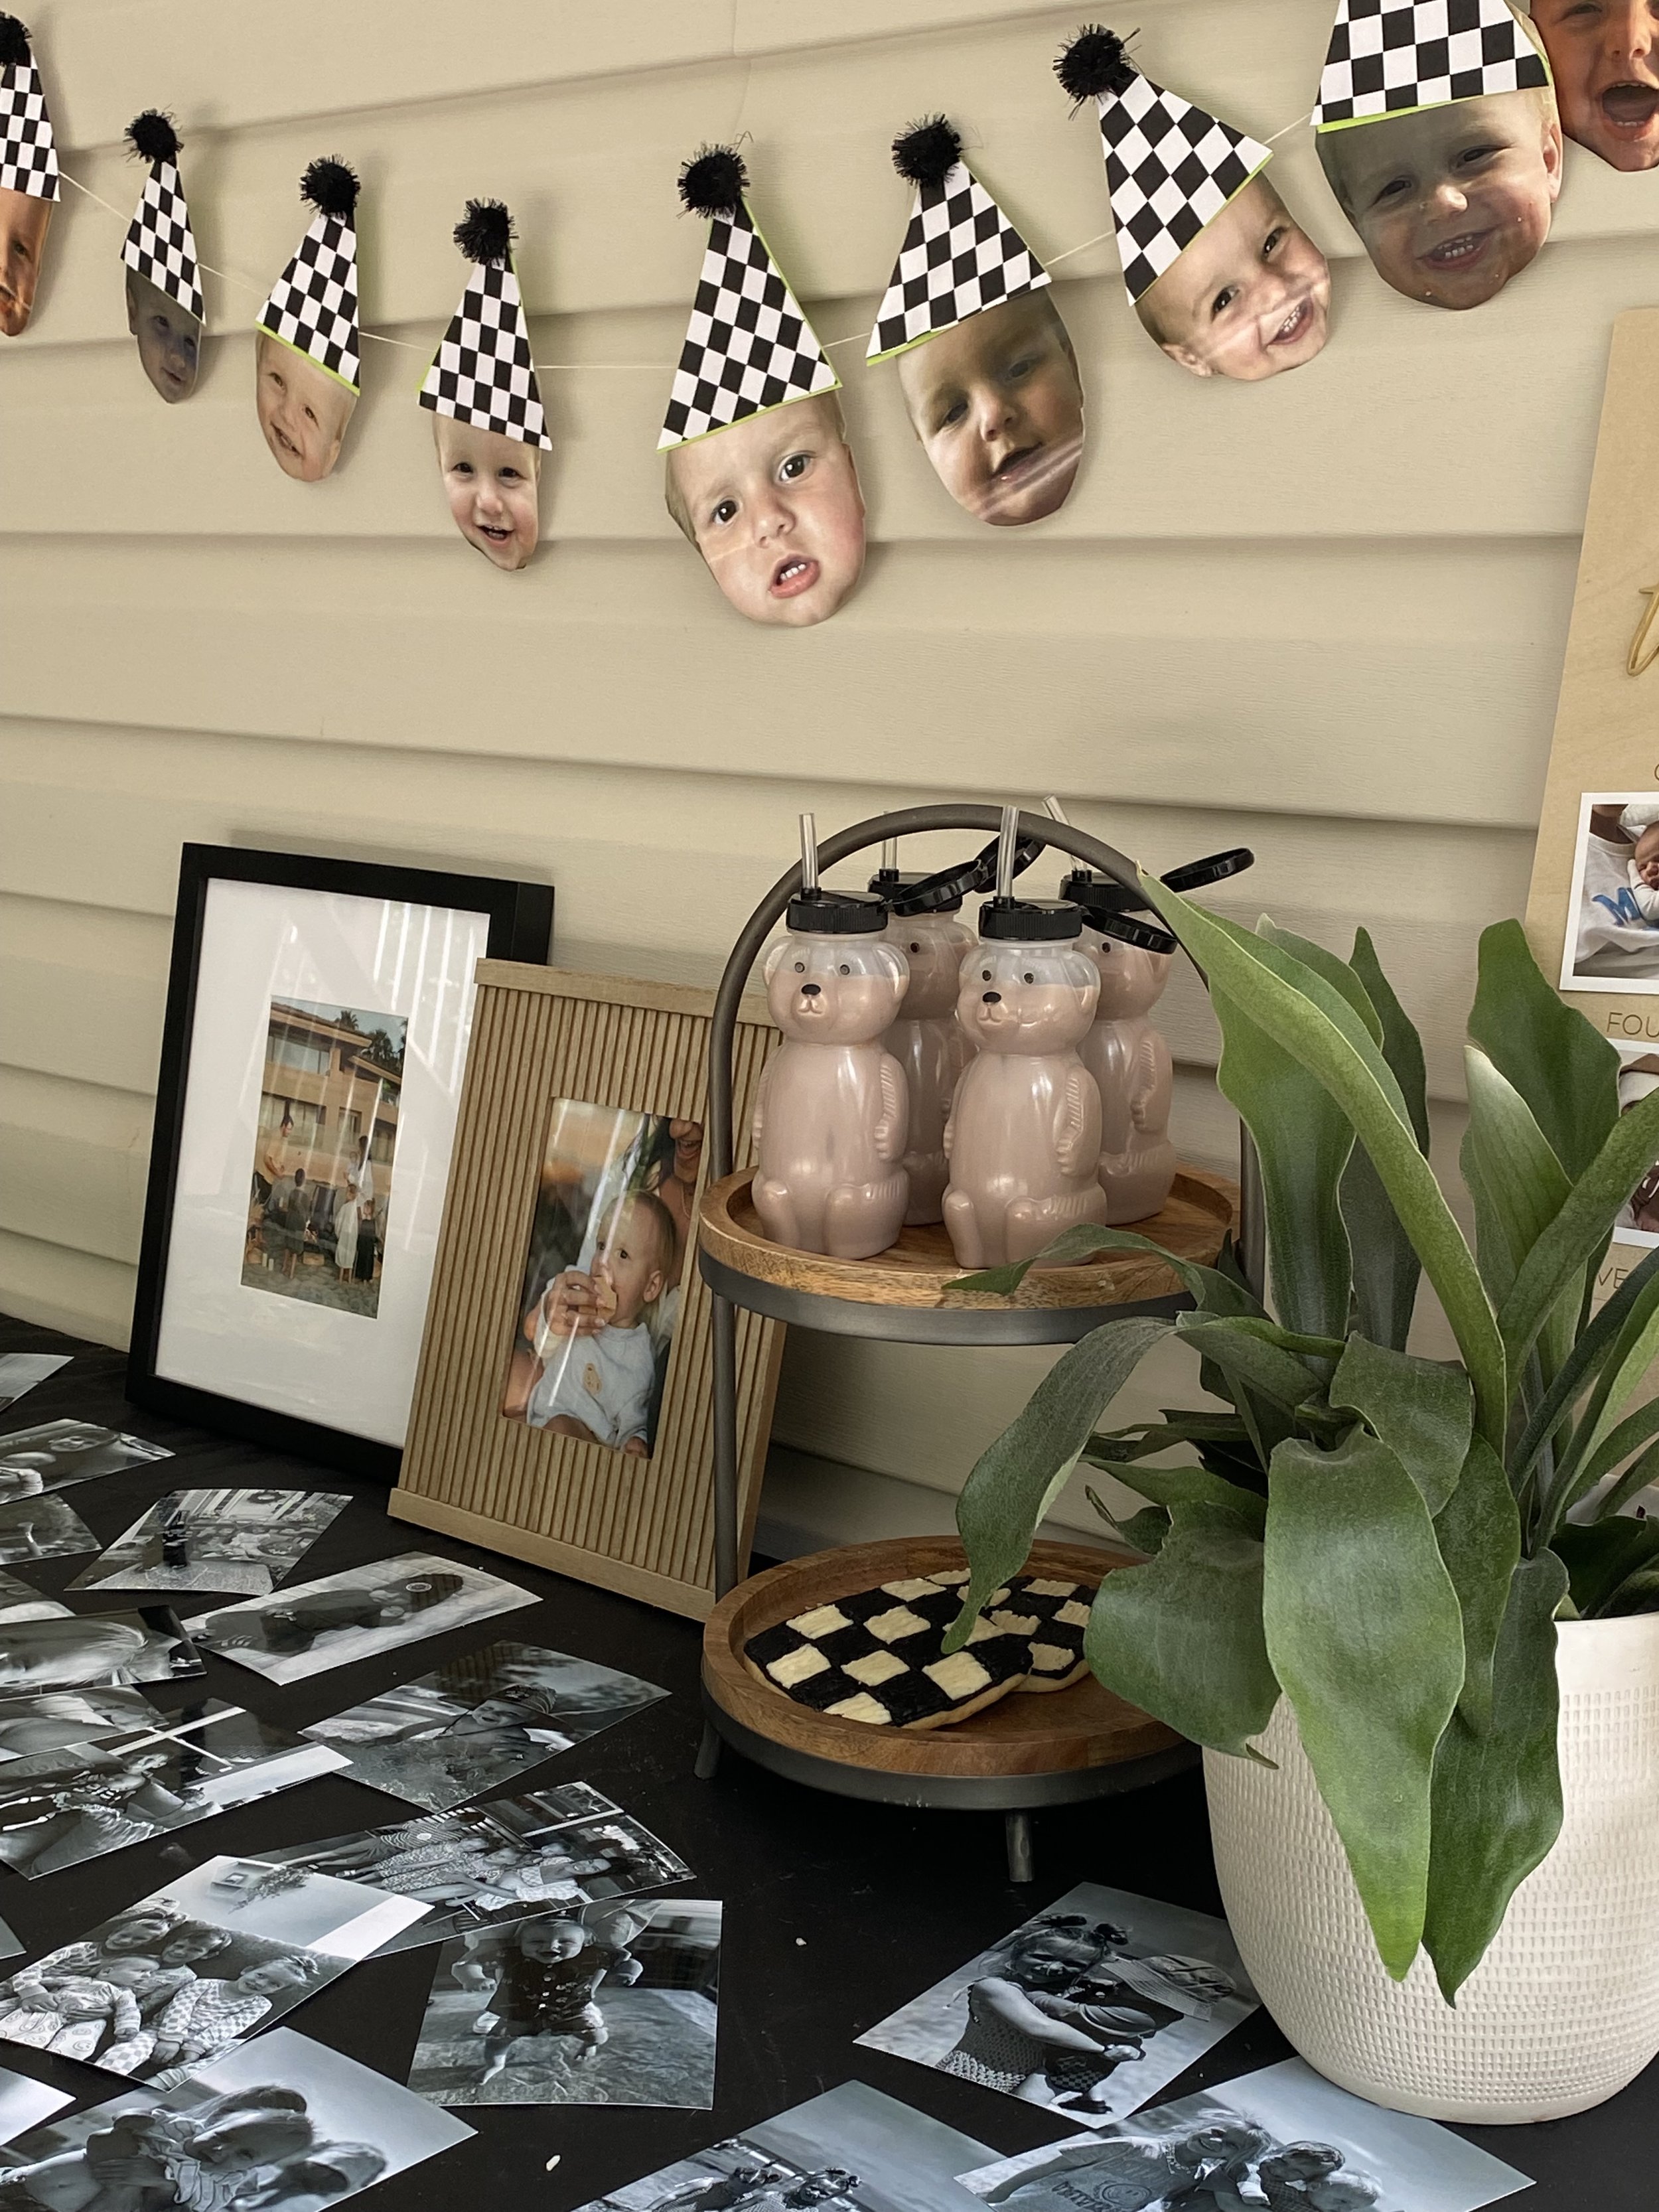
We kept it simple and fall-themed for our September-born baby! We chose to do homemade soups- chili, gumbo, and chicken noodle soup and grilled cheeses for the kids. It was nice because we could have all of it prepped the night before or morning of the party, then leave our crockpots on “warm” while we went and had Teddy baptized that morning. When we got home, everything was ready! We just had to throw the grilled cheeses on the Blackstone grill and DONE! It was so easy, delicious, and left so much more time for spending the day actually celebrating with our family! We actually did the same meal with our daughter, Lou’s first birthday (October) and put all the crockpots on kraft paper on the counter. We drew arrows to the food with a label to keep things easy and fun! We added a strand of twinkle lights as well. We decided to incorporate some teddy bear vibes with his favorite straw honey bear straw cups filled with chocolate milk for the kids. They LOVED it! Plus, they all got to keep them as a party favor!
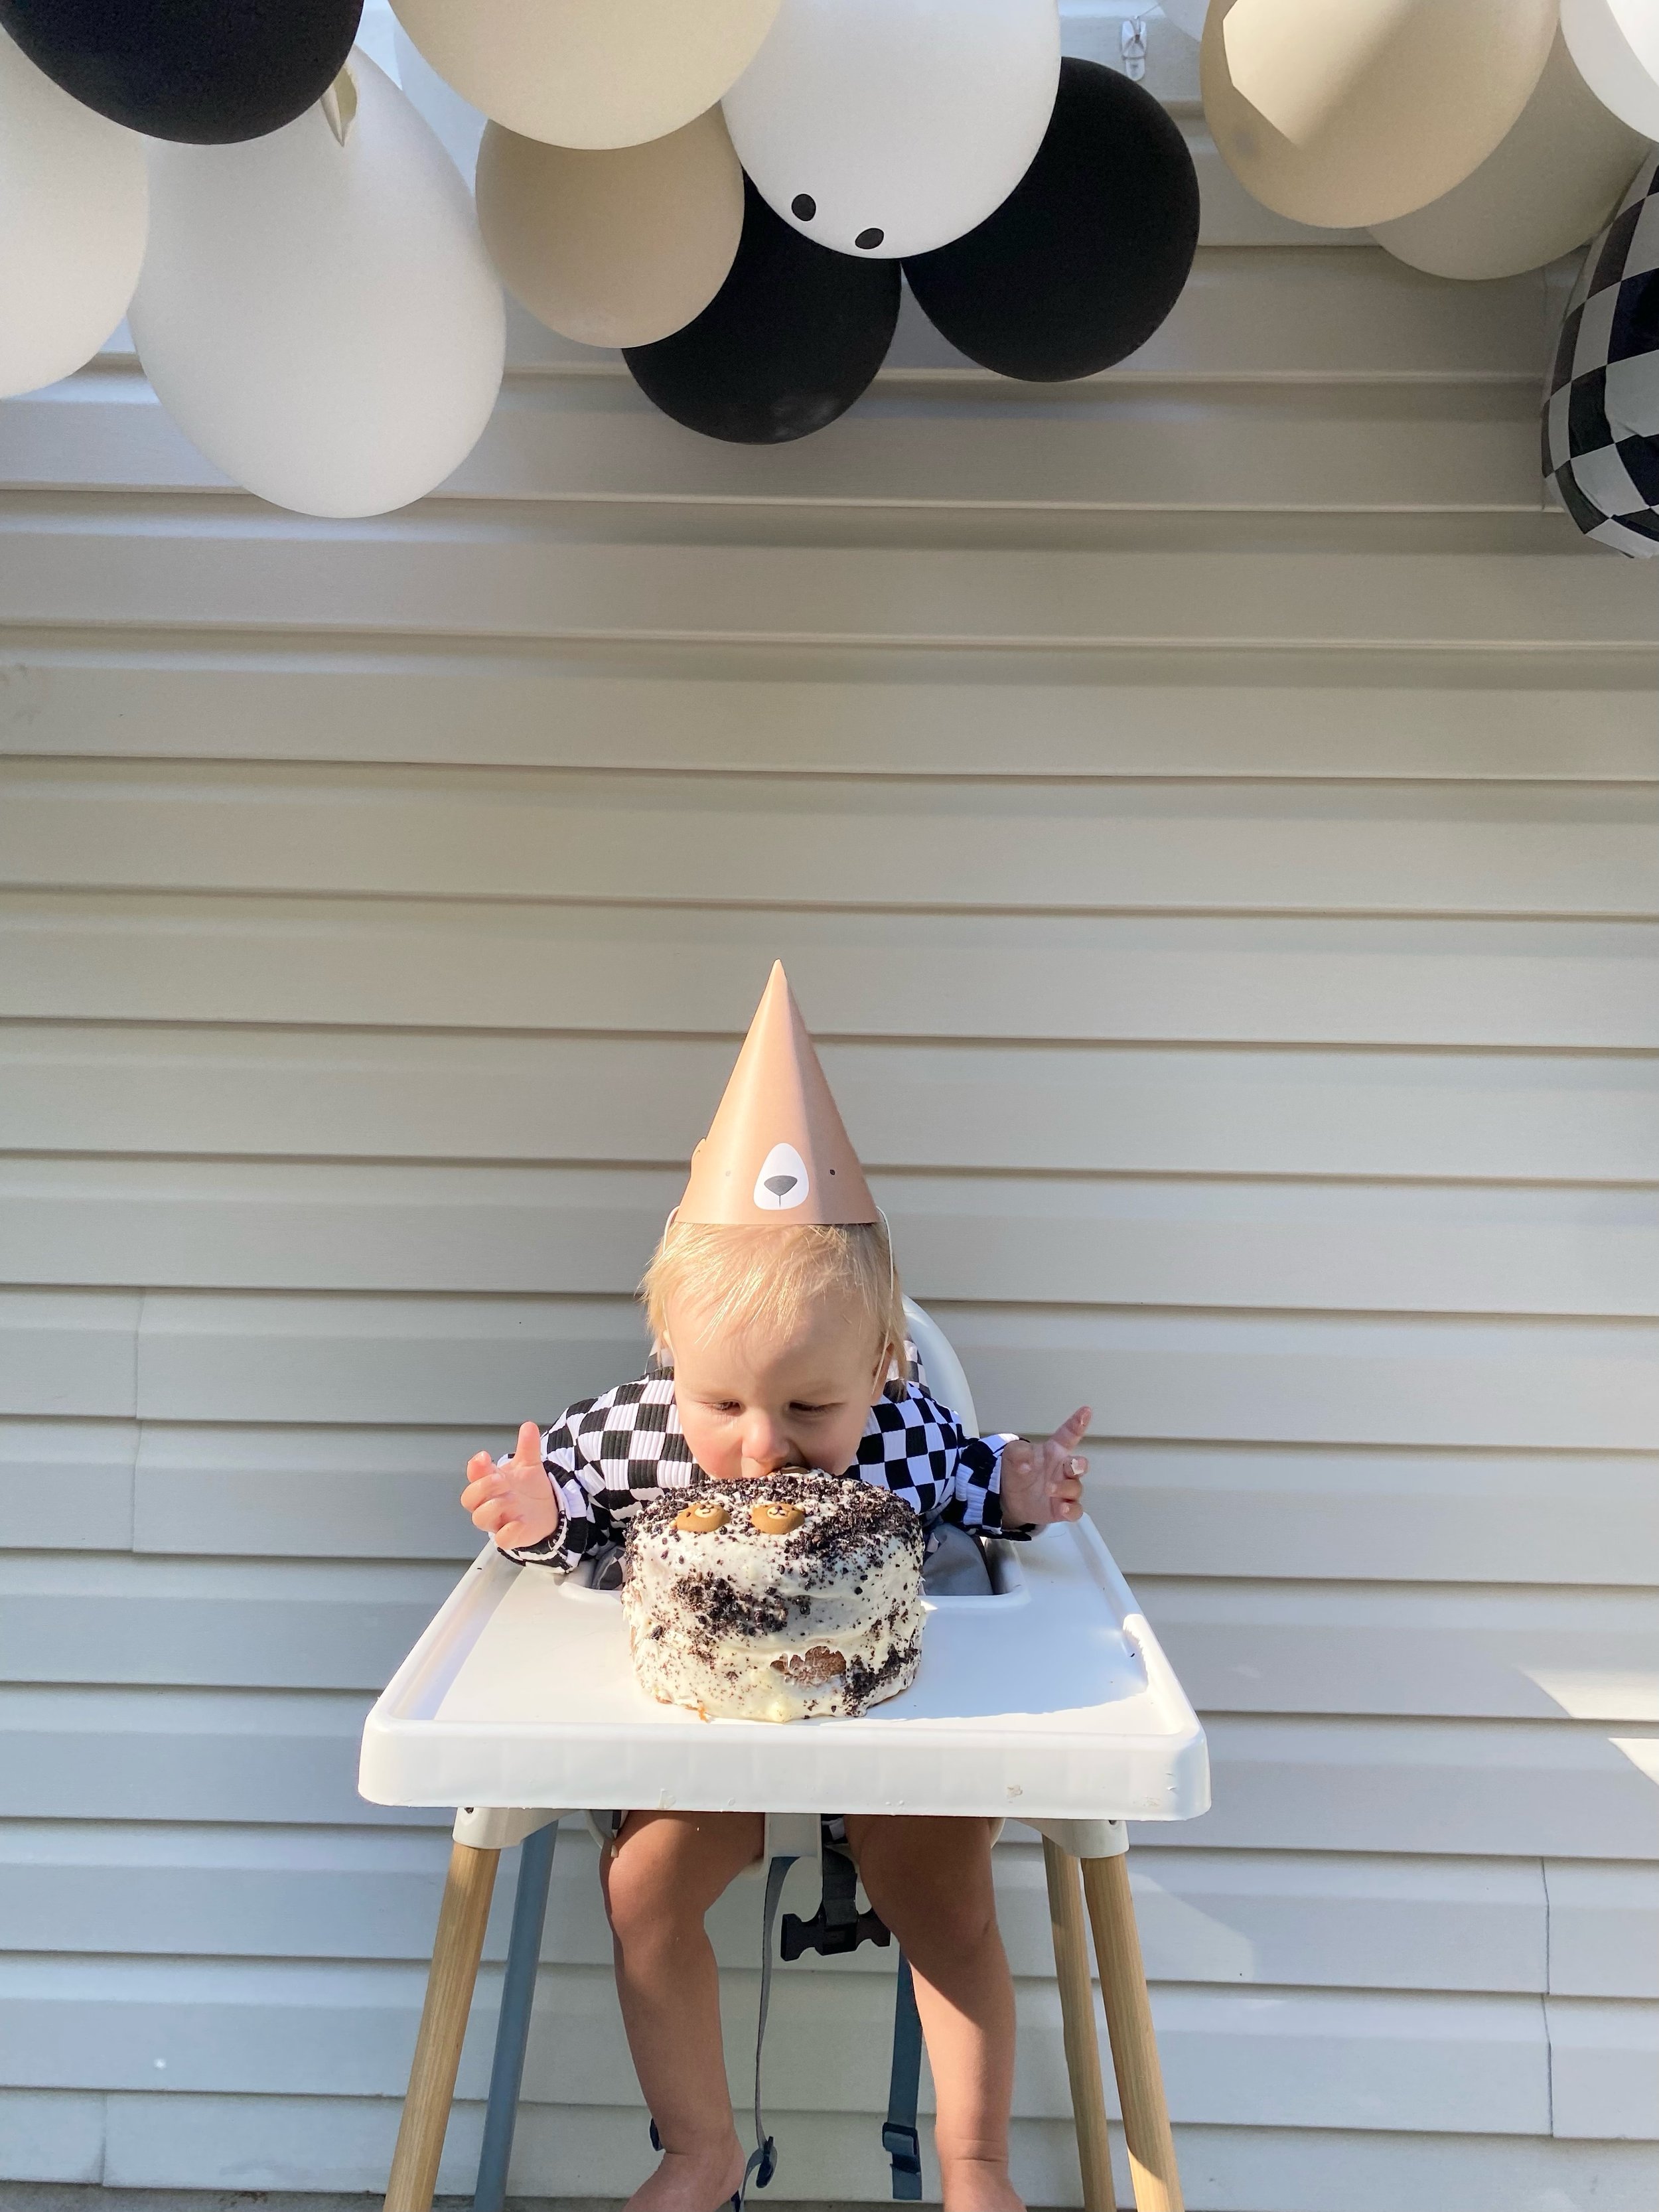
I make all my babies’ smash cakes the previous night, so didn’t need to worry about doing that during the party either! I’ll share what we did for the cake (very simple, yet still “homemade”) at the end of this post, including my fave homemade buttercream frosting recipe!
Step 5: Multi-purpose decor
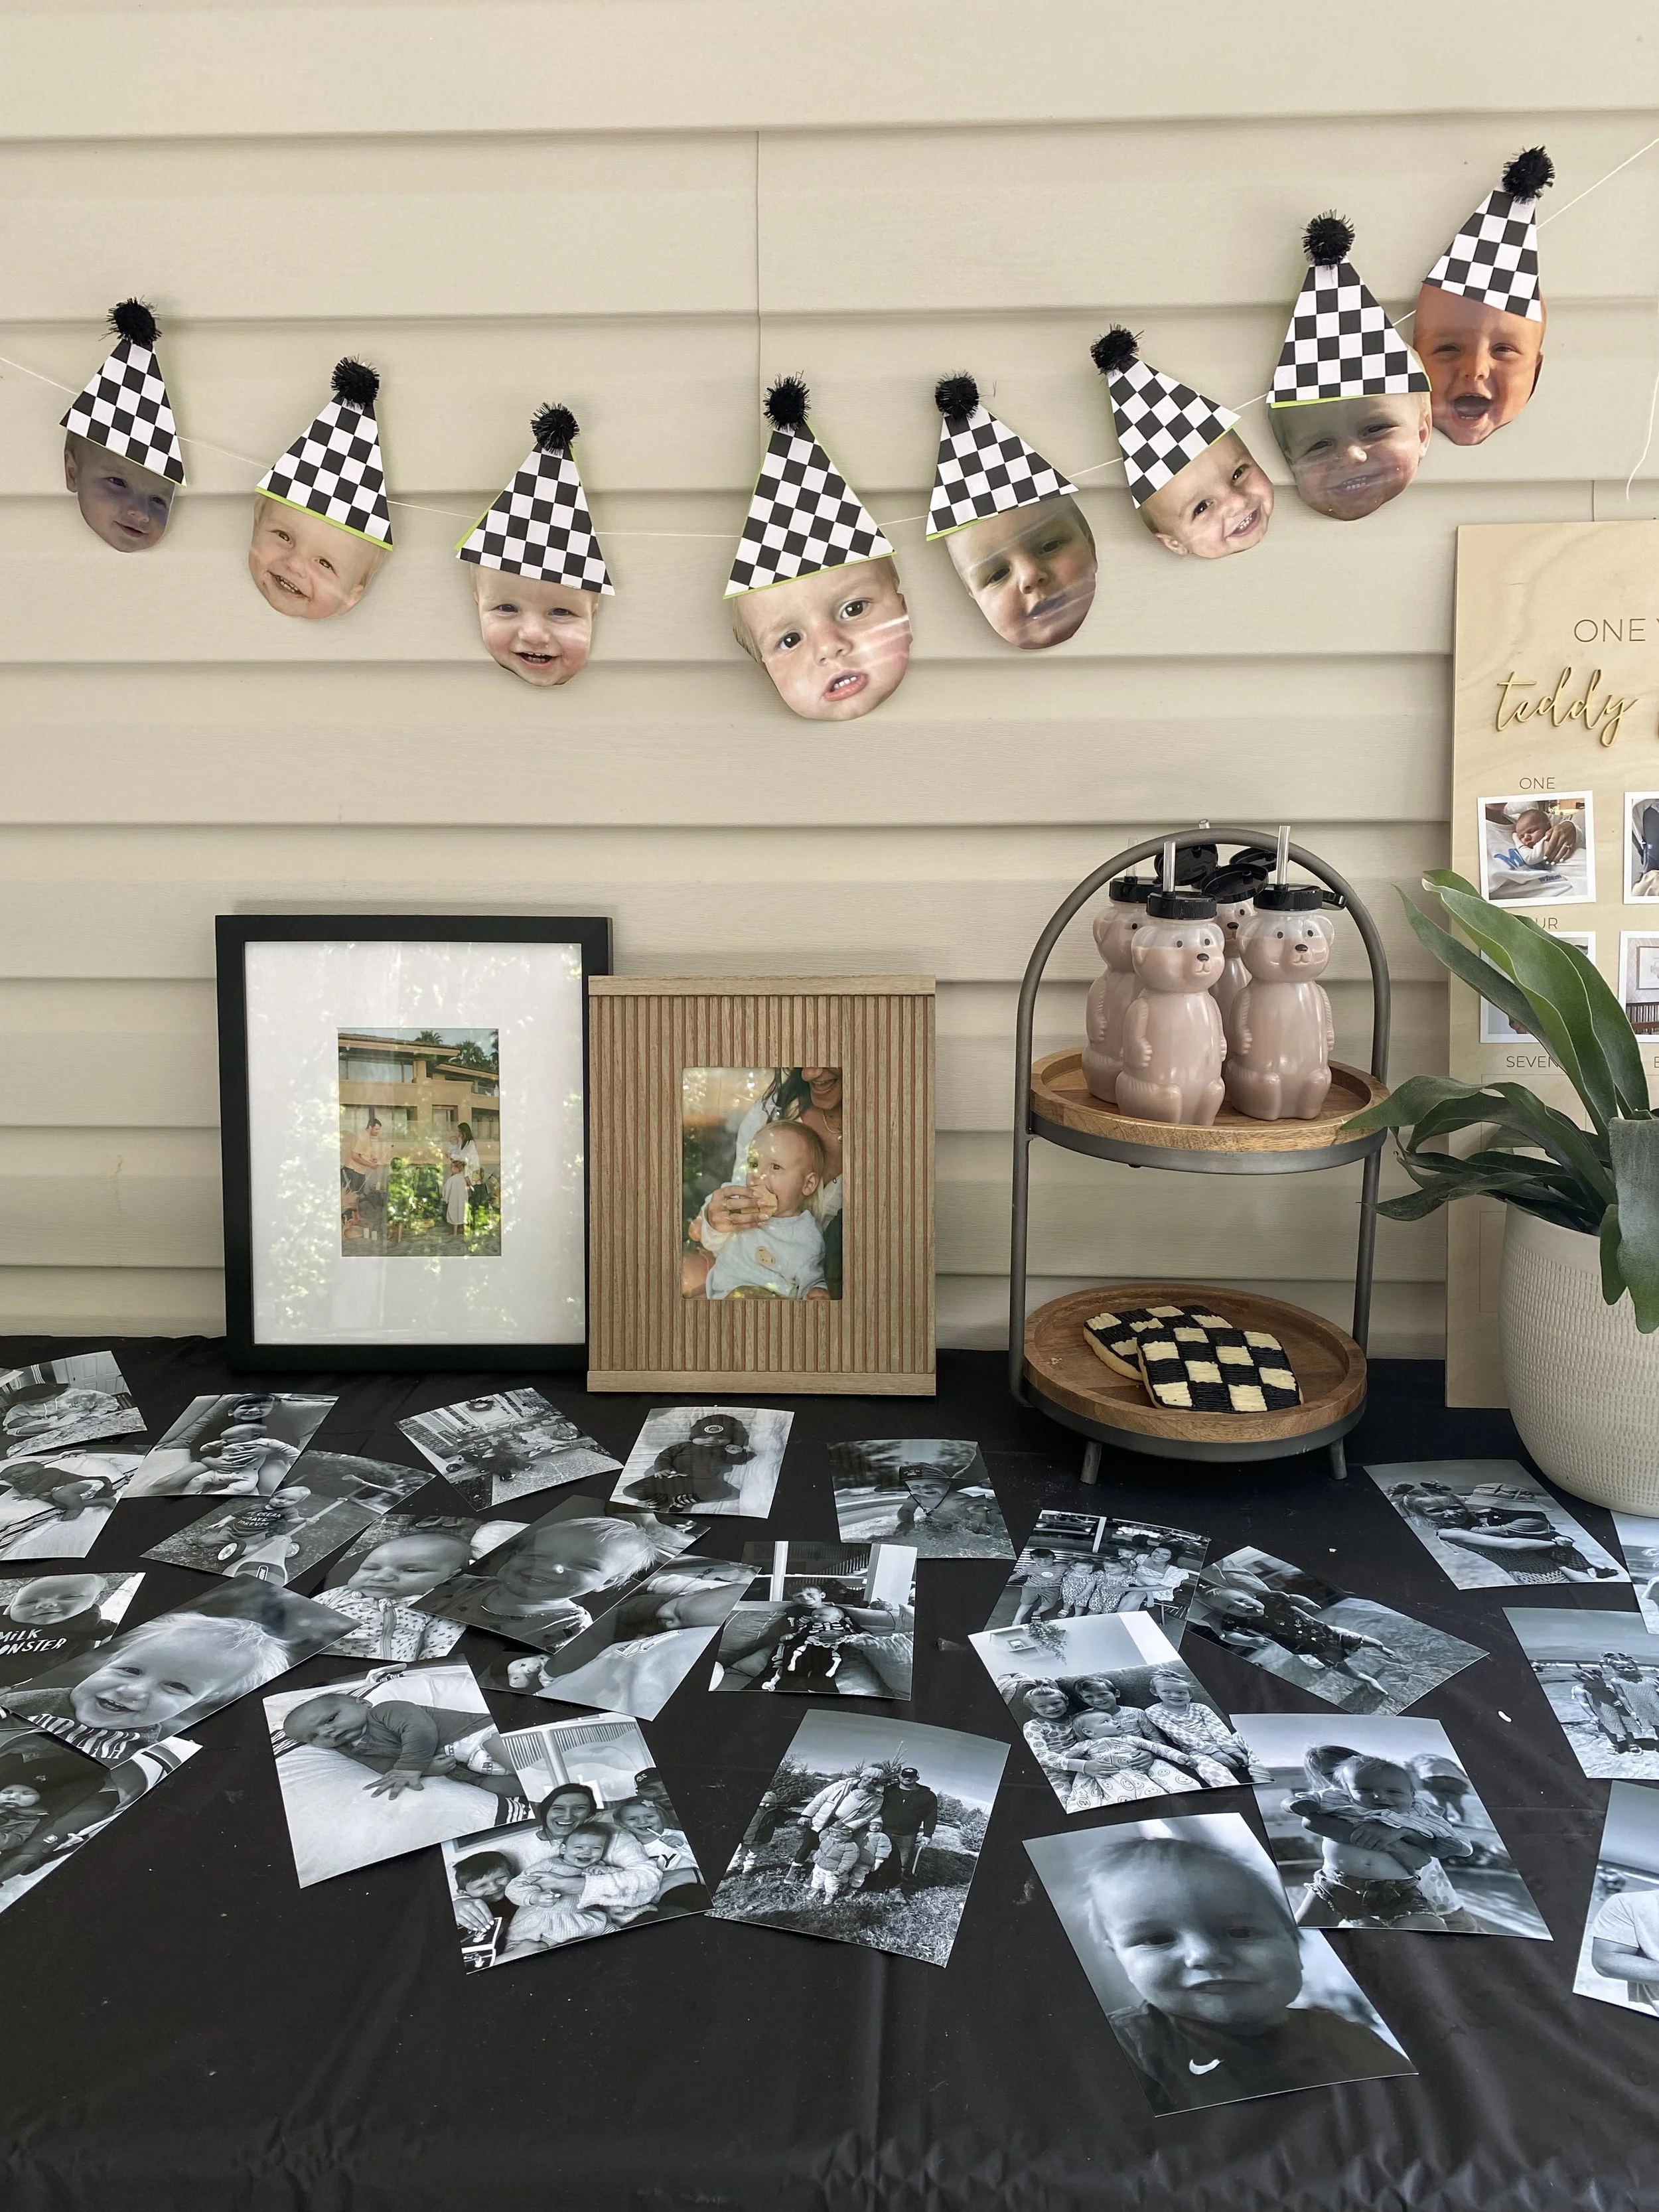
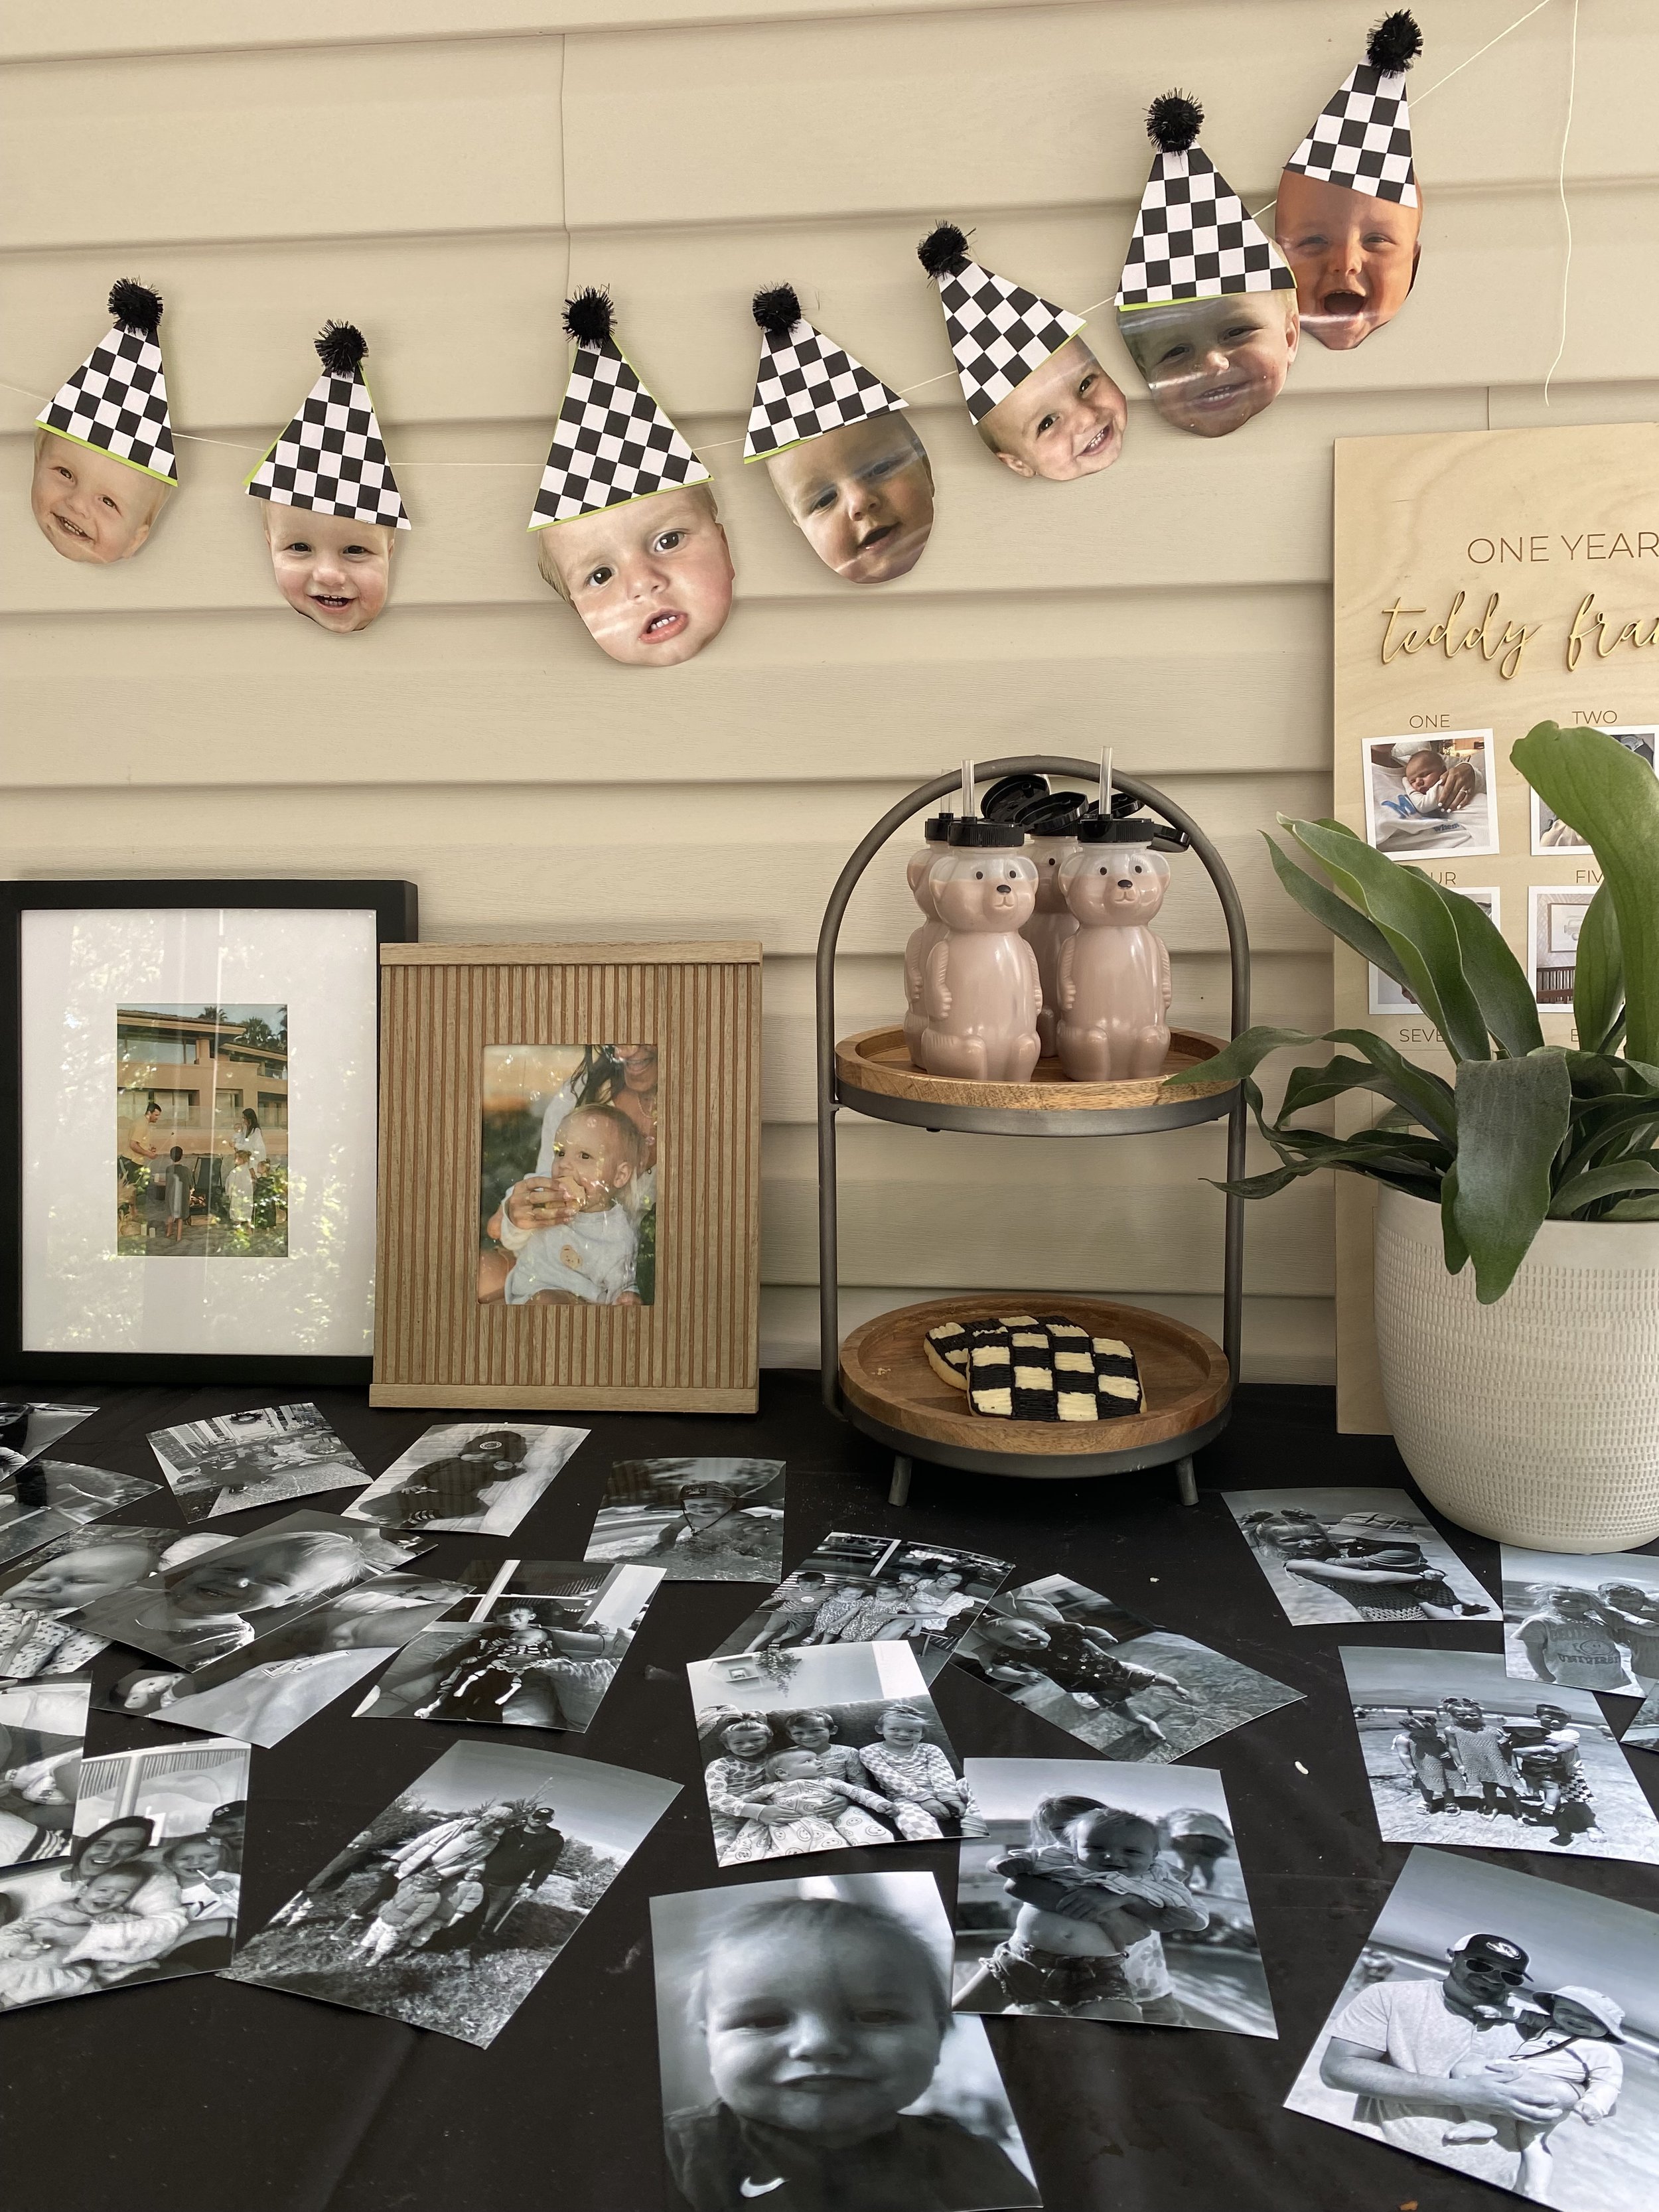
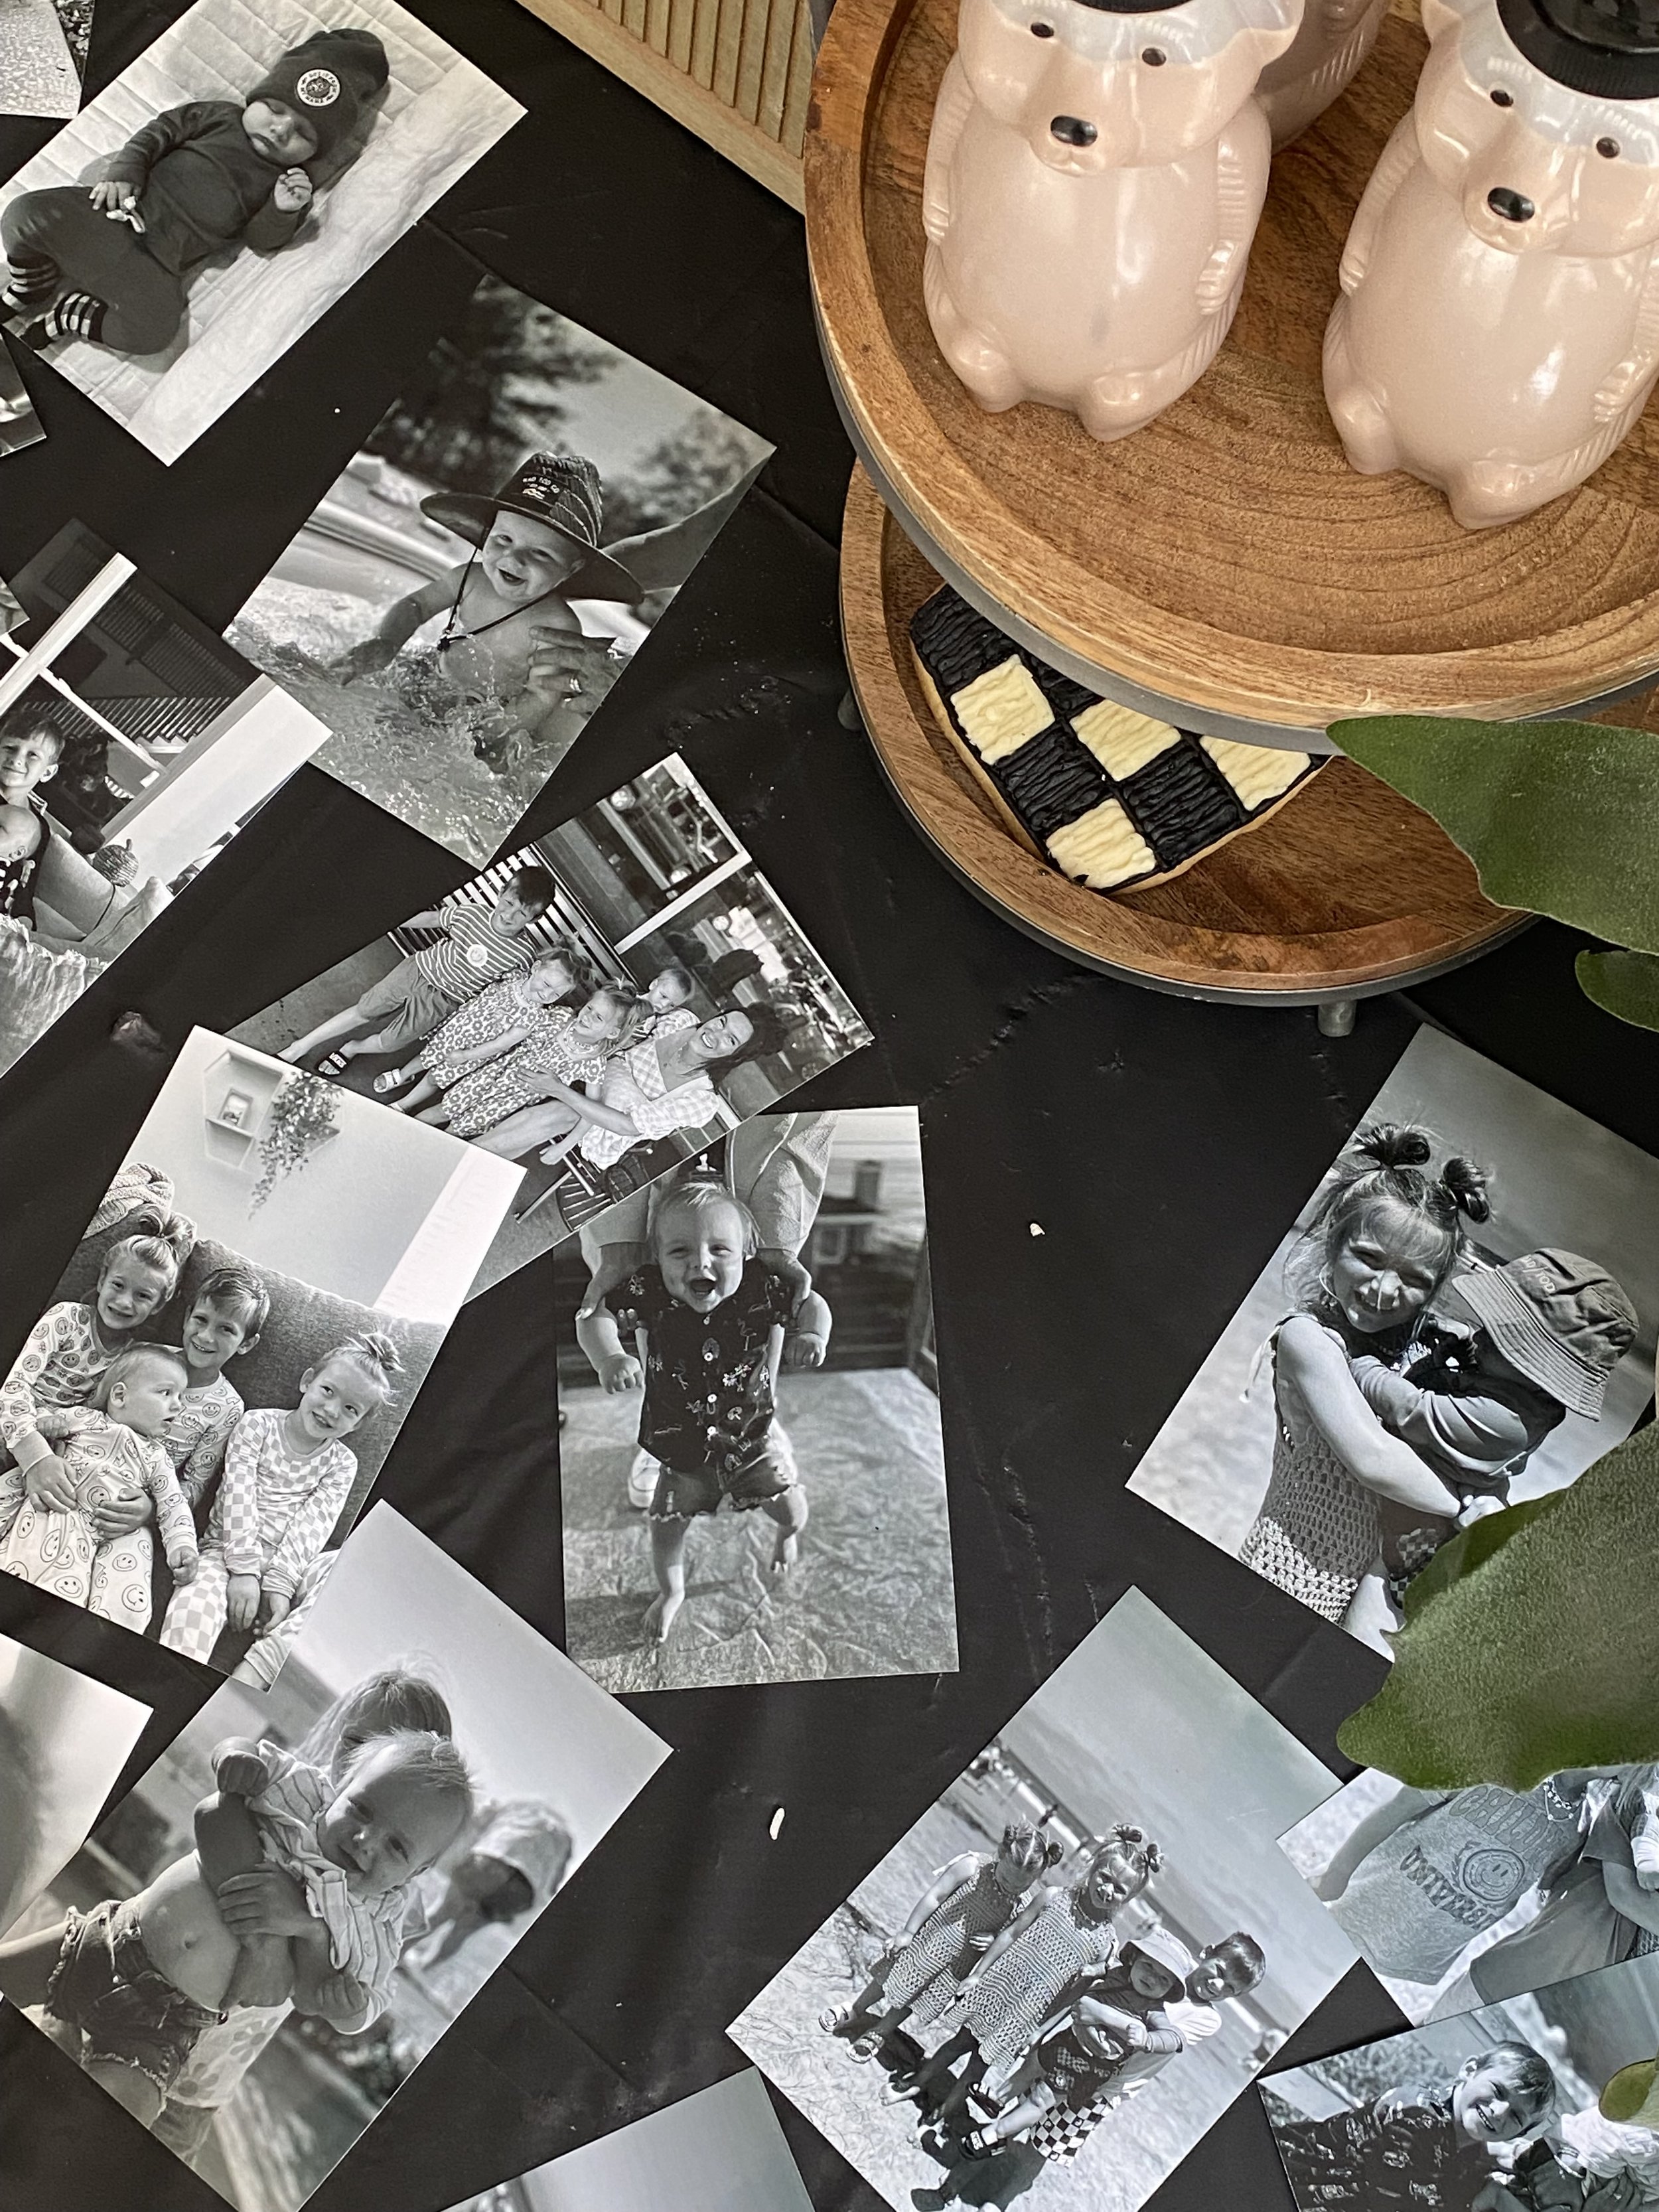
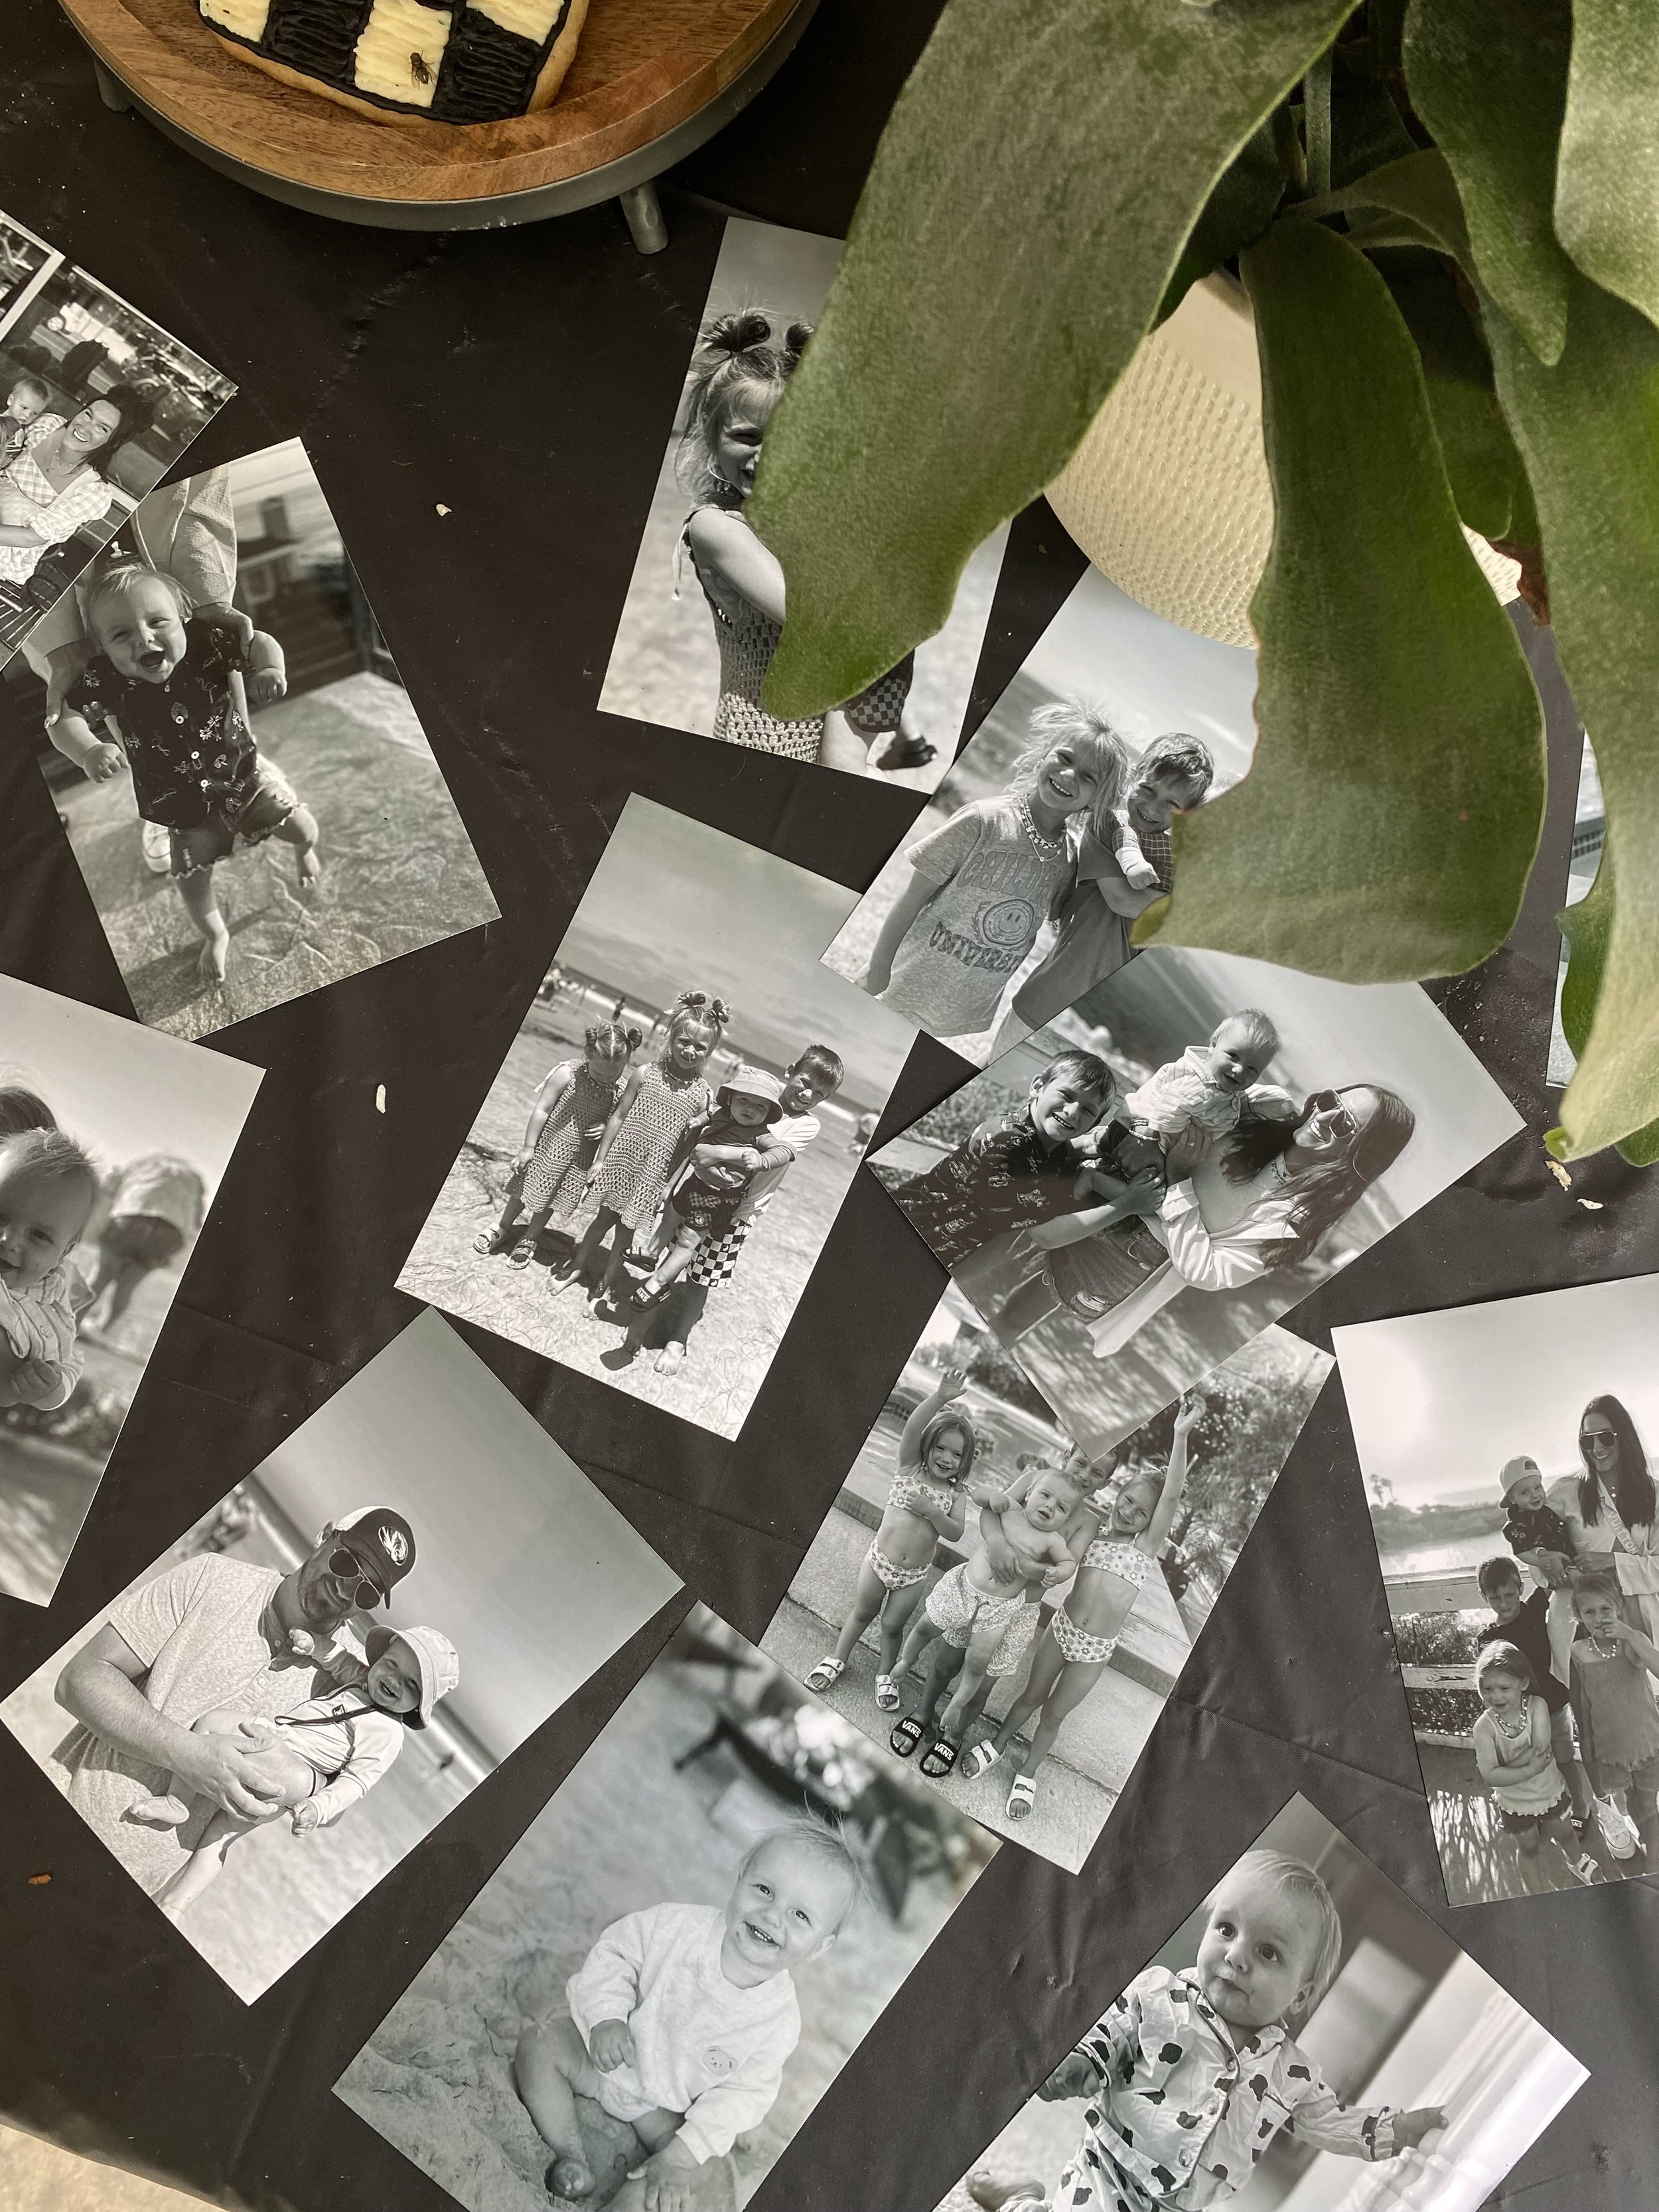
Here’s a tip to keep: photos, photos, photos! Have photos printed from baby’s first year! No, they don’t need to be professional— print off some of those fun candid photos of your baby that have been sitting in your phone! You can also grab some framed photos from around the home to use as decor, create a DIY party hat banner with your baby’s photos (SEE HERE FOR HOW TO), place them on a monthly milestone board, etc. Photos are the absolute best party decor because they serve as decoration and entertainment! Guests love looking at photos of baby’s first year (esp ones they haven’t seen!). They can see how much they’ve changed/grown and oogle over baby’s adorable faces! Plus, you can use them yearly! It’s fun to bring some of them out at every party for people to look through again! When the parties are over, you can keep them in a photobook in your house too— multipurpose. Photos are easy decor because they go well with ANY theme!
We ended up printing multiple photos of Teddy from my phone in black and white at Walgreens and scattered them all over the dessert/gift table. We also included his milestone board from his nursery with photos of him from months 1-12. It kept the party cohesive, but brought out some of the entertainment since there was so much to look at! We also put together a DIY party hat banner with some of my favorite photos of him and hung it above the table as well for a little fun! These are all things you can reuse at parties year after year!

Step 6: Shop Your Home
Yep, you read that right! This is the best way to deter “over-buying” party supplies. You may find a lot more things useful for the party than you’d realize! Search for any leftover party supplies, platters, pitchers, decor, plants, nursery decor, etc that may be useful! You really don’t need “themed” utensils, platters, etc. Try to use as much as you can from your own home!
Plants and decor from your baby’s nursery are some other pieces that can pull together your party, both of which you can find in your own home! Plants can pull together any space and nursery decor may help eliminate decor you’d otherwise buy!
We saved so much money doing this! We were able to use so many things we already had: platters and stands, teddy bear straw cups, leftover teddy bear party plates, leftover utensils, teddy’s milestone board, card tables, framed photos of teddy from our living room, and our crockpots were the real MVP’s. We also had our patio decorated for fall with lanterns and mums, so didn’t feel the need to purchase a bunch of different decor aside from the balloon arch + a few small things aside from food.
Step 7: Assess What’s Left
This is the fun part! This is where we get to decide what “extras” we want to include and where we want to apply our money based on the things we still need to get. Choose areas you’d like to splurge versus areas you’d like to save money! Some may want to splurge on their statement piece of decor and save on plates and napkins, etc, while others may want to splurge on a special personalized cake or food and save in other areas. It’s up to you! Many times, the “themed” party decor is more expensive than basic colored decor. It may be worth determining what “themed” pieces you want and what pieces you’d like complimentary colors.
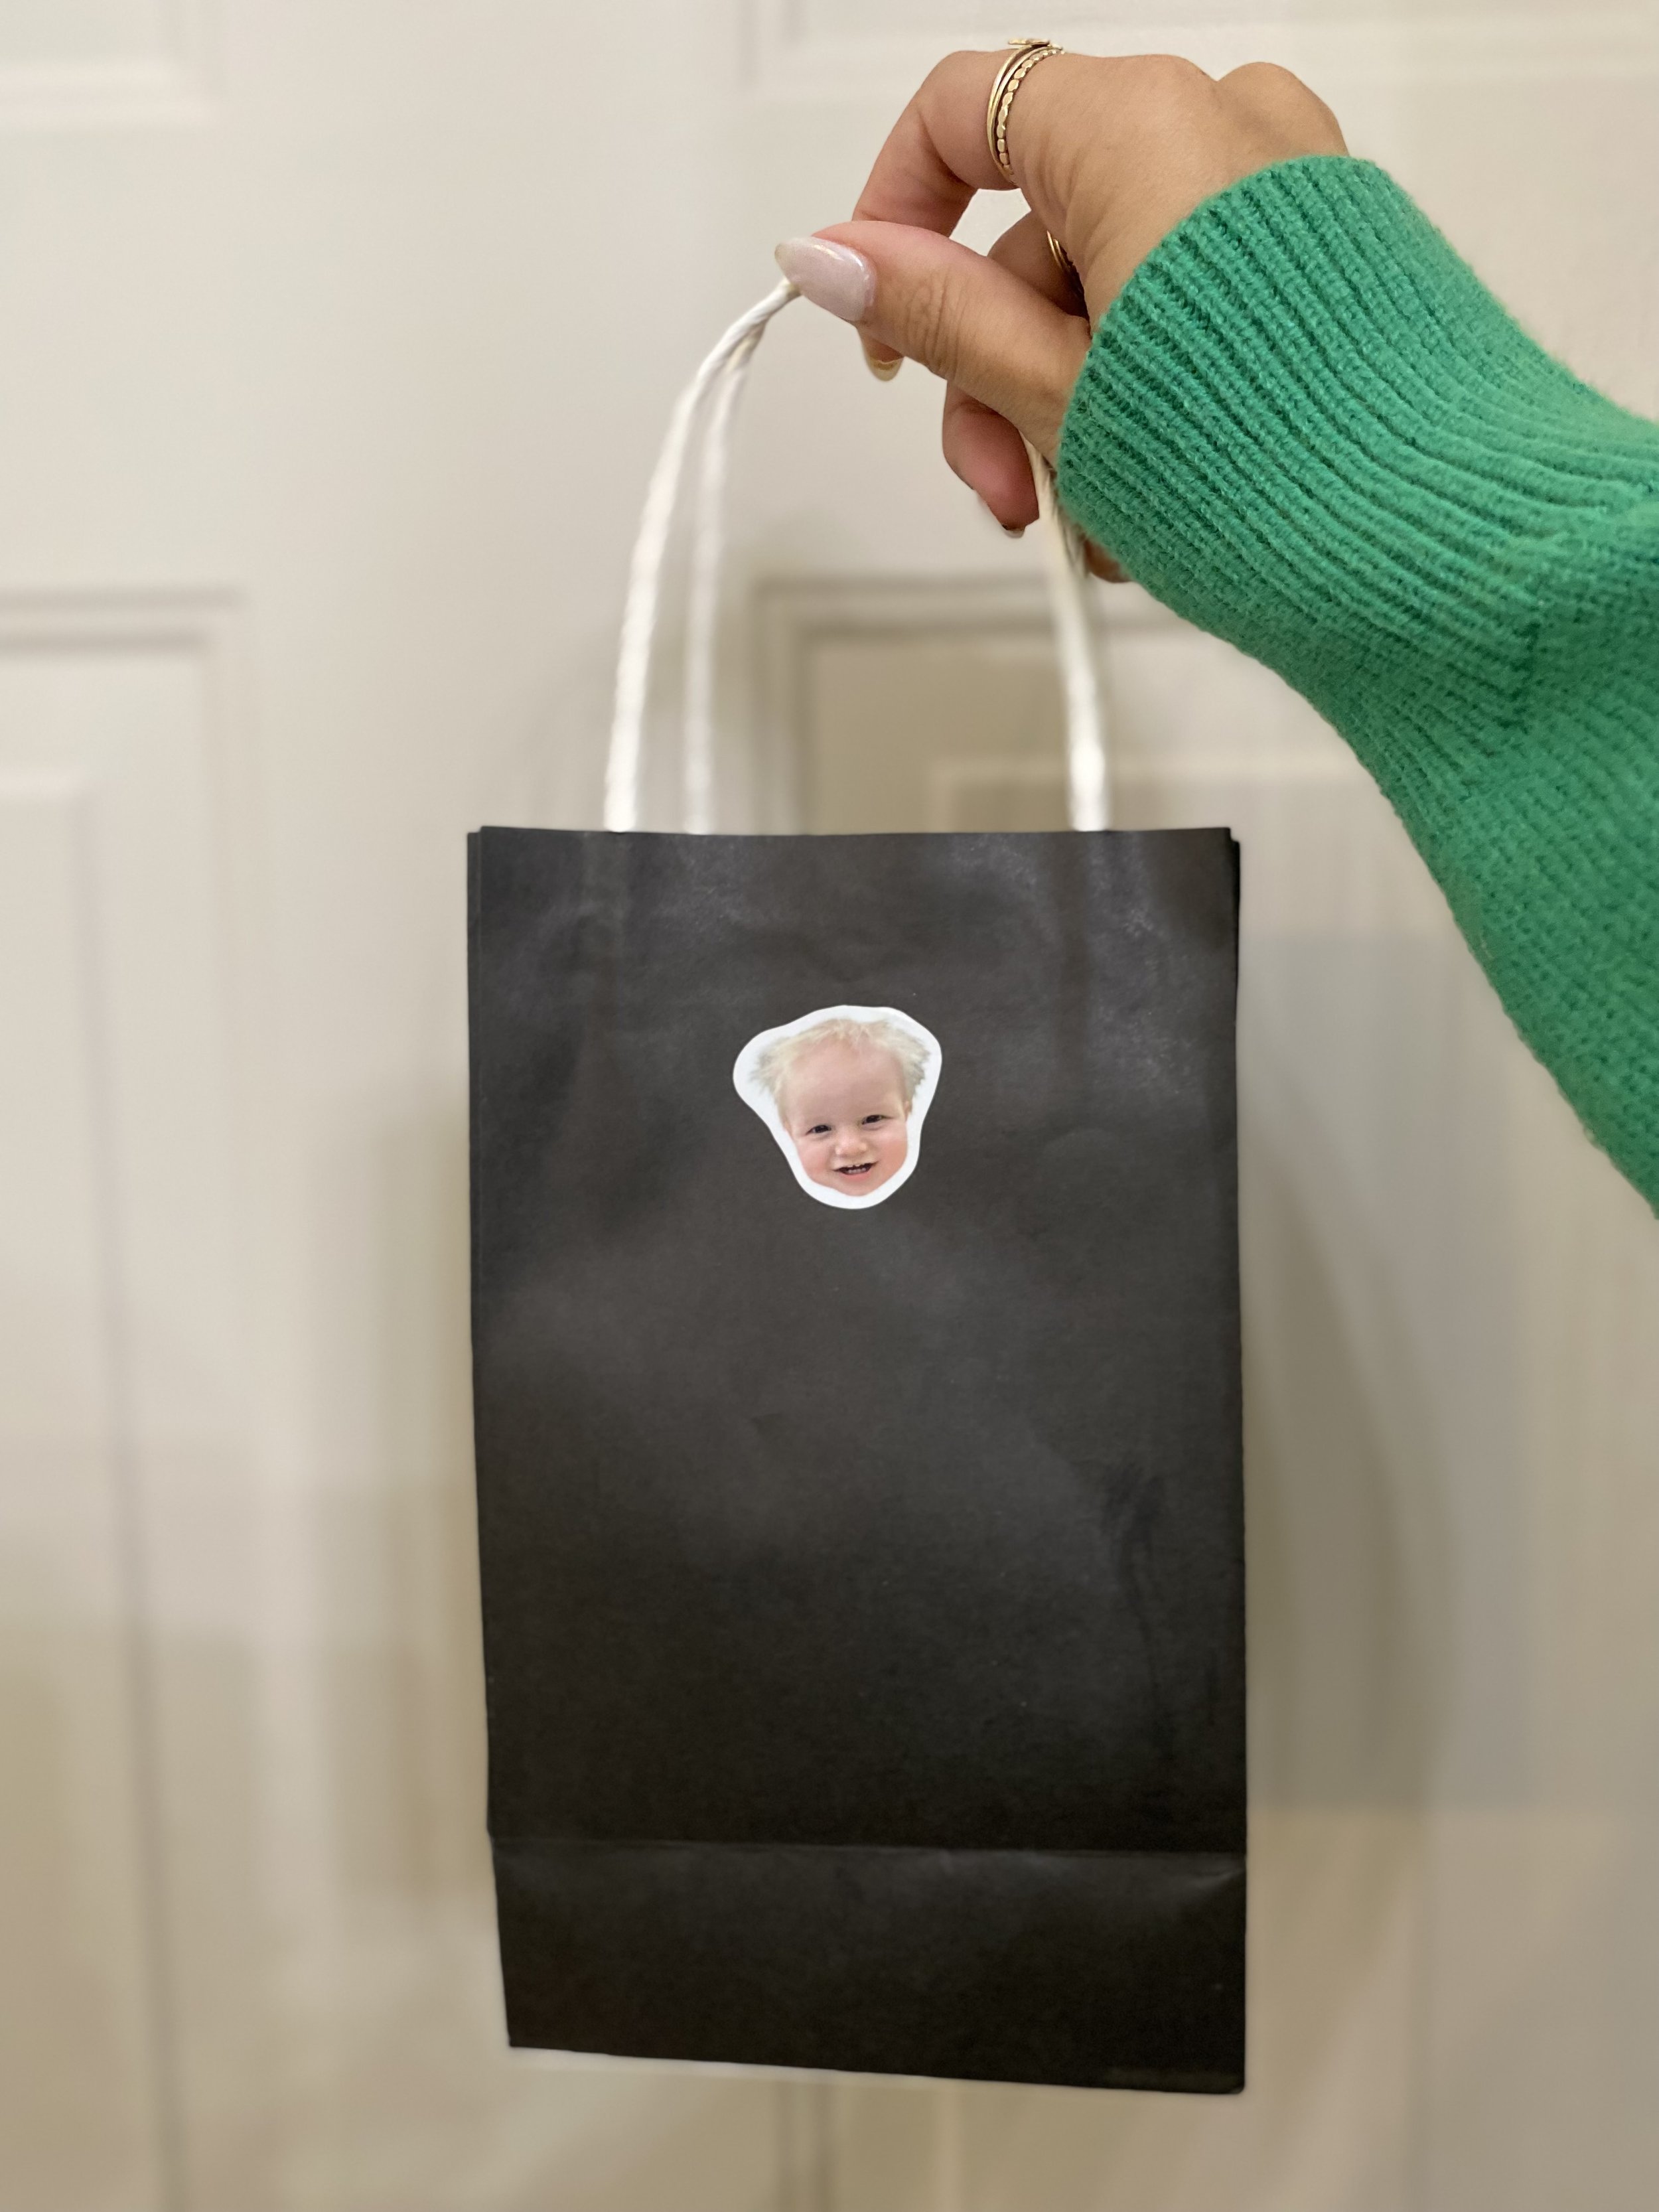
We used a lot from our own home, but did purchase: basic black tablecloths, basic black napkins, black kraft bags (kids’ goodie bags), a few toys/candy for goodie bags, pinata, photos from Walgreens, groceries for food ingredients and drinks, our balloon arch (our “splurge”), and personalized checkerboard cookies. We ended up spending less than $150 for our entire party (including food and drink). It was perfect!
If you need some present ideas for one year olds, SEE HERE.
What’s your first birthday theme? Is it a small gathering or large?
BONUS: A Quick Easy Cake Tip!
If you’re looking for a way to keep your cake simple and easy (whether it’s as a smash cake for baby, or to be served to guests)— here’s what we do! I love baking, but rarely have the time with 4 kids. I am all for a simple store-bought cake if that’s just easiest for you. However, if you’re looking to ways to make your cake more “homemade” or really go with your theme without too much effort— read on.
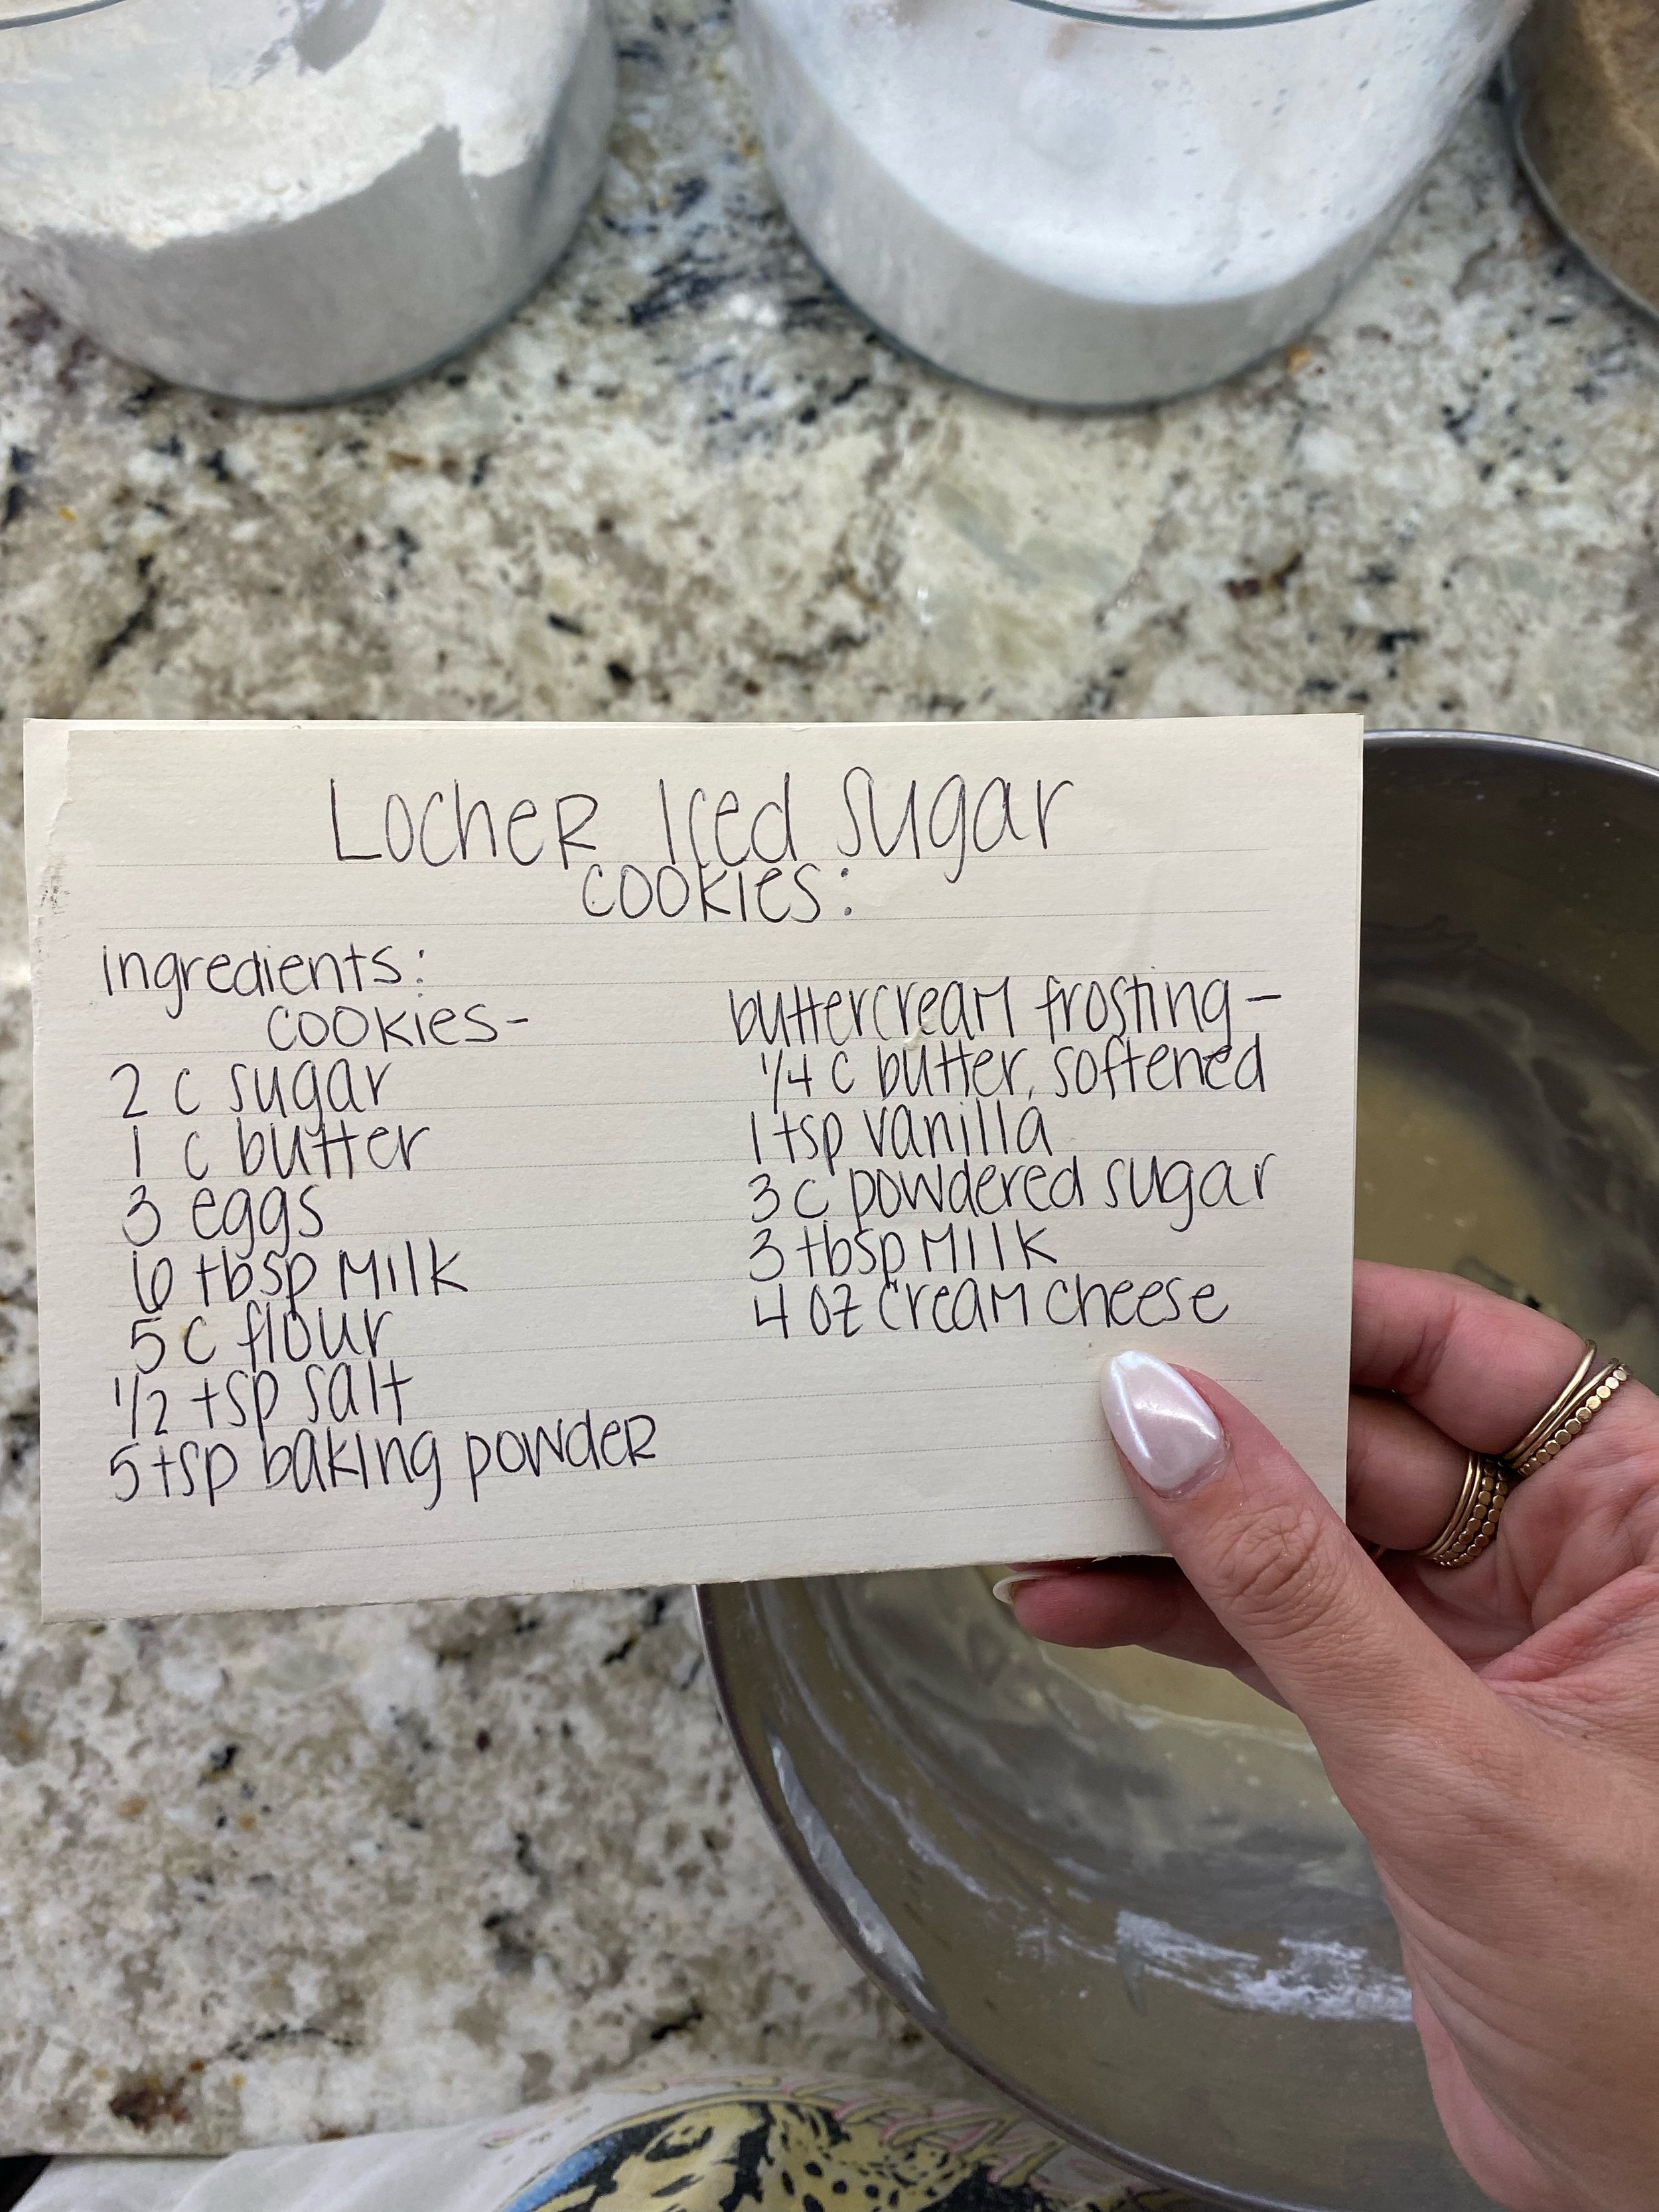
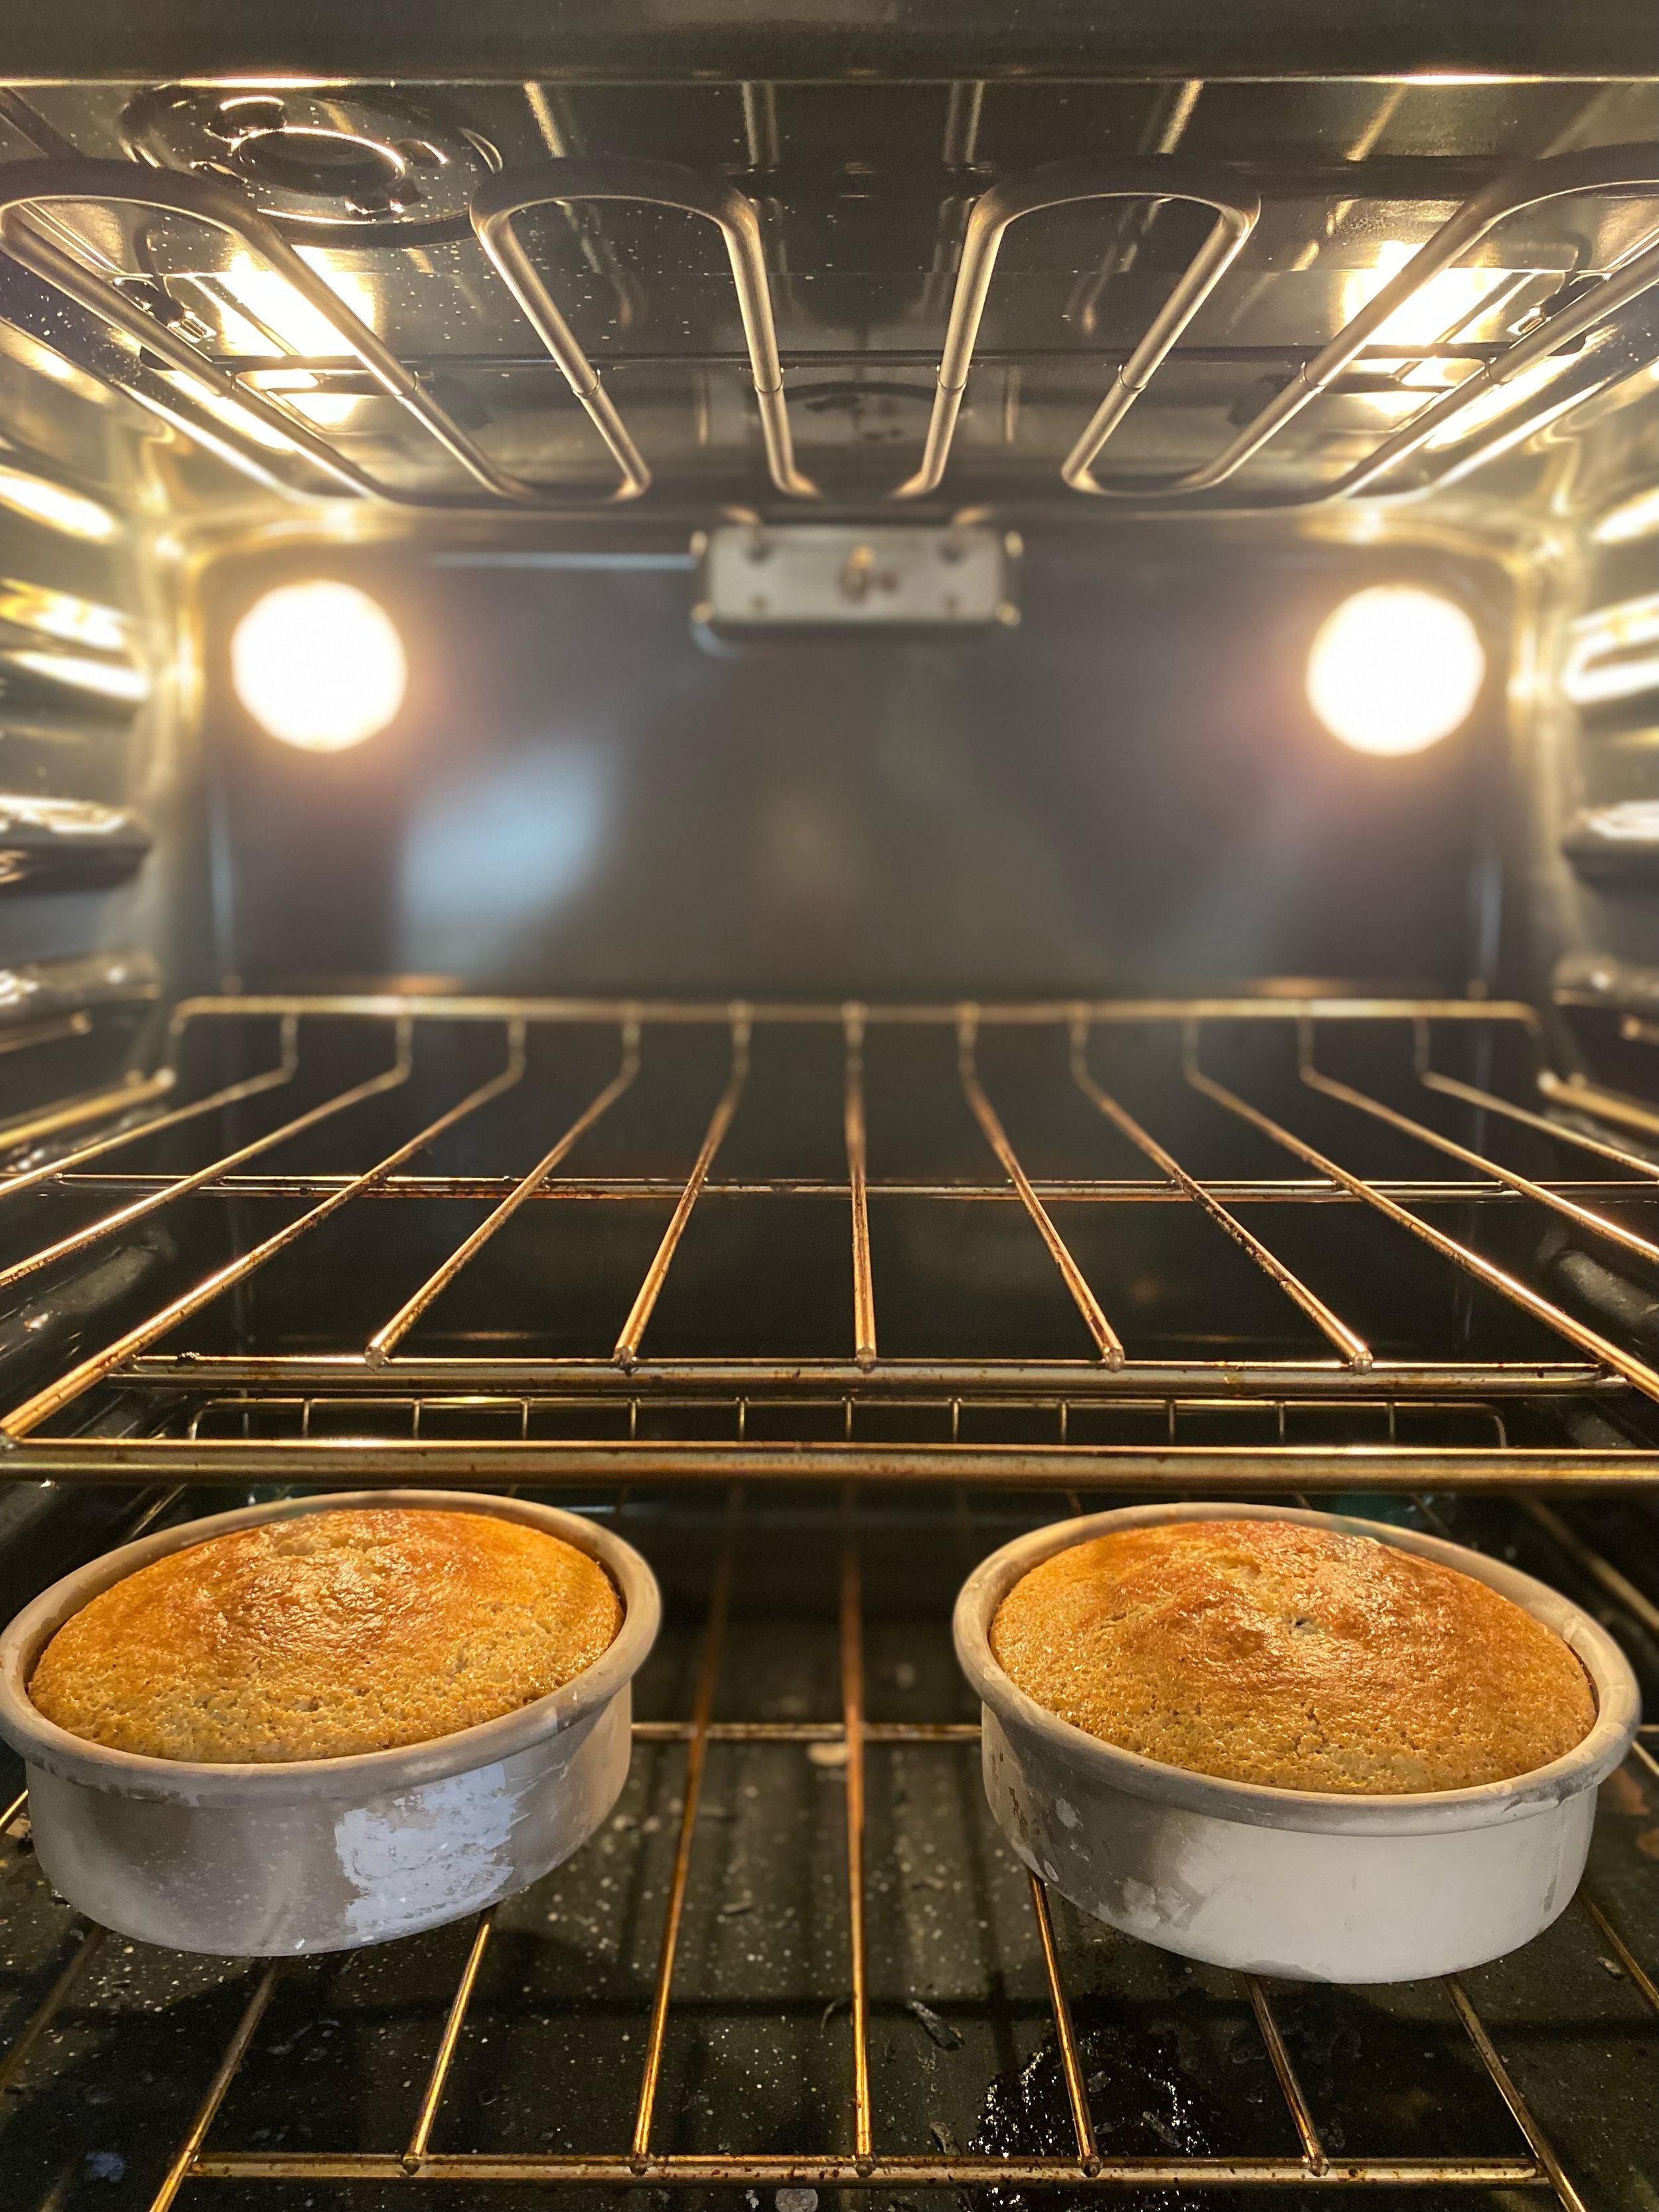
I buy a box of cake mix and bake it in 2 small rounds (for a smash cake) according to box instructions. Usually this consists of whisking the mix with eggs and oil. Super easy and fast. Then, once they’ve baked and cooled, I go homemade. I make homemade buttercream frosting and it’s so good. You can add food coloring to the frosting if you choose, but don’t have to! TIP- if you want a lighter color frosting (IE: light pink), instead of adding an entire drop to your frosting, dip a toothpick into the food coloring, then into your icing instead. This introduces less color. Next, just attach the 2 rounds with some buttercream frosting in the middle. With the rest, you spread it all around the stacked cakes for a little “smash cake”! Then, you can crumble cookie pieces (we did oreo) or put sprinkles on it for the perfect look! Here is the buttercream frosting recipe I have been using for years. It goes great with cupcakes, cookies, or cakes! I usually try to make this all the night before so it is ready to go for the party! Hope you love it!
Recipe: (the card shown below is best for cookies as it makes less— here is what I usually use for cakes/cupcakes):
4 cups powdered sugar
1 cup ROOM temp butter (this is key!)
2-3 teaspoons vanilla
1-2 tablespoons heavy whipping cream or milk
Instructions:
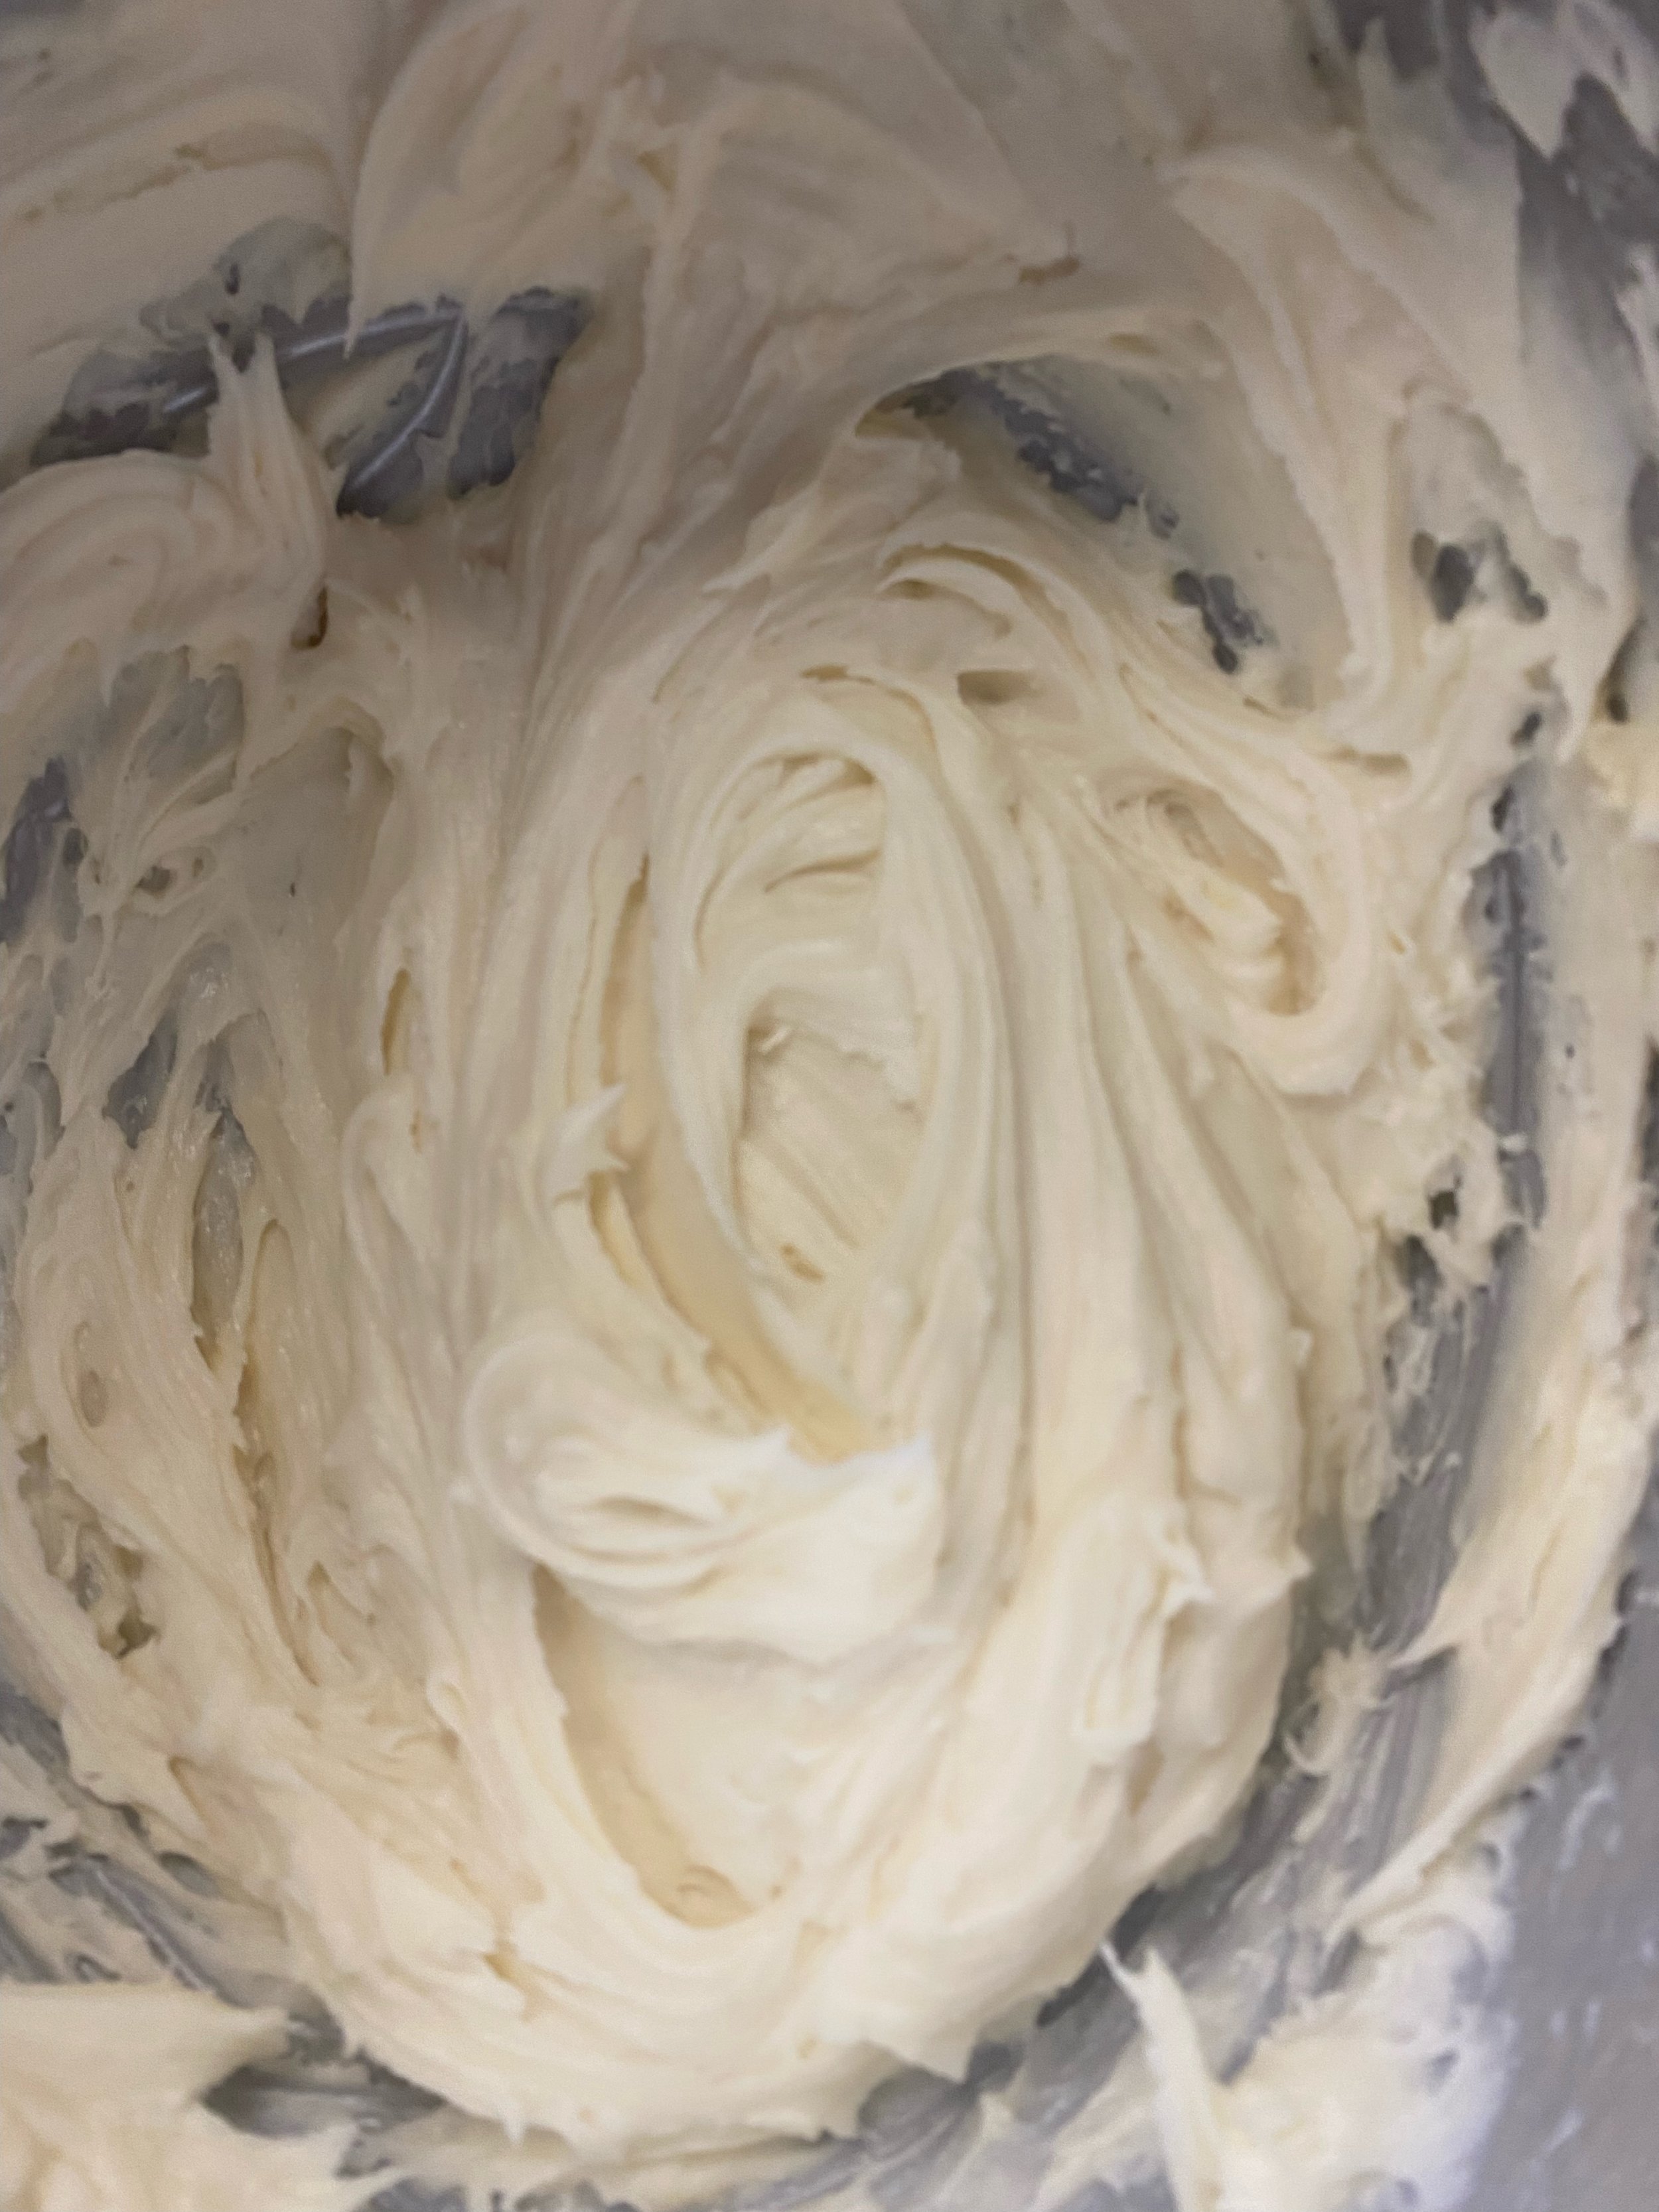
Whisk together butter and powdered sugar, incorporating all of the sugar and butter together
Add vanilla
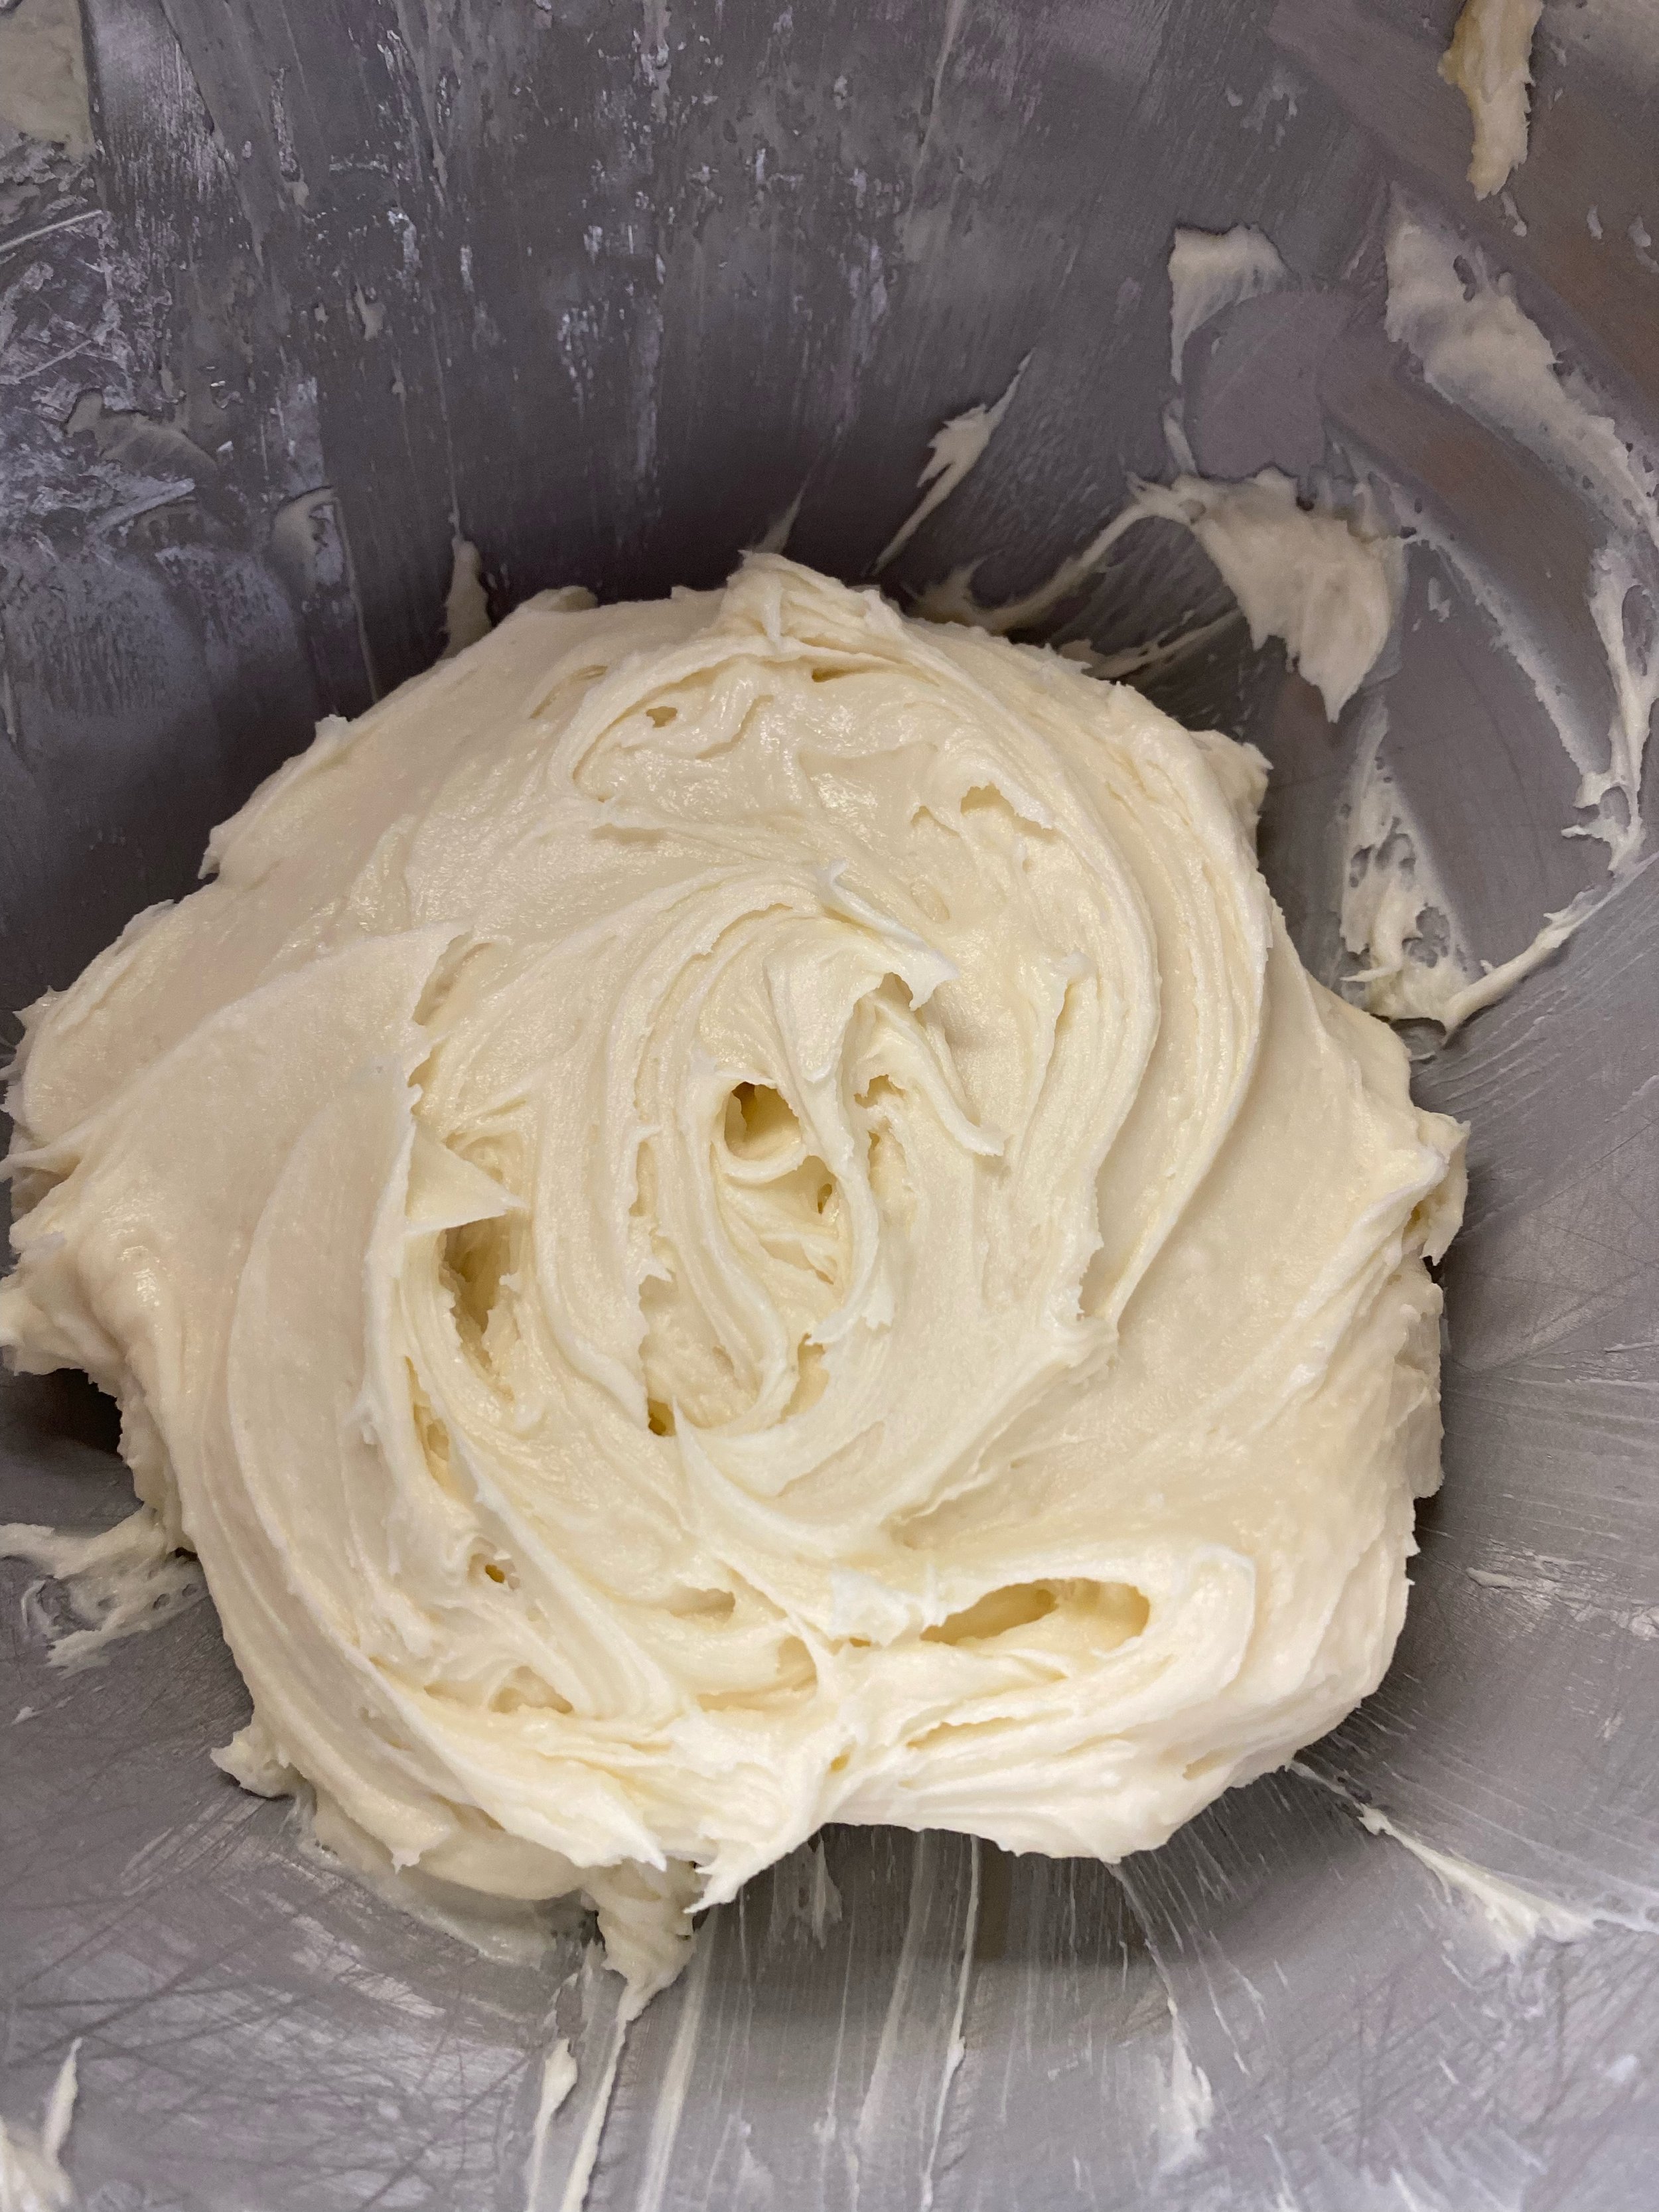
Add in heavy whipping cream slowly — I usually do 1 tbsp first, whisk it in, and check consistency. If frosting is still pretty thick, add in another 1/2-1 tbsp to keep it creamy and spreadable.
Tip: If frosting appears too “loose/runny” then add in a little more powdered sugar. If it appears too thick, add in a bit more of your liquid (HWC, milk)
Was this helpful? Save it for later!